System Prerequisites
We recommend that your web server have the following minimal system configuration. .
- WordPress 6.4+
- PHP 8.2 or 8.3
- MySQL 5.6+ OR MariaDB 10.0+
- Recommended PHP INI Configuration: -
- post_max_size = 256M
- upload_max_filesize = 256M
- max_execution_time = 5000
- max_input_time = 5000
- memory_limit = 1000M
Brief Overview
We are grateful that you bought our theme for WordPress. The present article walks through a number of the procedures involved in setting up and maintaining A Website with WordPress .
WordPress CMS: What is it?
WordPress is available as freely accessible software. platform for creating websites built on MySQL and PHP. It's a feature-rich content management system (CMS) and blogging platform that is completely free. You may make dependable websites and online apps with this CMS. You hardly need any technological knowledge or experience to operate it. WordPress's many features, including its flexibility and ease of use, have made it the most popular website construction tool on the market.Learn More
A Wordpress template: what is it?
For websites created using the WordPress content management system, A template for WordPress serves as the skin. Setting up A template for WordPress is really simple. With the assistance of a freshly installed template, You're could swiftly alter The appearance of your site with WordPress . All the source files required to create A template for WordPress are included, and and you have the freedom to modify and enlarge it as You are see proper..
Assistance and Encouragement
For assistance, go here:
SupportFile Organisation
You downloaded a template package that is organised into different directories. Let's look at what's in each folder:
- Screenshots -includes a screenshot of the template. Not for use in manufacturing.
- theme -includes files for WordPress themes.
- "marriage-event-planner-pro" -All of the theme's required files are Within this folder..
- "license.txt" -which includes license information
- "readme.txt" -provide details about the usage script, fonts, and theme image paths.
My website used to function properly. Who changed the permissions of the file?
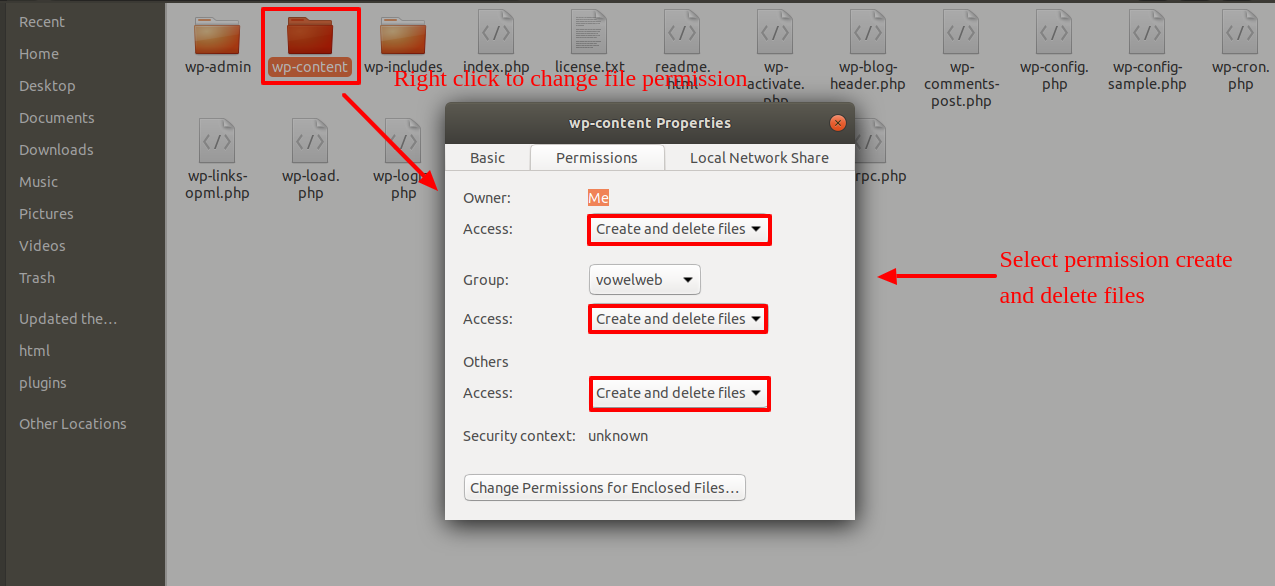
Incorrect file permission settings may prevent WordPress from creating folders, allowing images to be uploaded, or allowing certain scripts to run.
WordPress need rights in order to manage files and create directories within the server.
- Next, choose "File Permissions" from the context menu when you right-click on each folder in the root folder as well as..
- wp-config >> dialogue box for permissions >> select the "Assess and edit >> checkbox. Press the OK BOX to proceed.
- repeating the procedure with the wp-content folder
Installation of Templates
Setting up a layout is a simple process.
Within A WordPress user's interface, all installation procedures may be completed. It facilitates a quick and comfortable process.
It has two approaches to complete The procedure of installation.
1-utilizing WordPress as an admin, Set up a theme .
To begin, sign into your WordPress admin dashboard and select
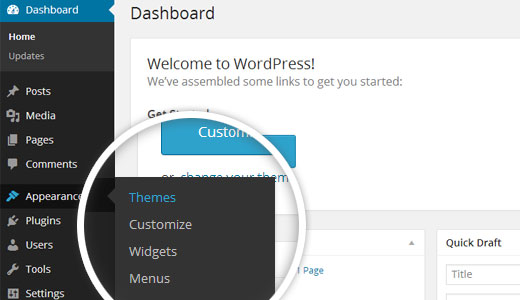
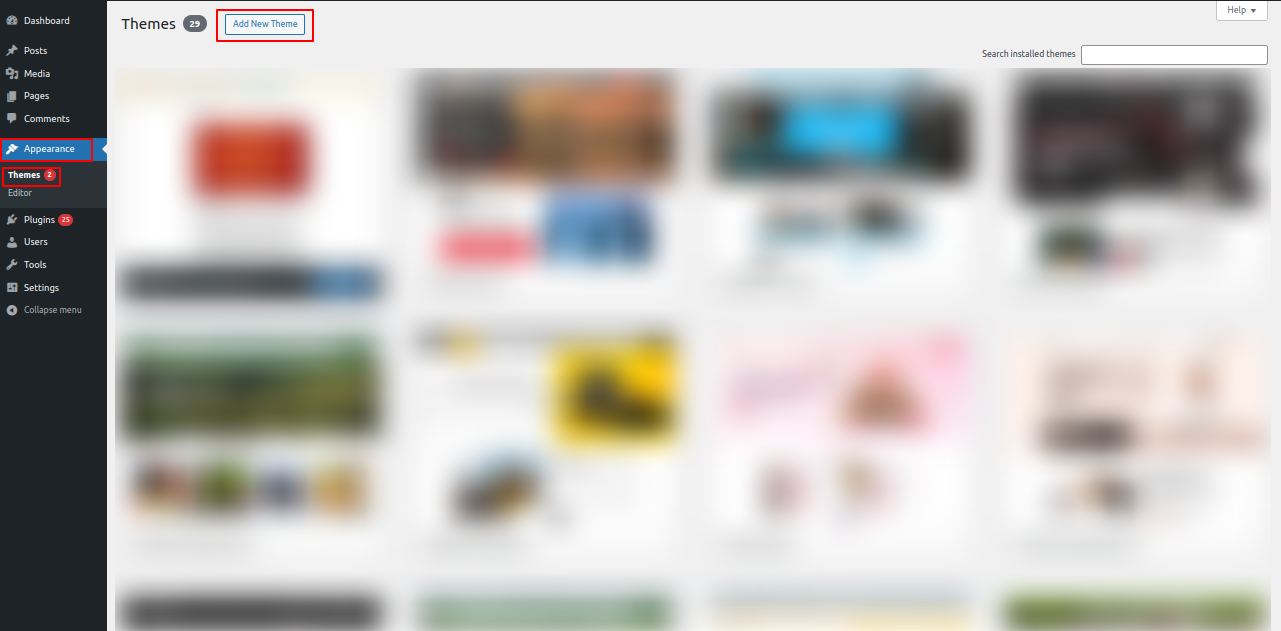
1.Visit the Appearance >> Themes
2. Click the The button to Add New located towards the page for themes top.
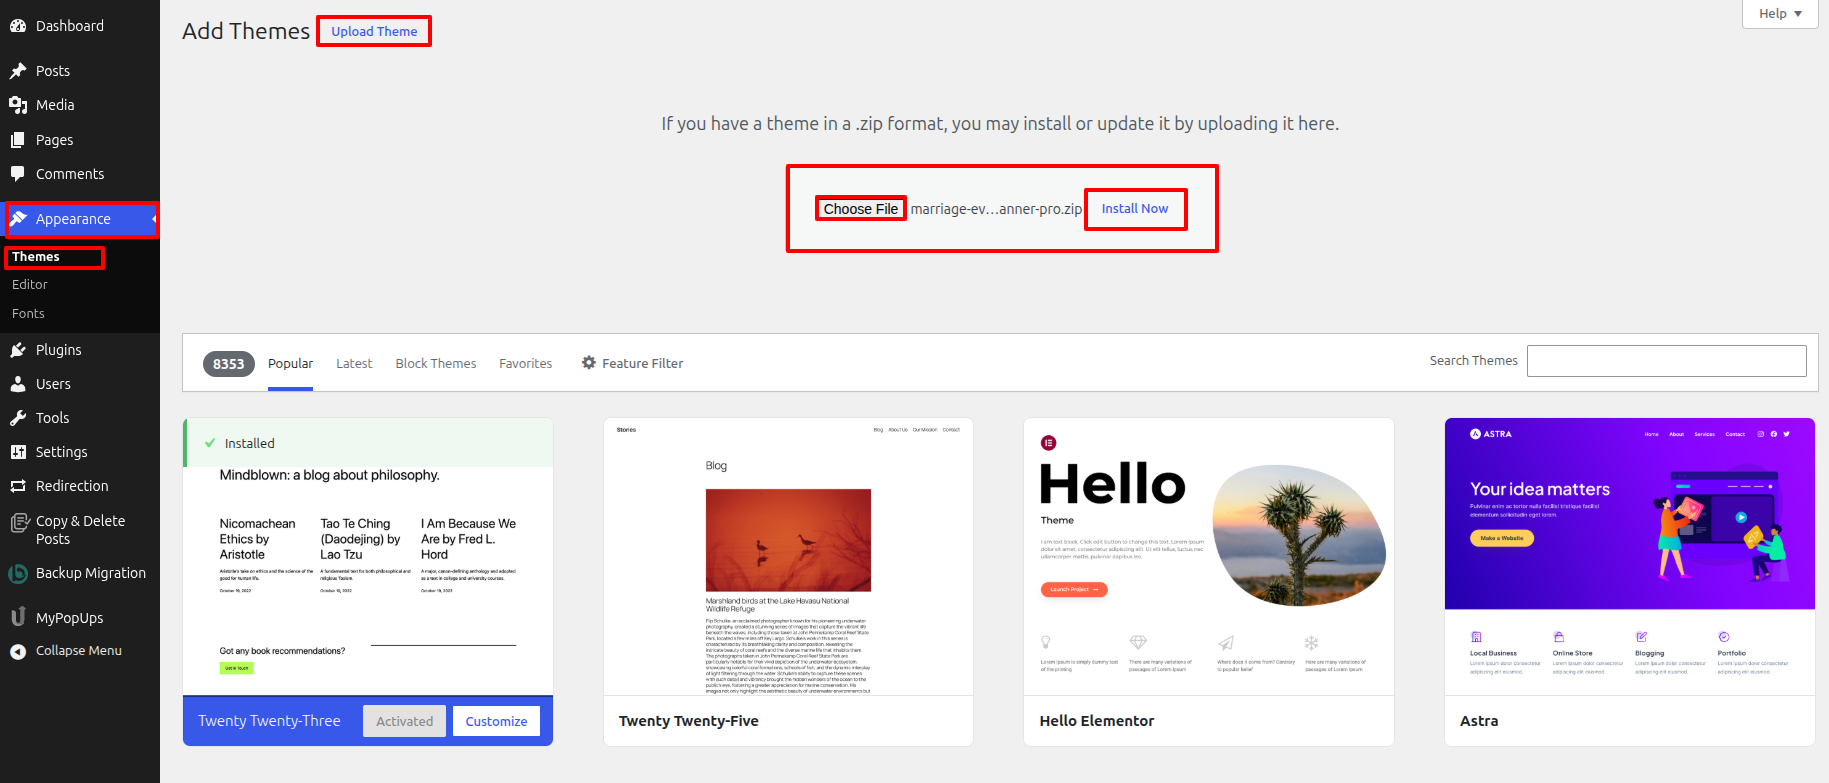
3. Press the "Upload Theme" button.
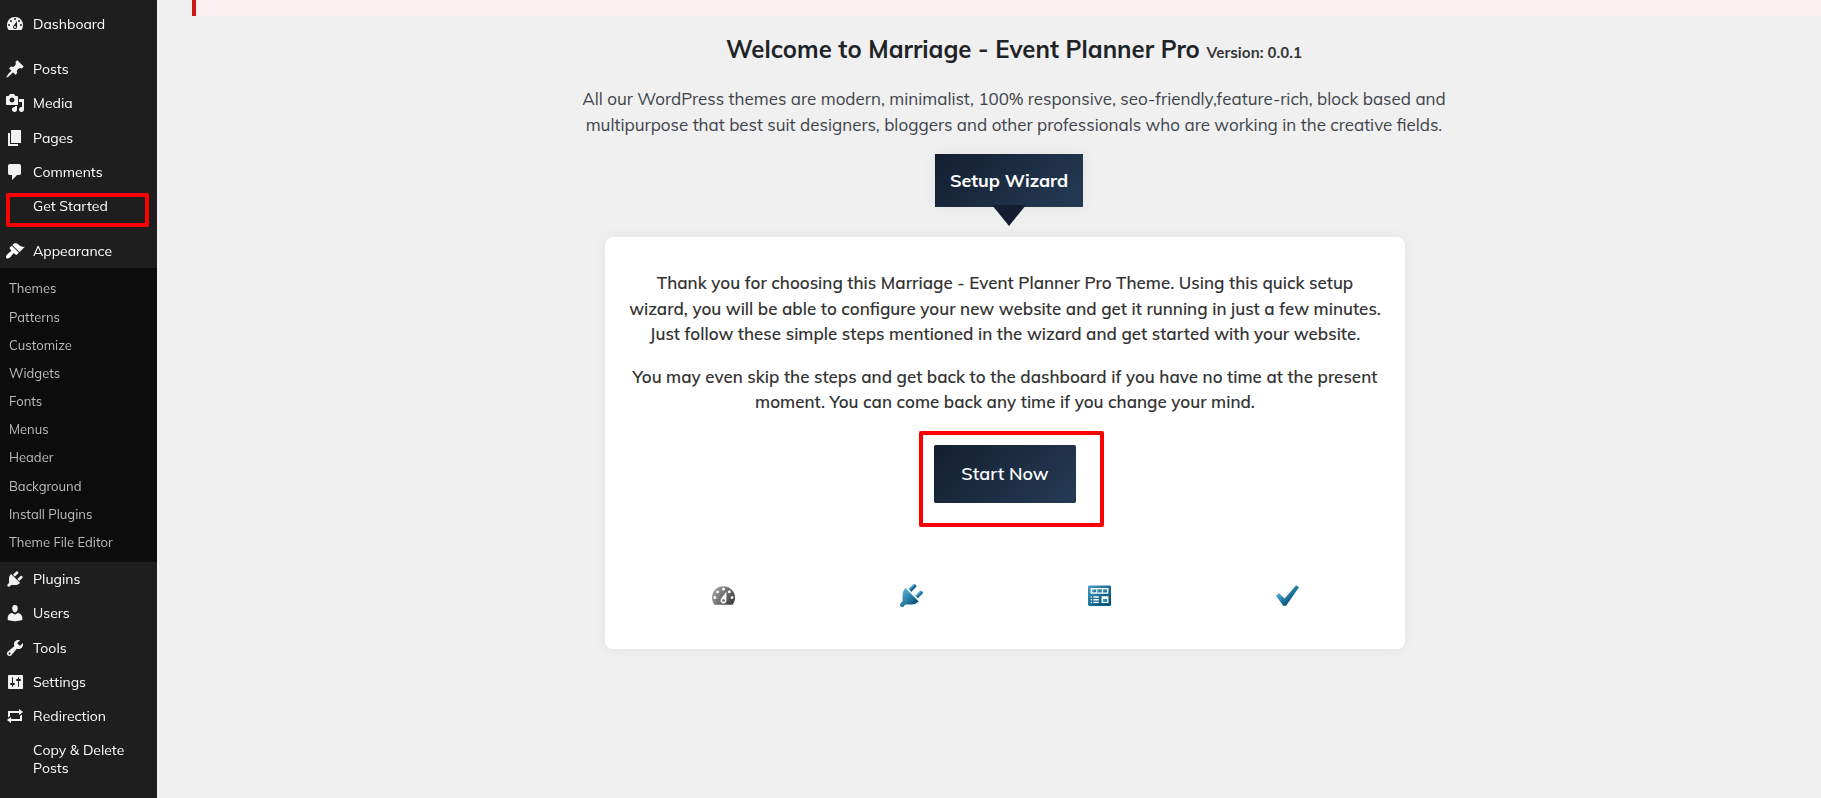
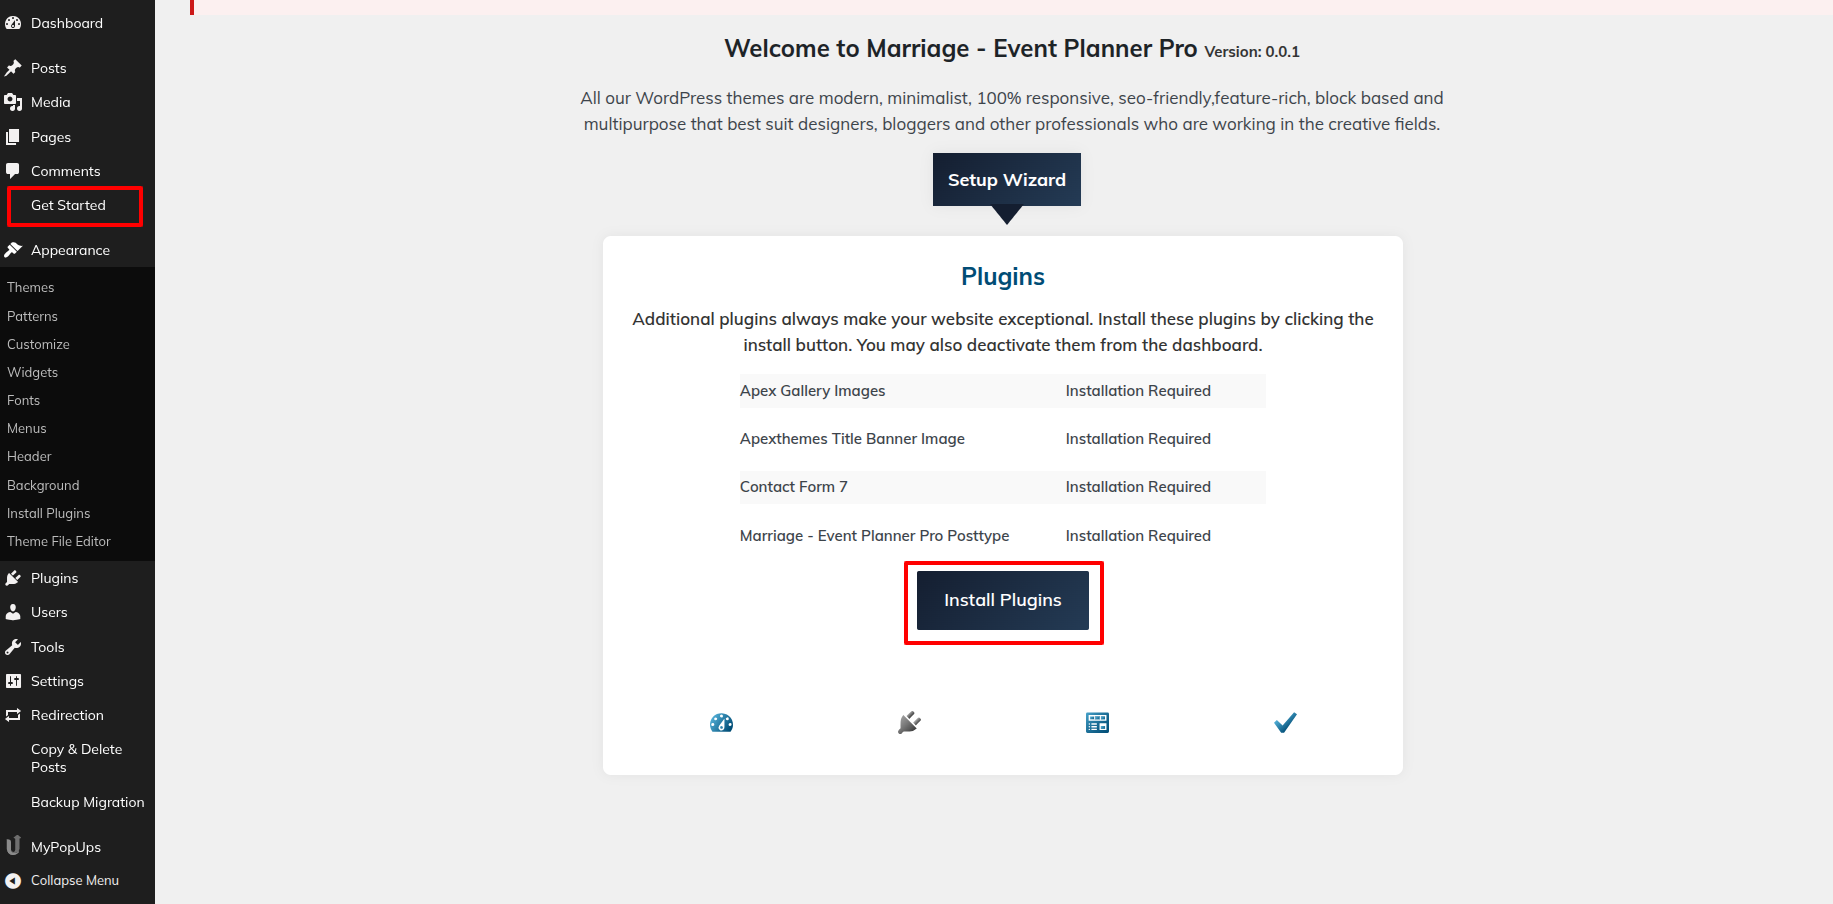
Follow the following steps to import content using Theme Wizard
1) CLick on Wizard and then start now.
2) Install Plugins.
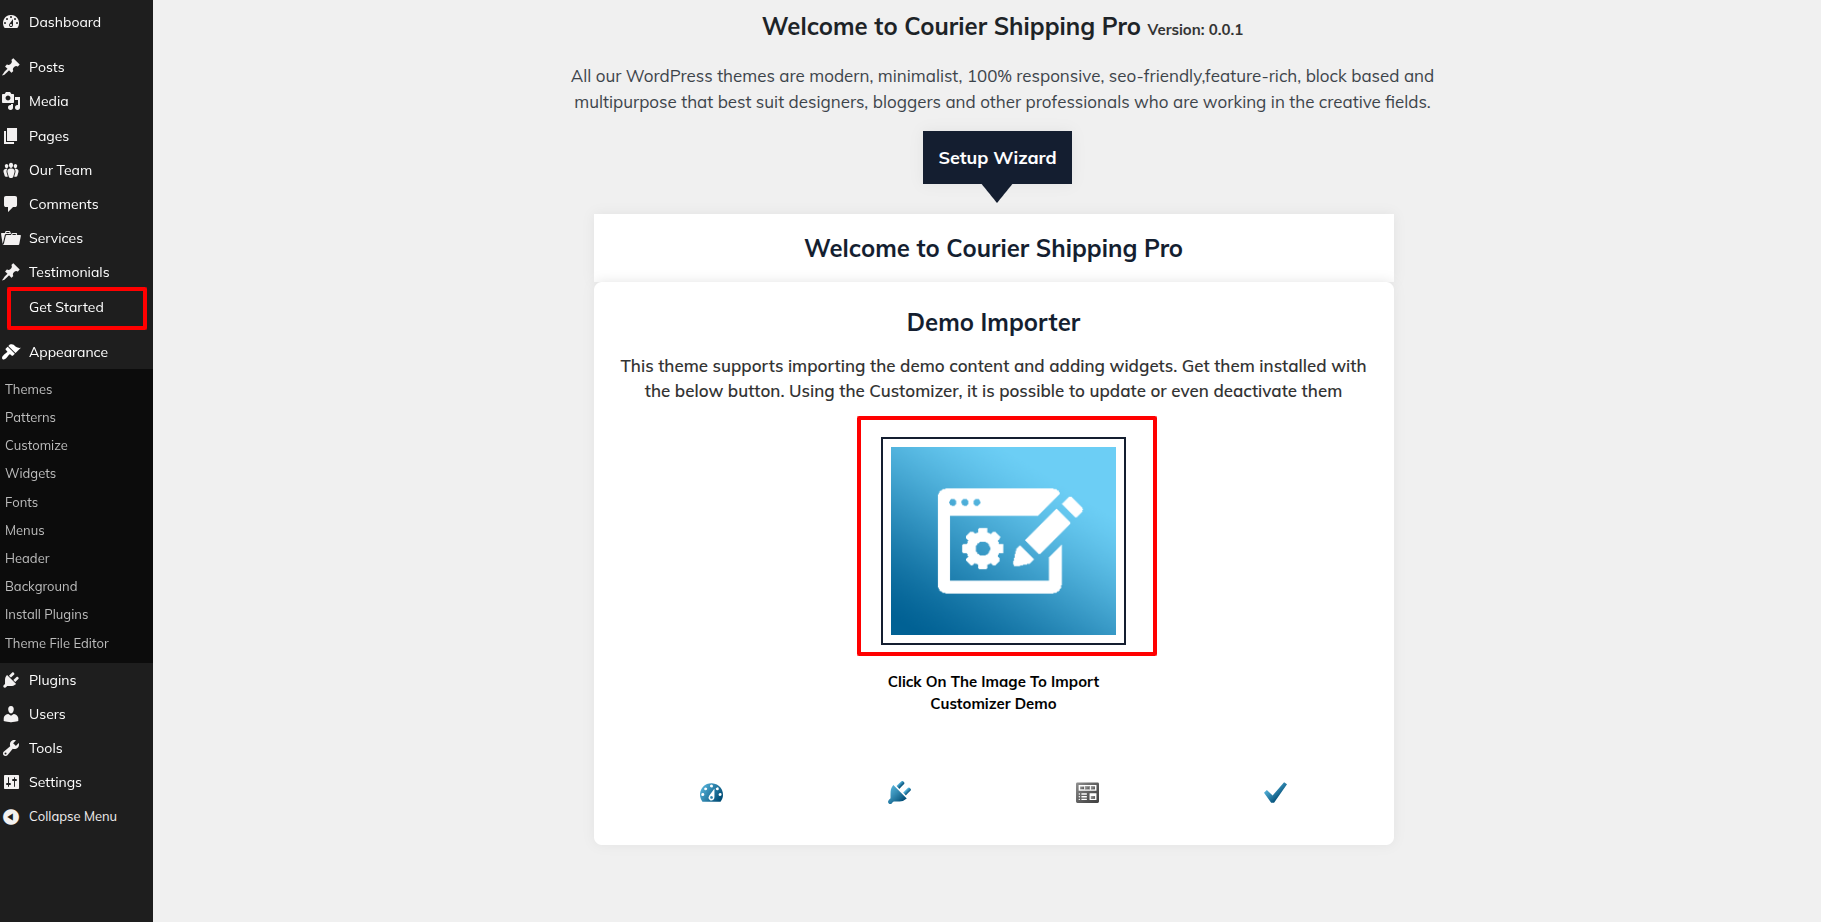
Import Your Demo
1. Import your demo content based on Customizer.
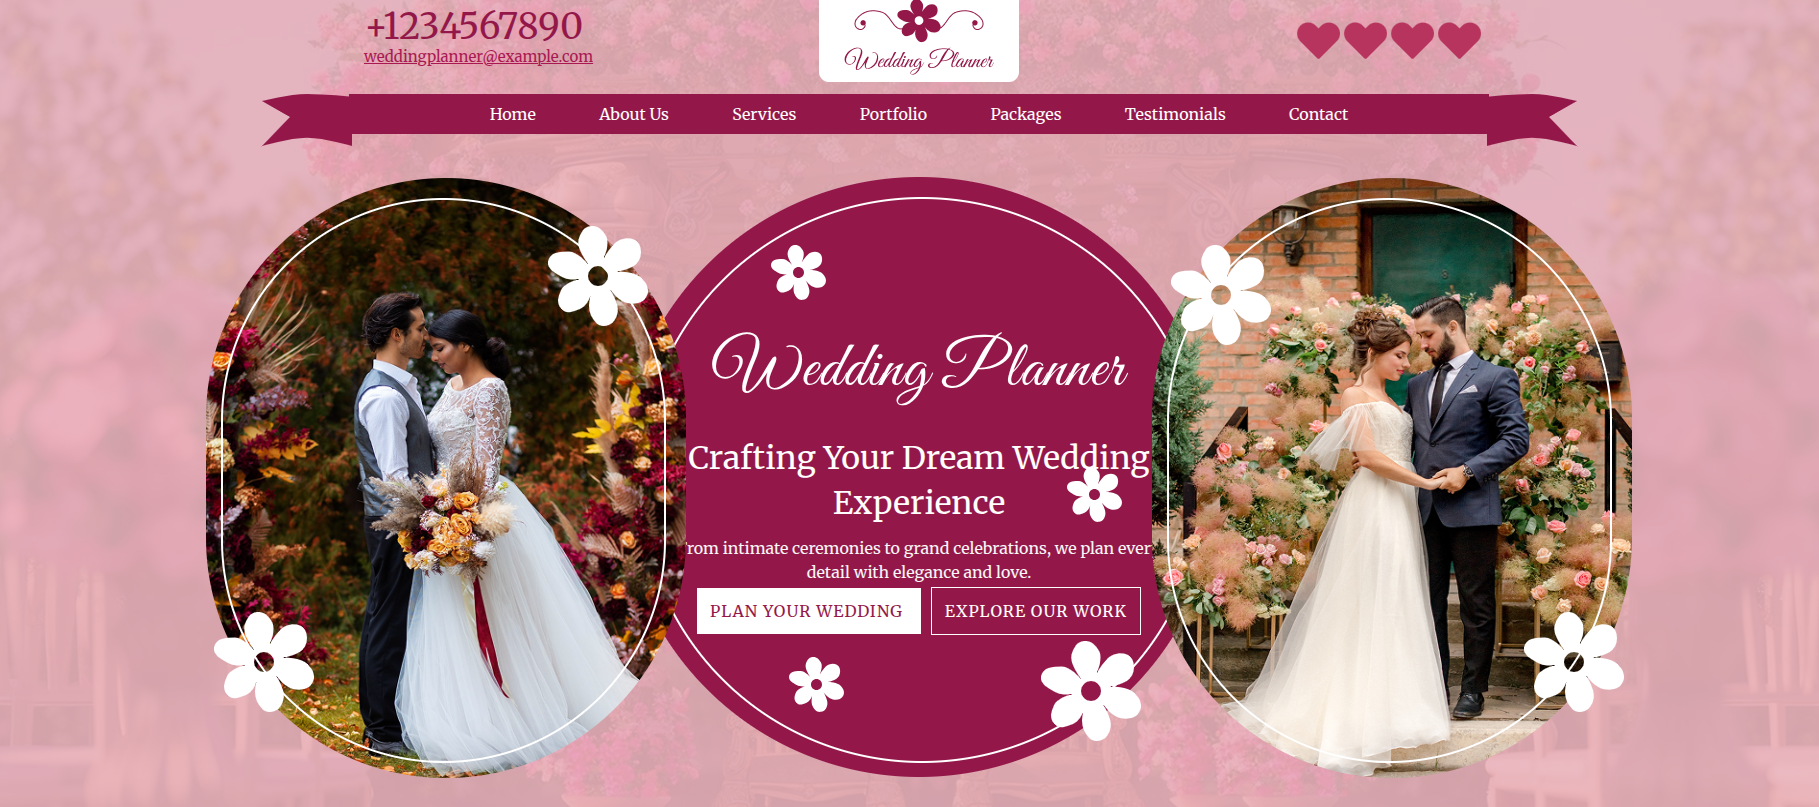
3) Final Image Of HomePage.
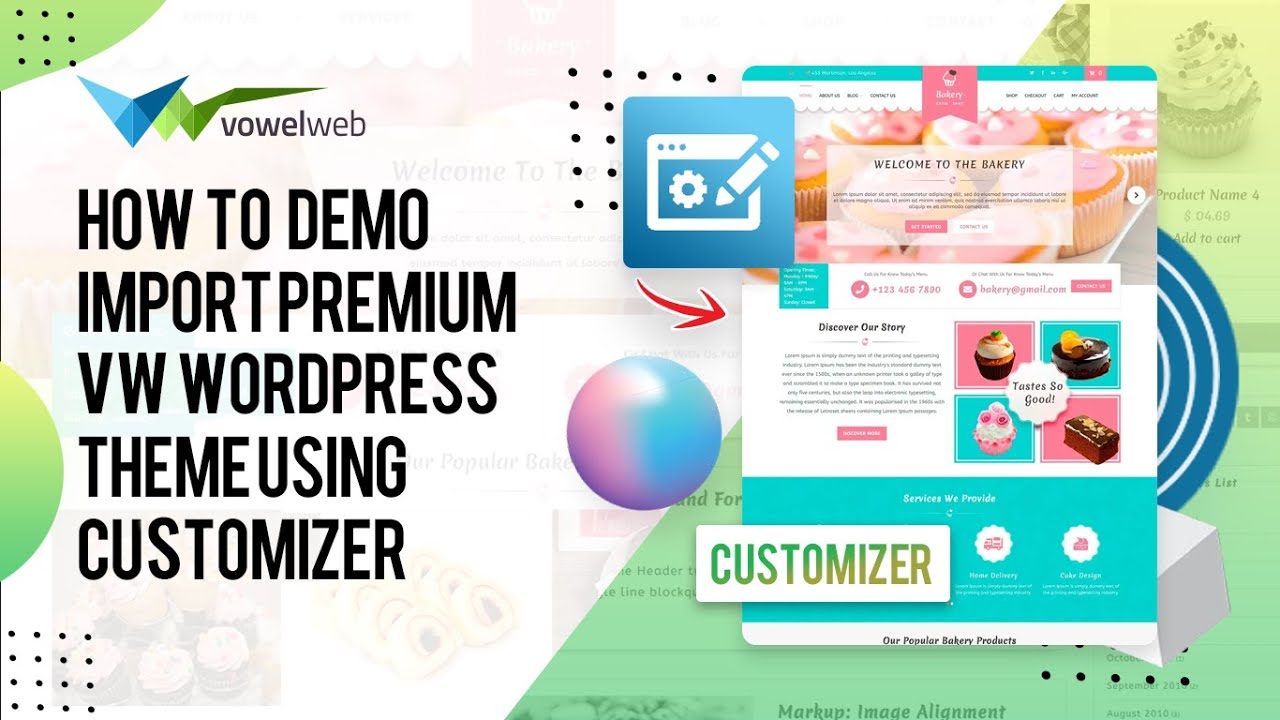
You can refer this video for Integration your demo content based on
2-Theme installation using FTP
Your second choice for installation option is to use FTP to upload the theme. To apply this approach initially use FTP to access your website, then Explore to the wp-content/themes folder to find your themes. After you unzip the theme file you obtained, all that has to be uploaded to your server is the Total folder that was extracted to.
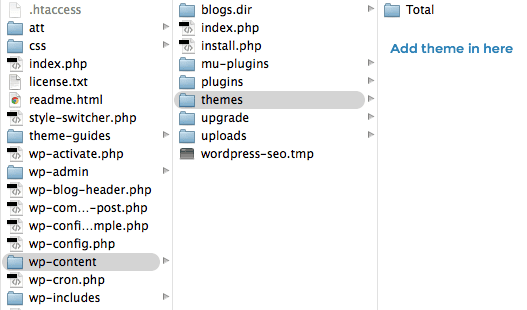
To activate Total, Access your WordPress account website and Explore to Appearance >> Themes.
Ordering by Section
How to Set Up Reordering Section
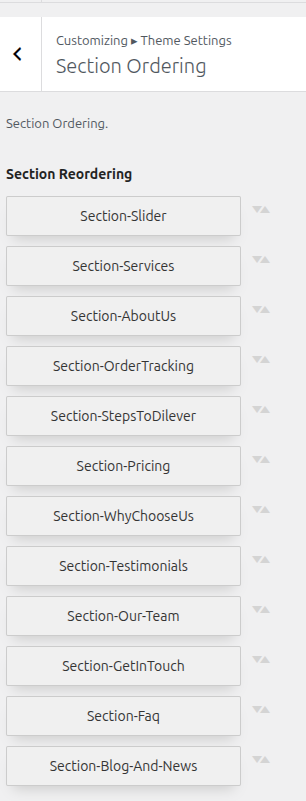
Reorganizing a part merely entails setting it up to meet our specifications. For go on to the next section, drag the segment to the top or bottom as needed. Drag any piece Your front perspective will change whether you move to the top or bottom. according to the customiser options.
All you have to do is drag and drop the options into the desired order to rearrange a section.
to start the Section Ordering process.
First Step Navigate to Dashboard >> Customize >> Theme Settings >> Section Ordering
Select "Run Importer" after selecting "Demo Content Importer."
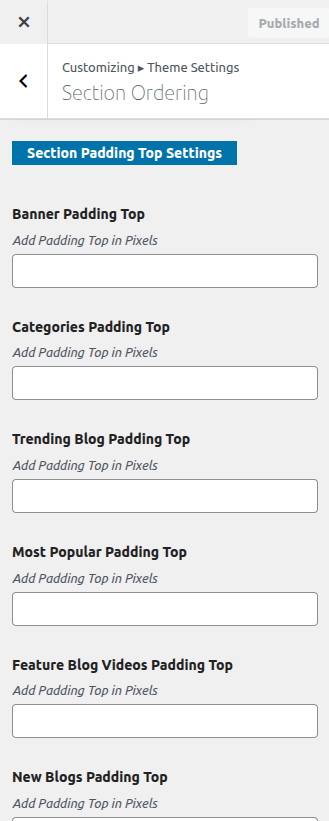
Padding Top Configurations
In order to prevent top or bottom parts from overlapping when the location for the sections is changed, you must provide padding top to those sections in either pixels or percentage form.
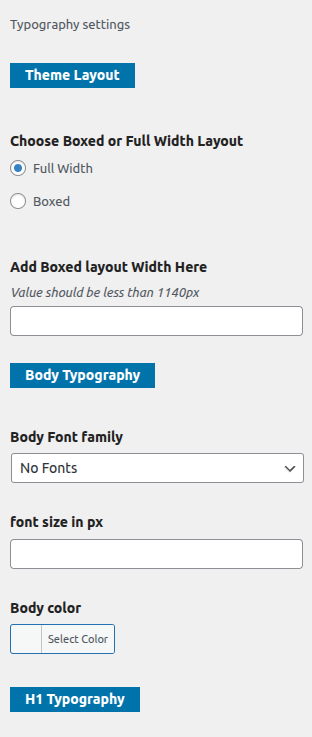
Section Color and Font Pallette
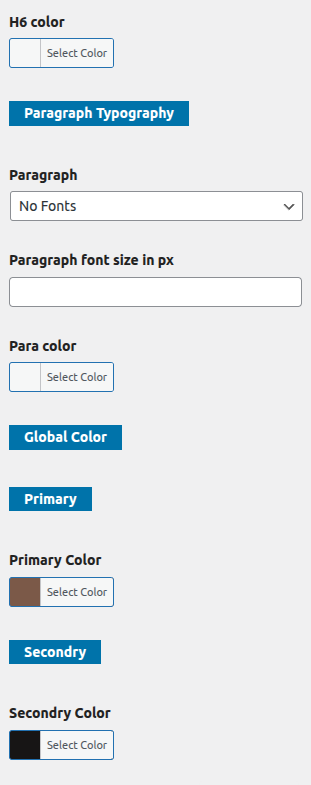
It's quite easy to change the font or color. All customizer areas have these options. It is a thorough illustration that shows the color scheme and typeface. With just a quick look or click, you may alter the font and color of the buttons, headings, and paragraphs..
Based on how many options are available in every section, you can choose The title and headers' color scheme and text, paragraphs,button backdrop and button text..
Standard Font and Color Settings
Theme Customization
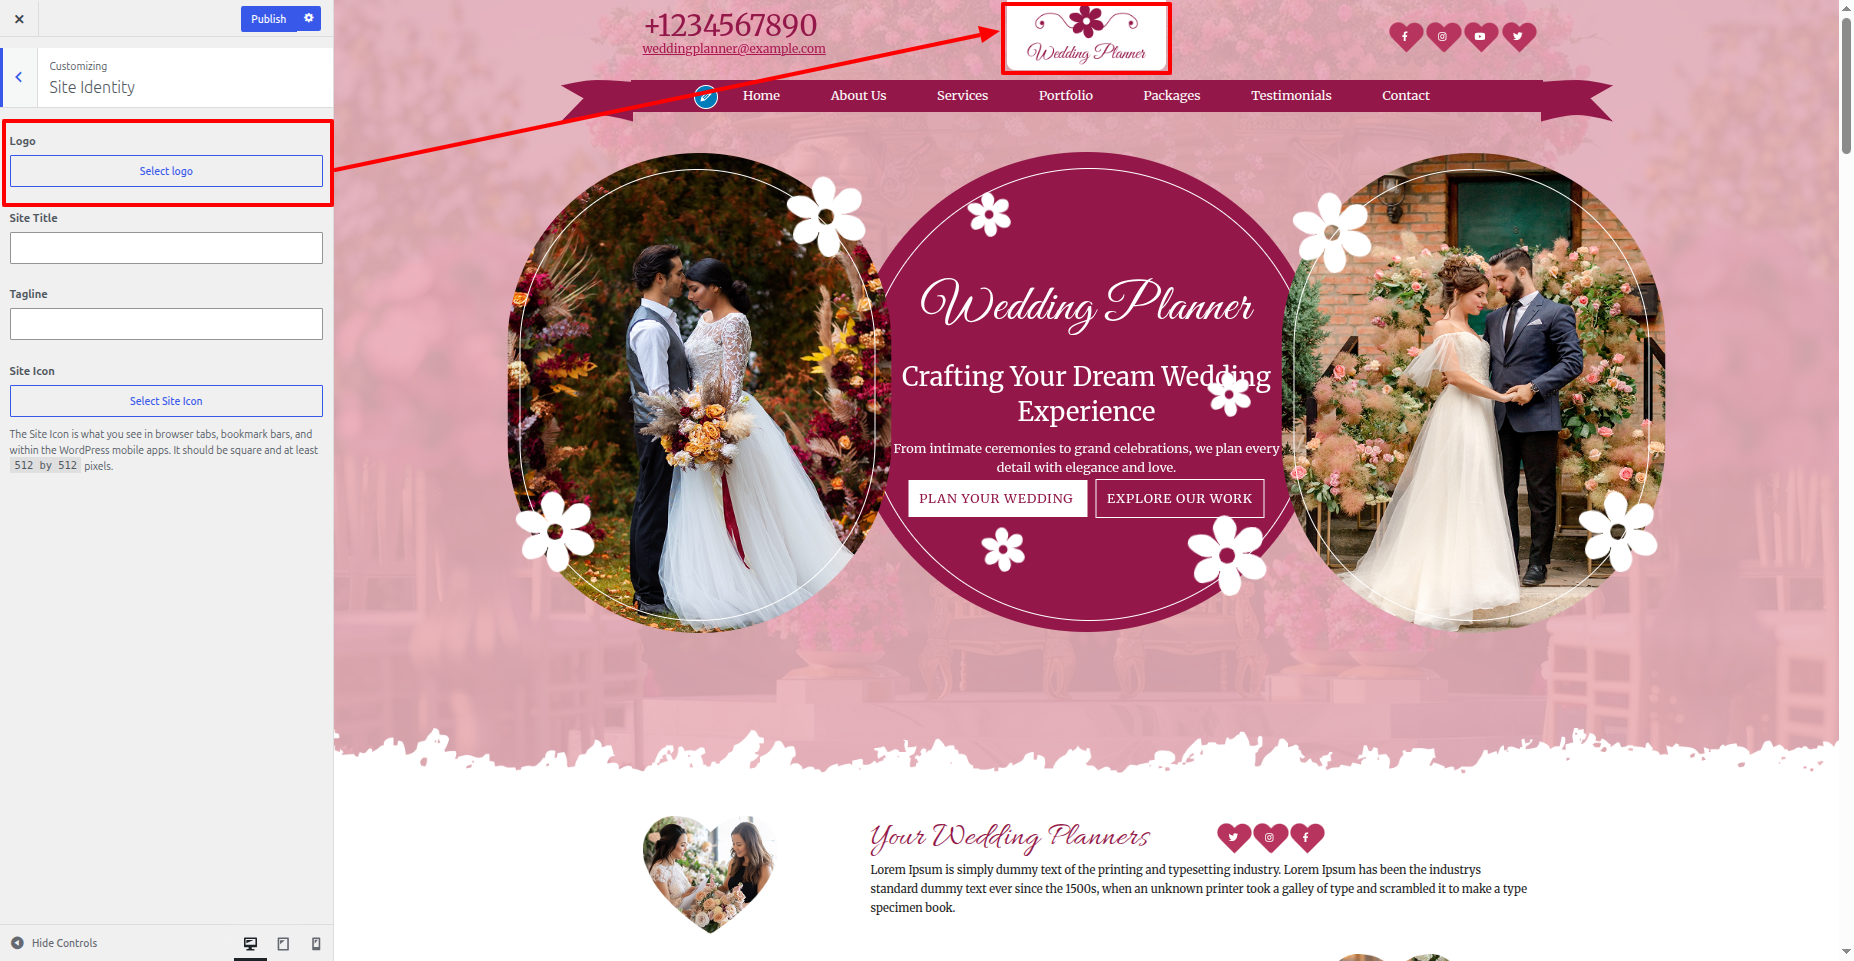
6.1 Integration Site Identity
Use the steps outlined below to set ascending the Header Section.
Explore to Appearance >> Customize >> Site Identity .
6.2 Integration Header Section
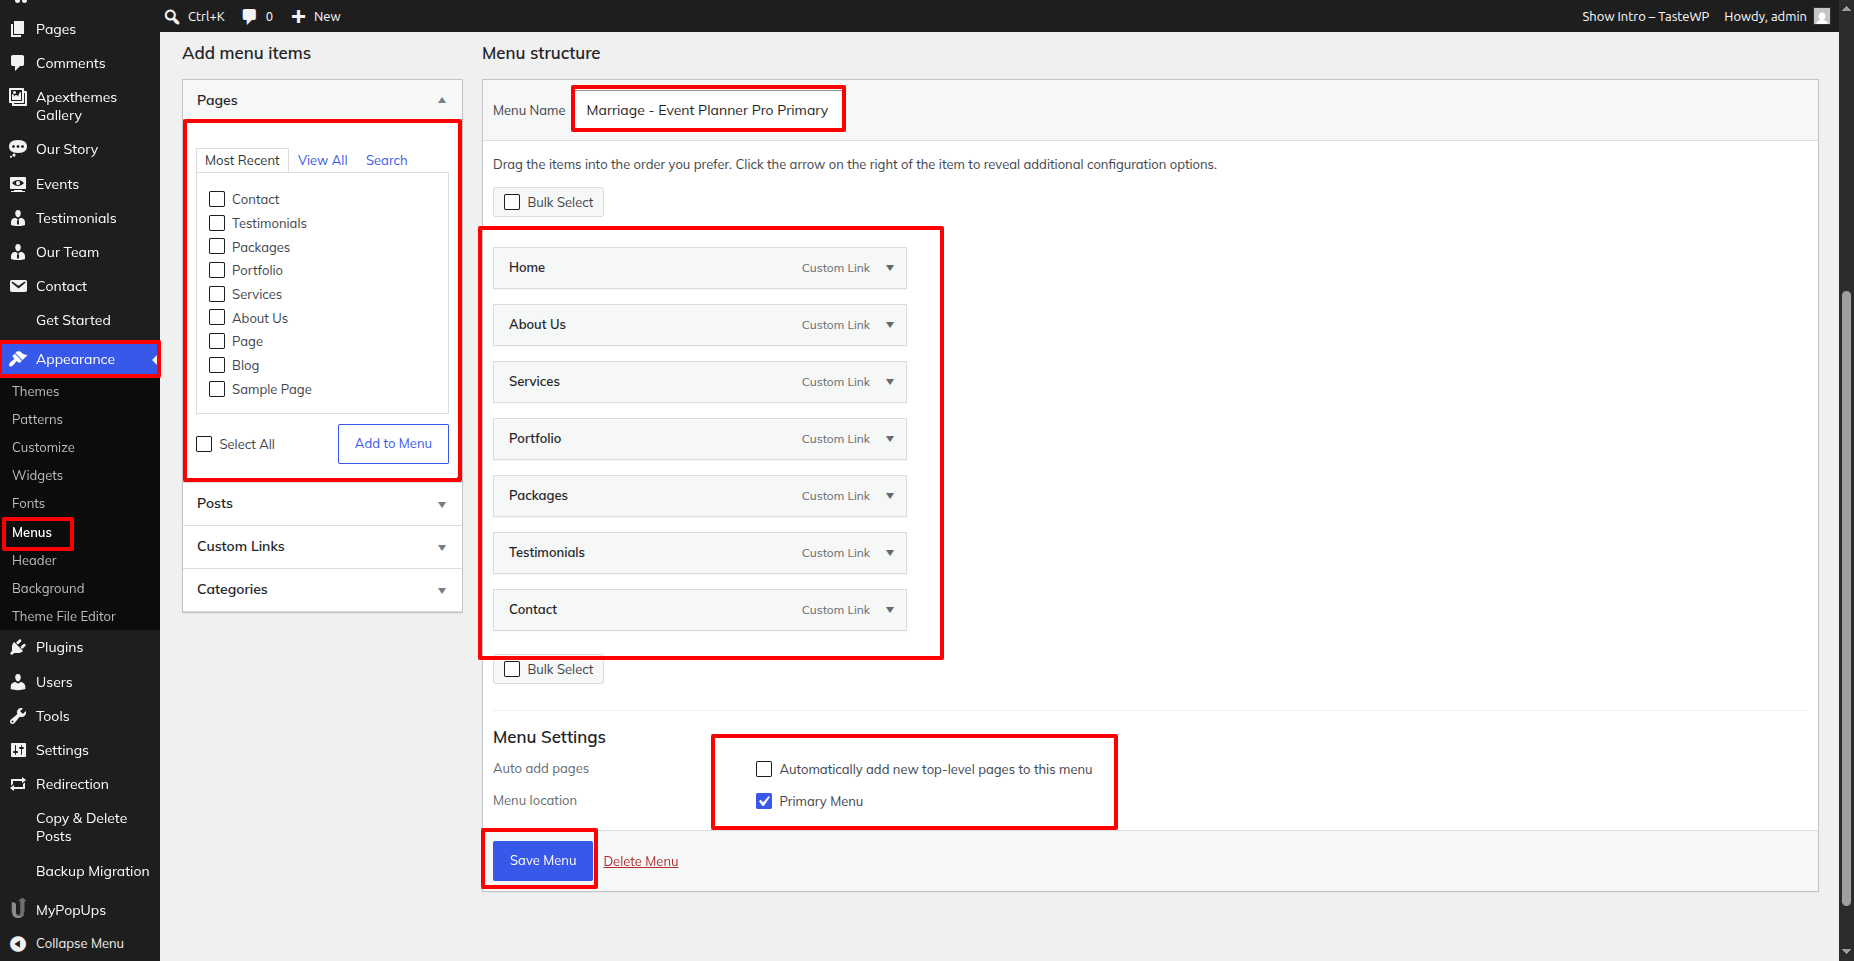
To go ahead with the Header Menus Section.
Explore to Dashboard >> appearance >> Menu
Use the steps outlined below to set ascending the Header Section.
Explore to Appearance >> Customize >> Theme Settings >> Top Bar.
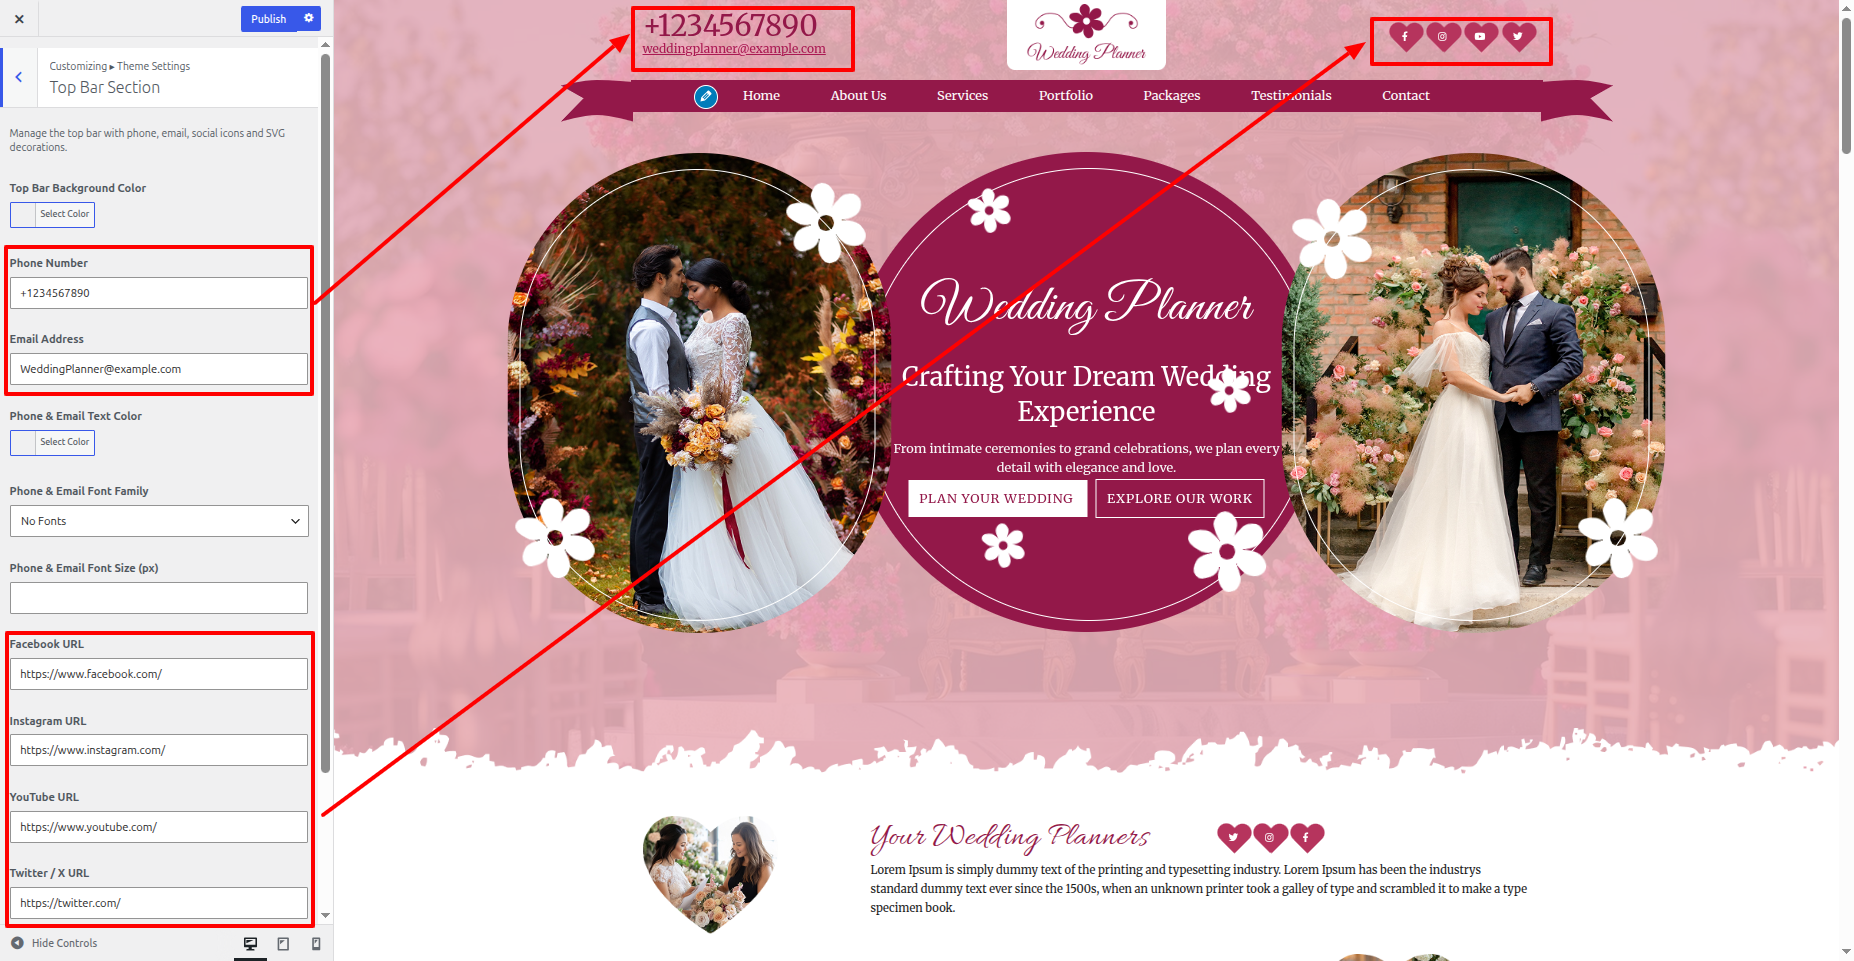
You can then include the Final header section Within this manner.

6.5 Banner Section
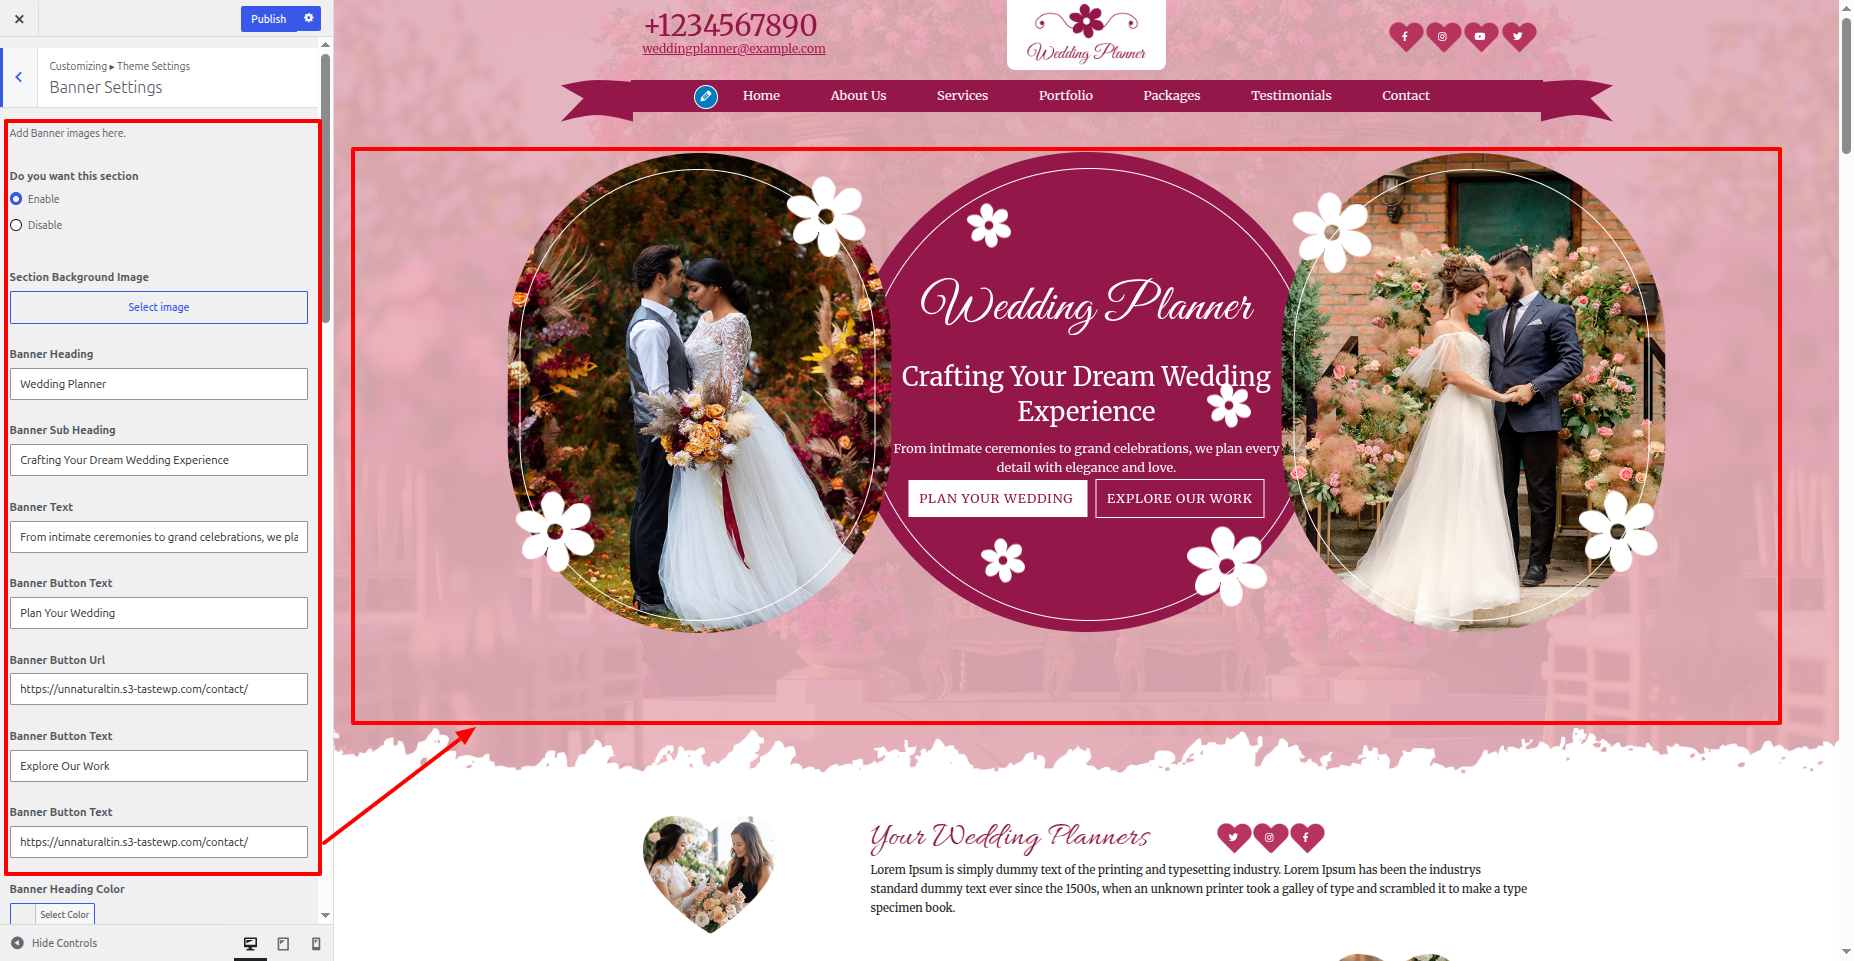
Use the steps outlined below to set ascending the Banner Section.
Explore to Appearance >> Customize >> Theme Settings >> Banner Section
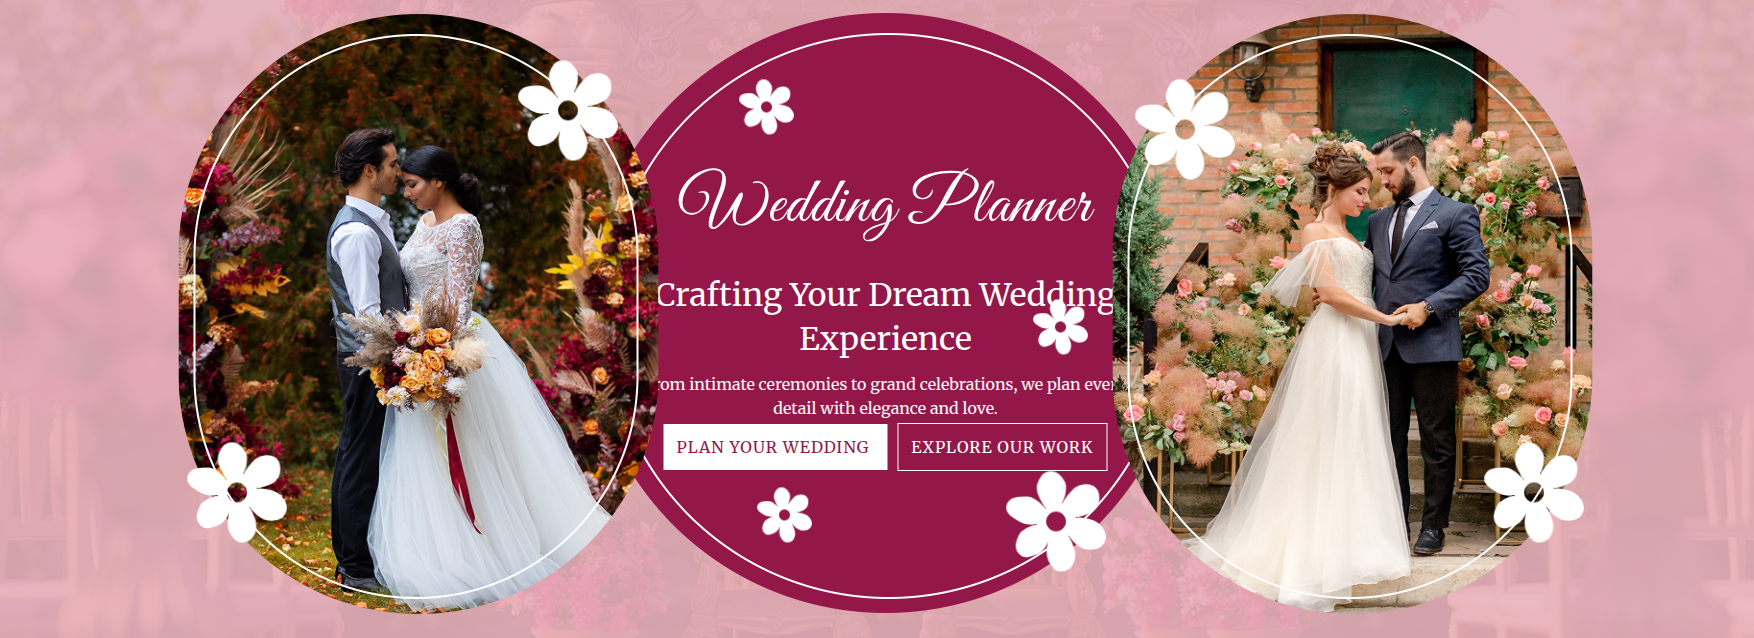
You can then include the Final Banner Section Within this manner.
6.6 About Section
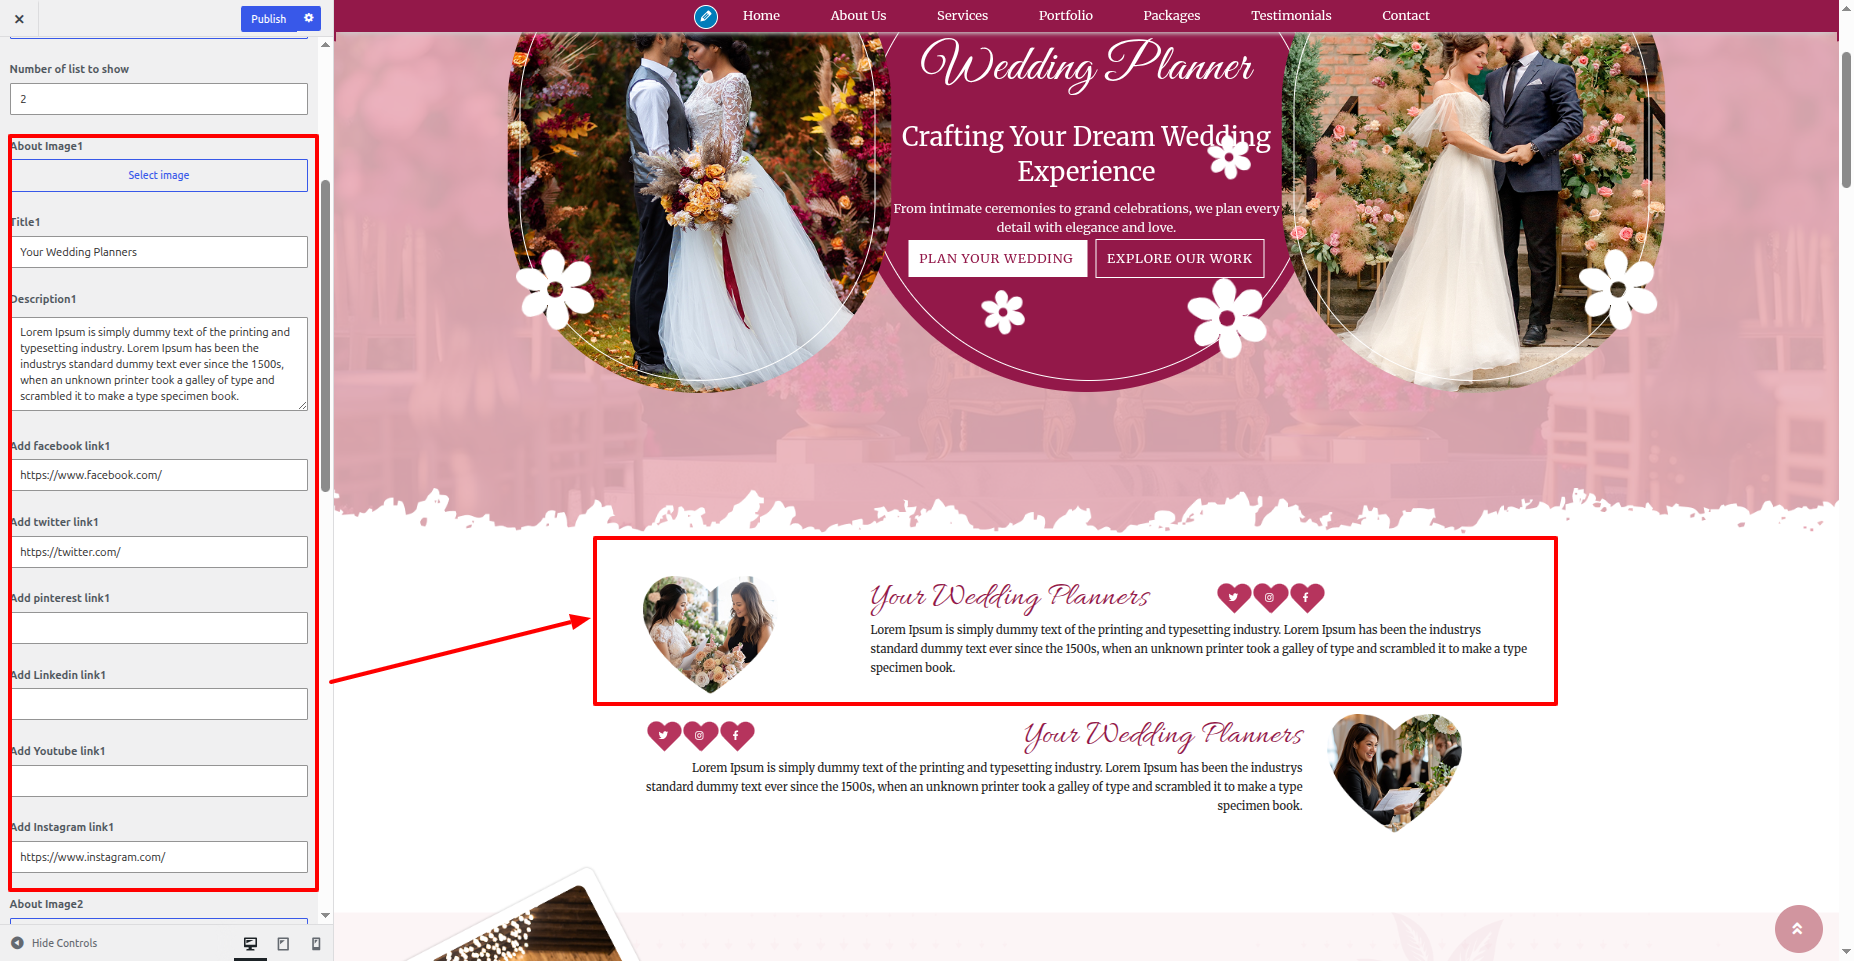
Explore to Appearance >> Customize >> Theme Settings >> About Section
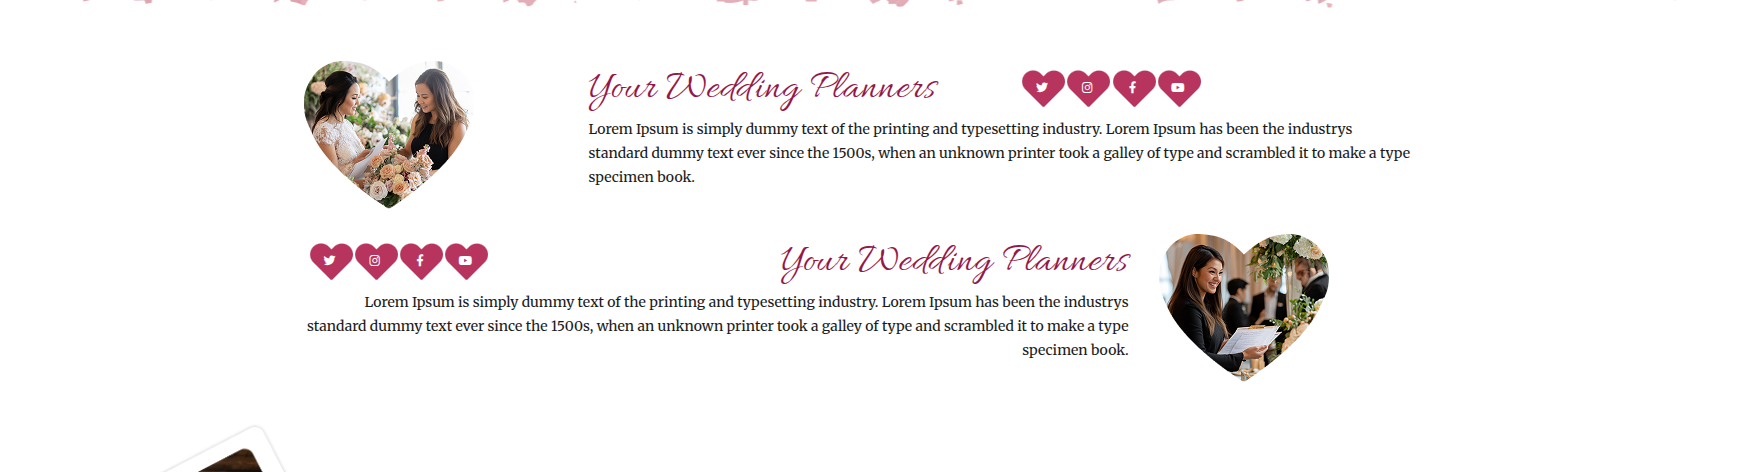
You can configure the Final About Section In such a way.
6.7 Our Story Section
Explore to Dashboard >> Our Story >> Add New Posts
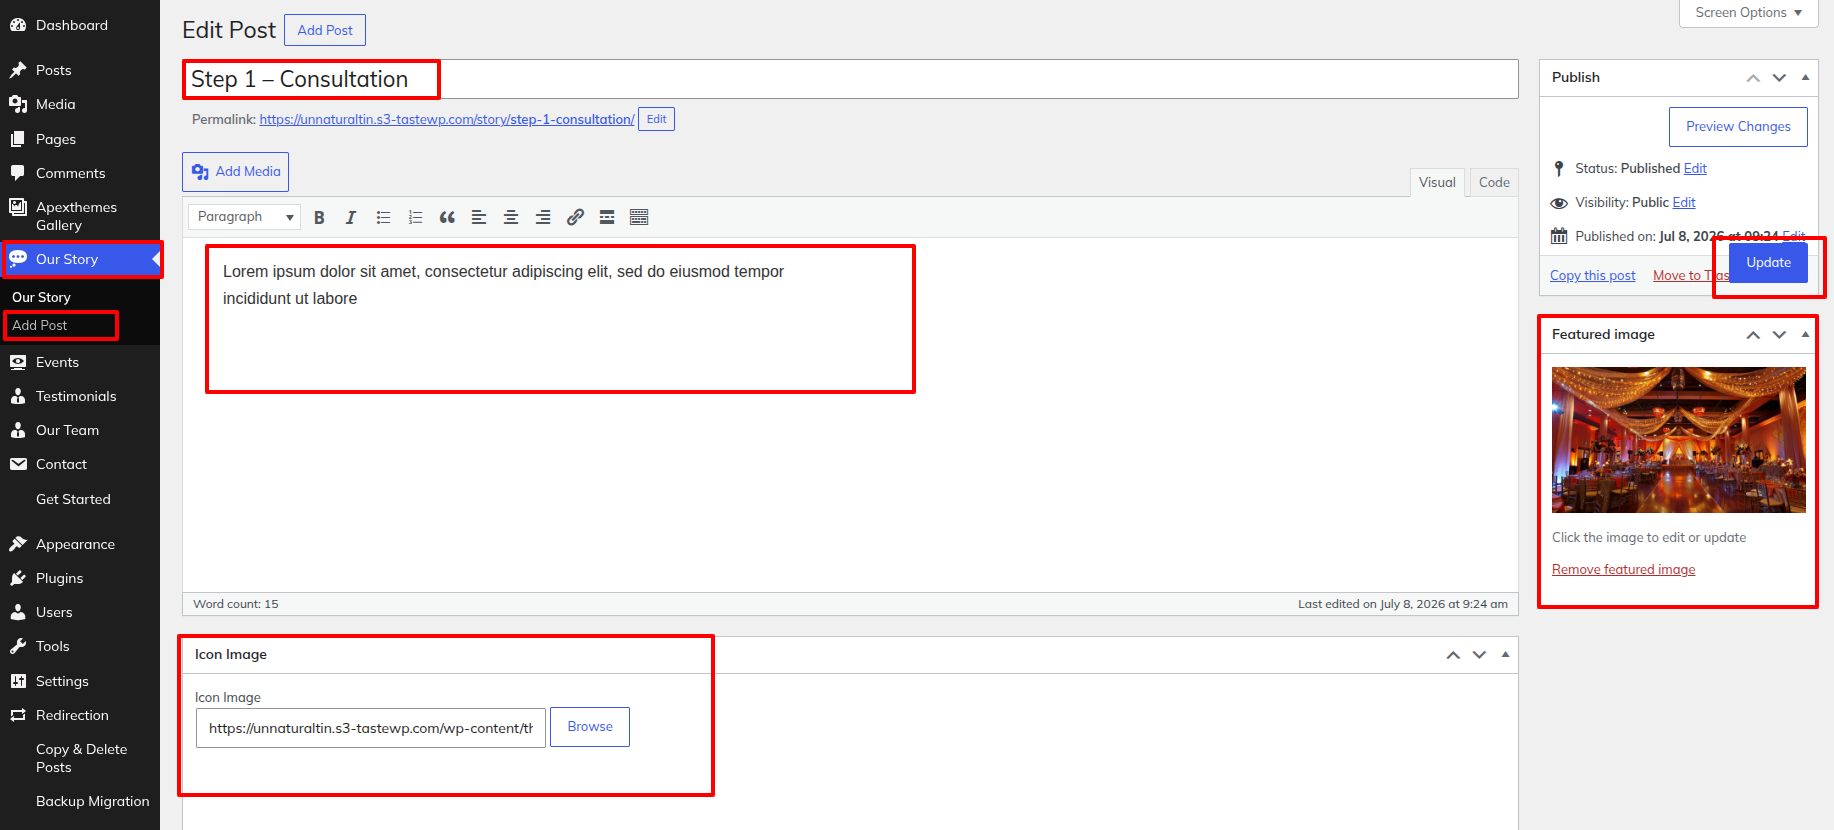
To go ahead with the Our Story Section.
Explore to Appearance >> Customize >> Theme Setting >> Our Story Section
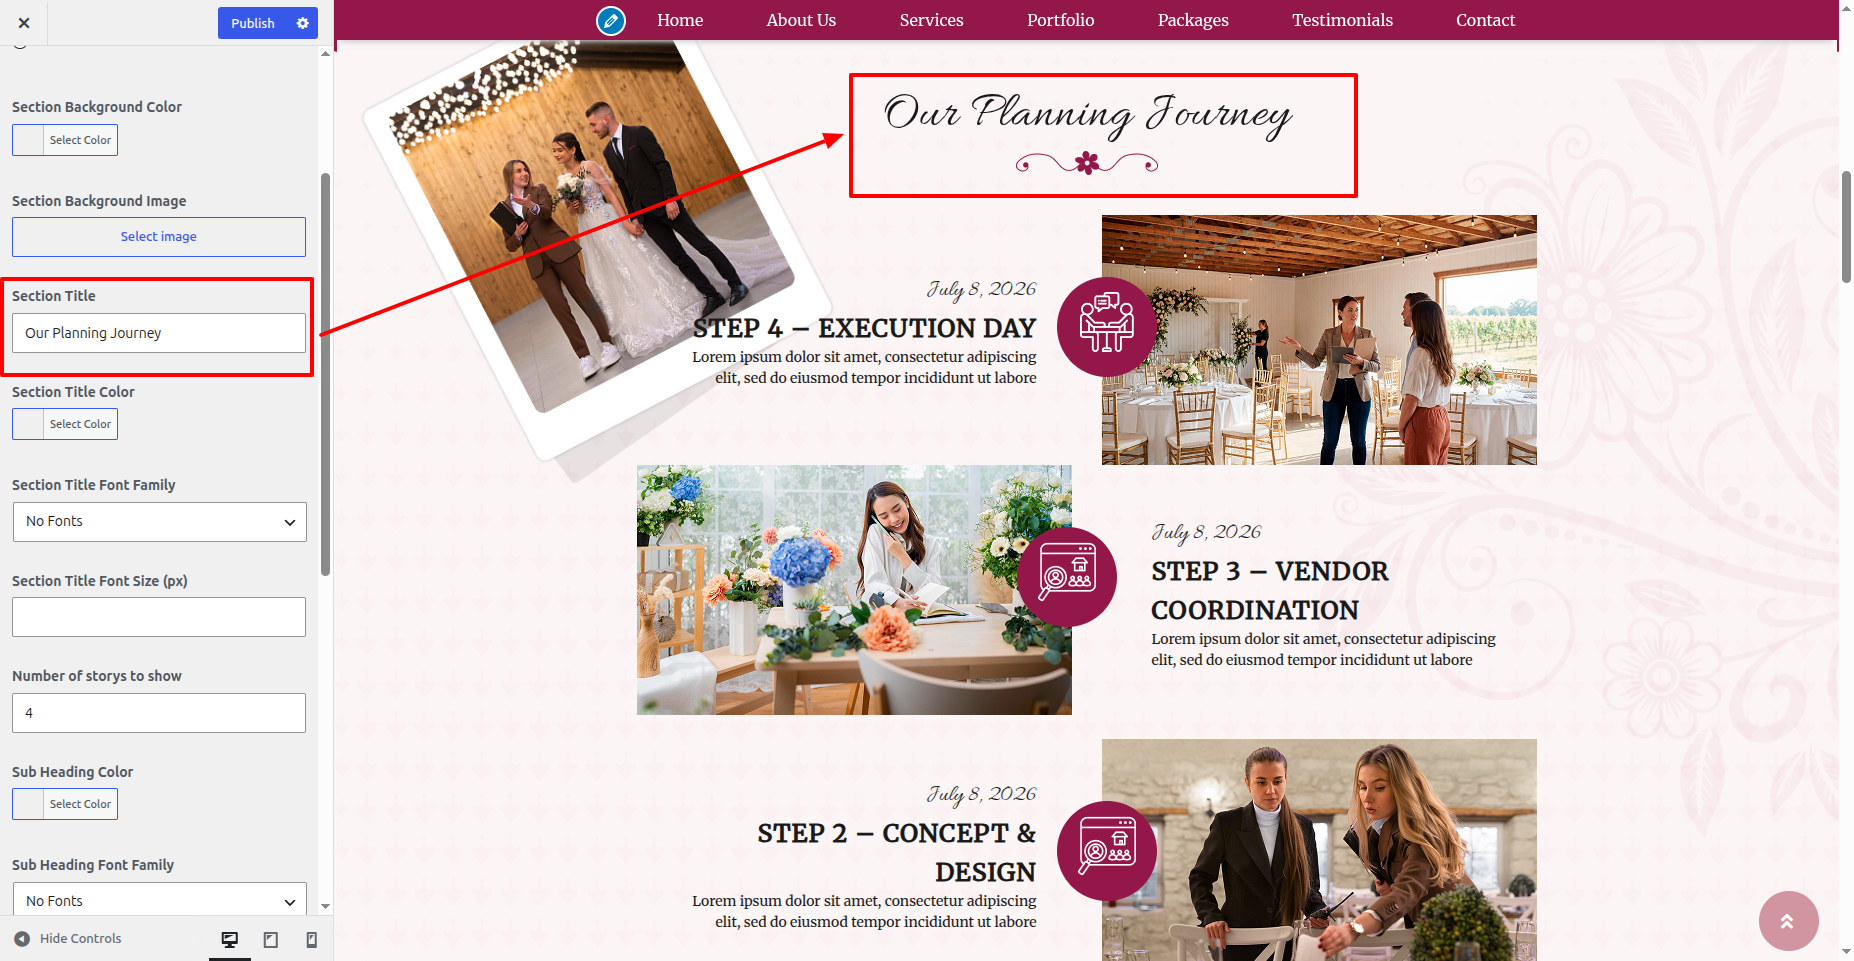
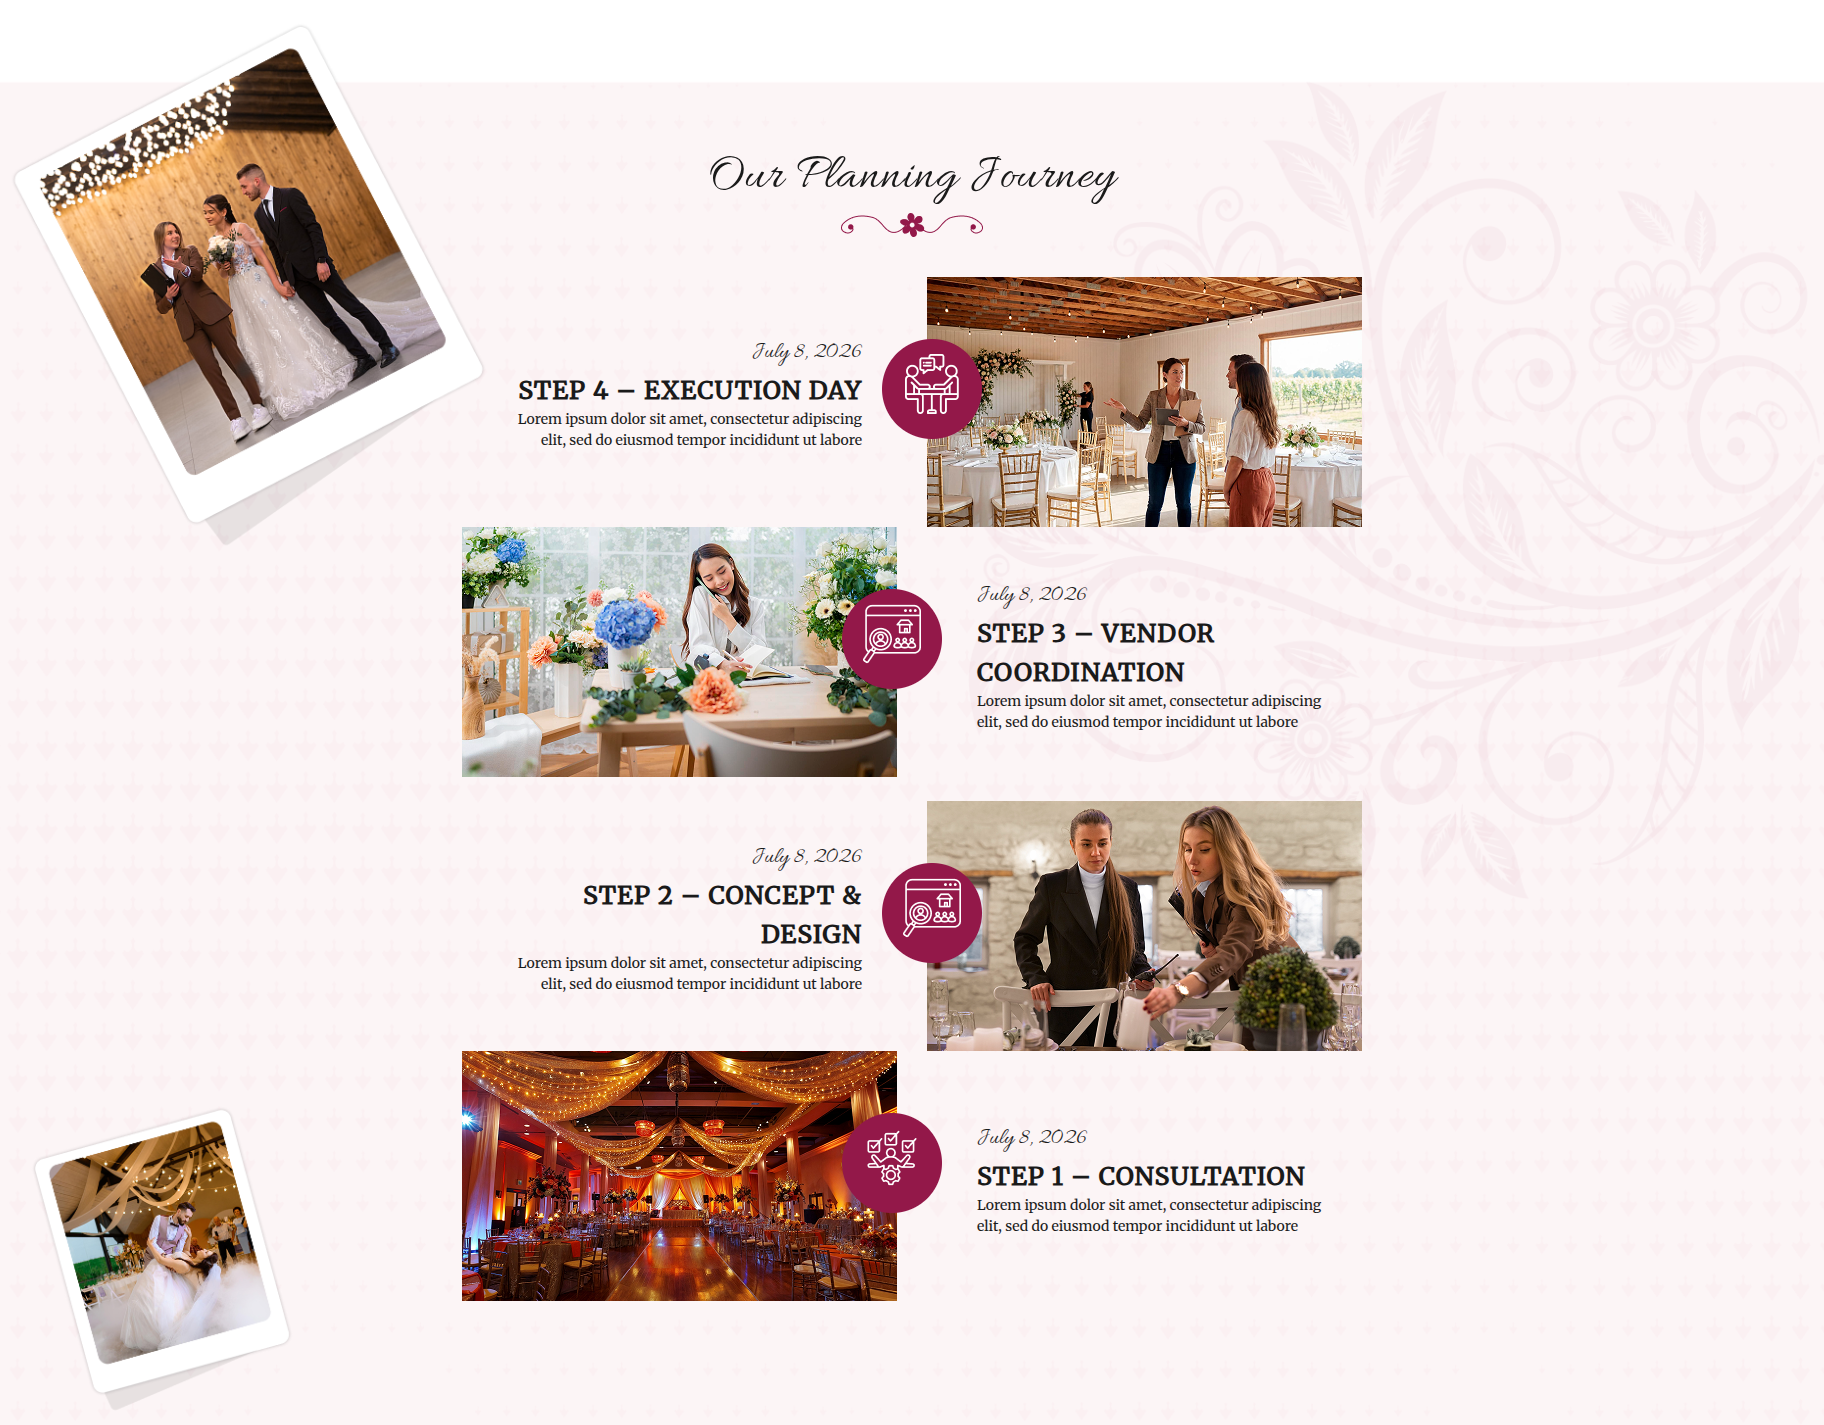
This is final image of Our Story Section
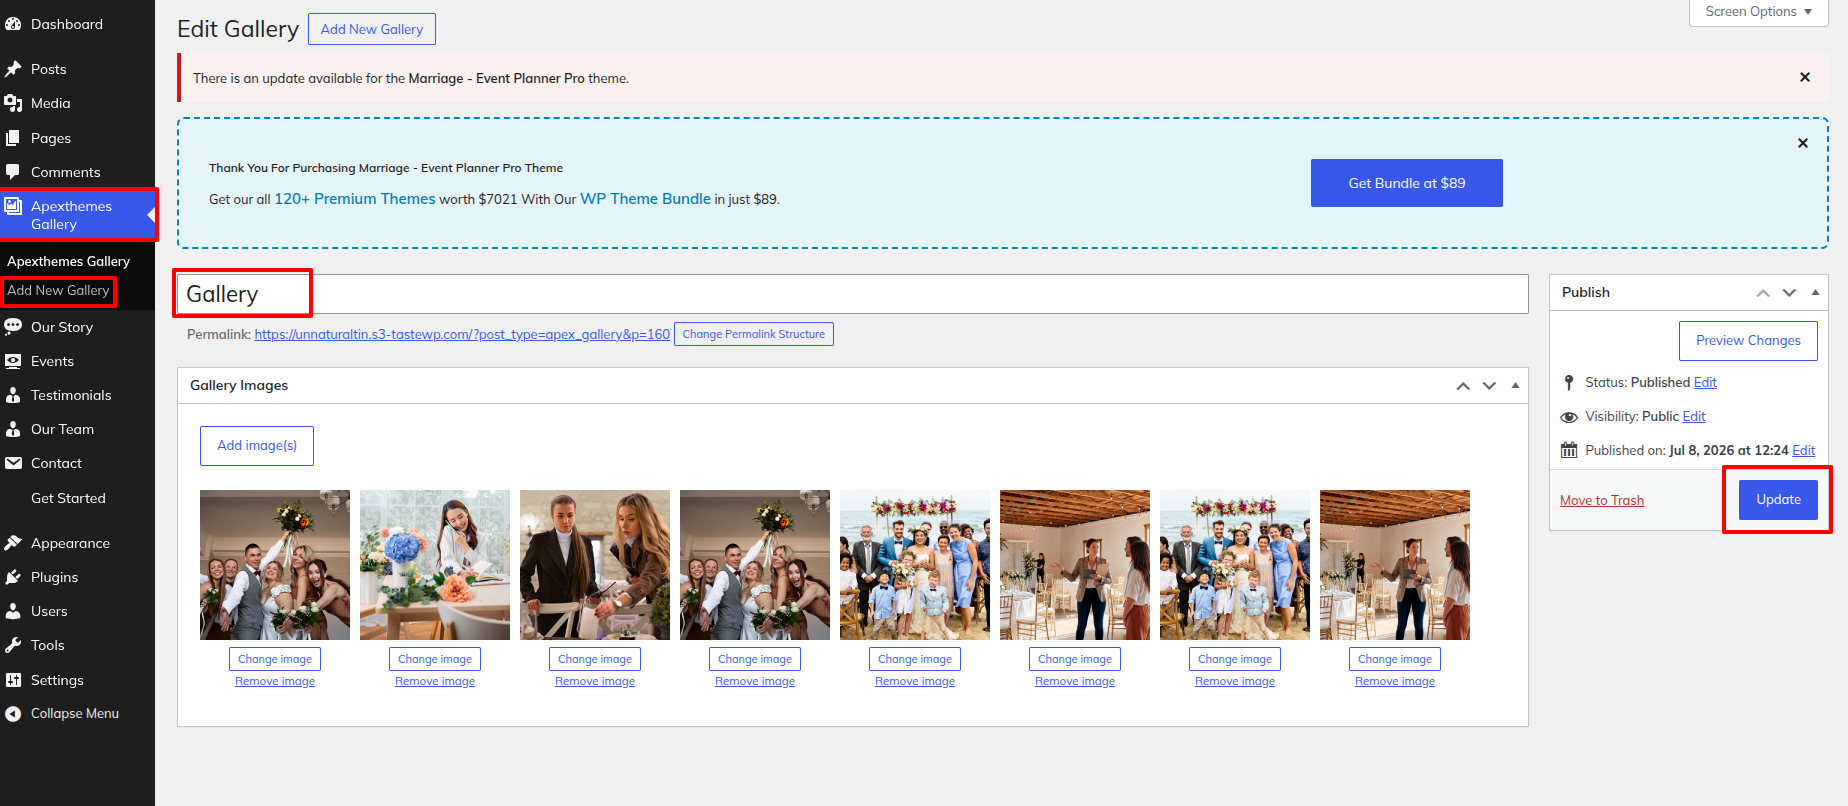
6.8 Gallery Section
To go ahead with the Gallery Section.
Explore to Dashboard >> Gallery >> Add New Posts
Explore to Appearance >> Customize >> Theme Settings >> Gallery Section
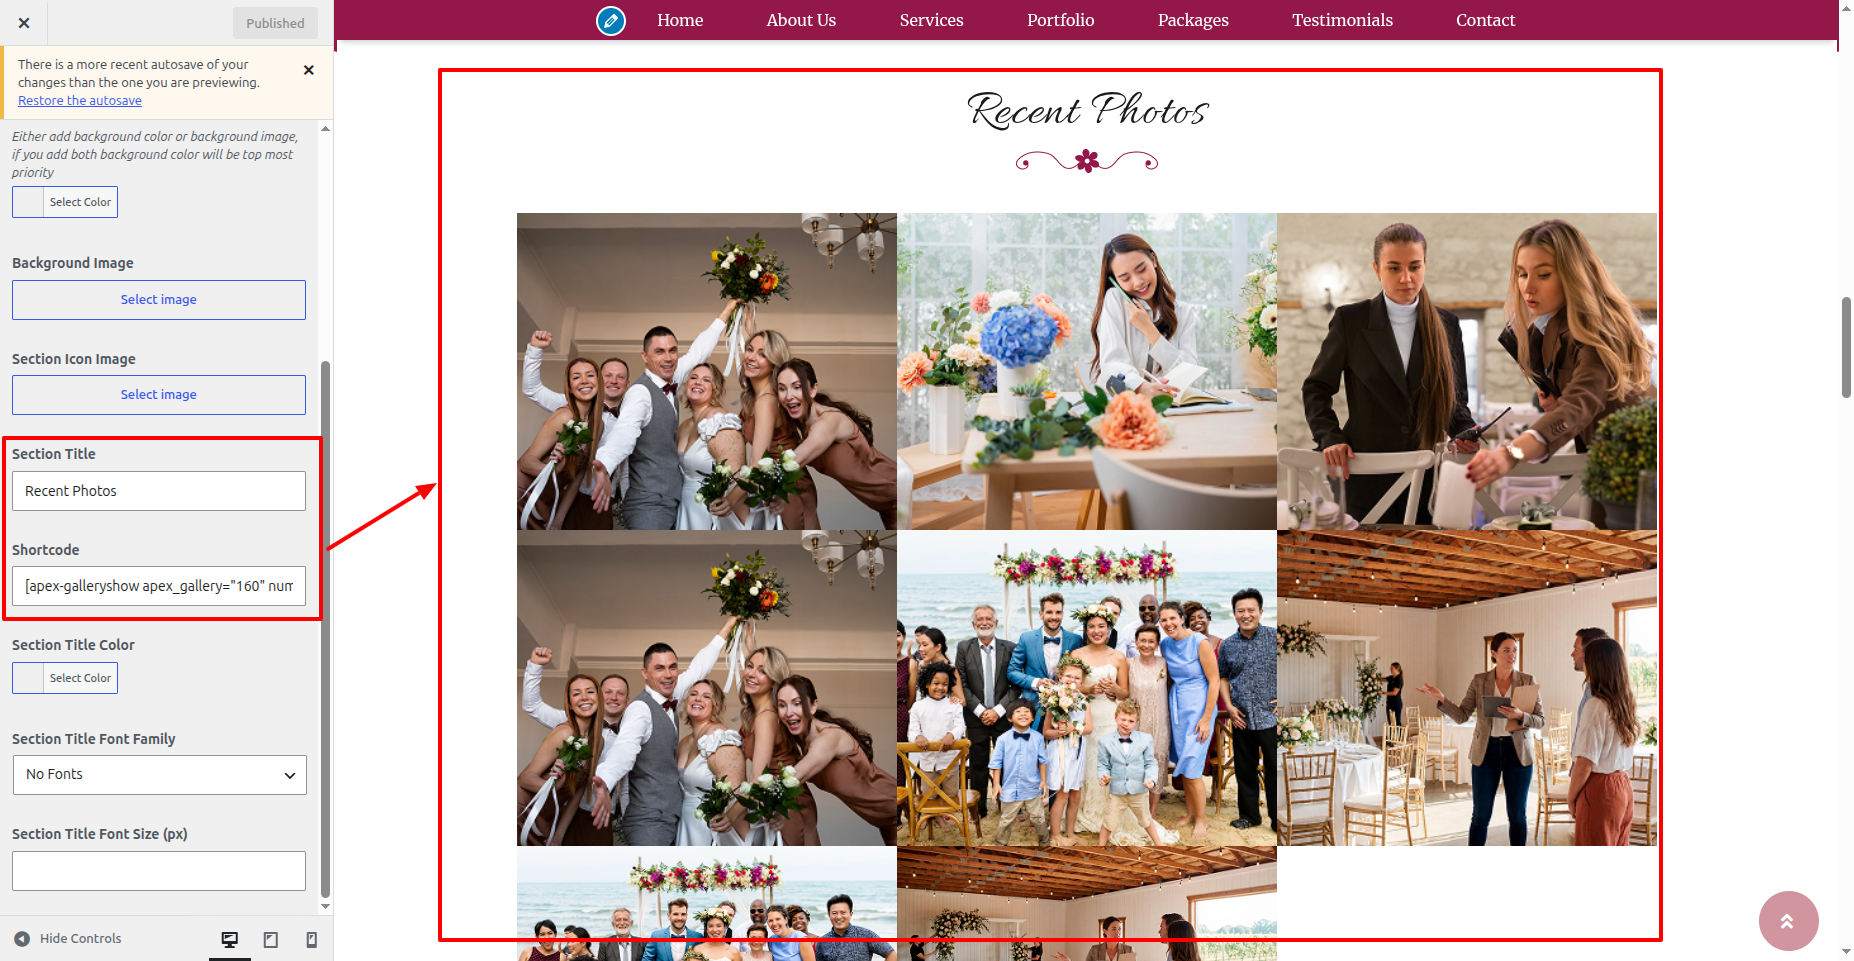
This is final image of Gallery Section
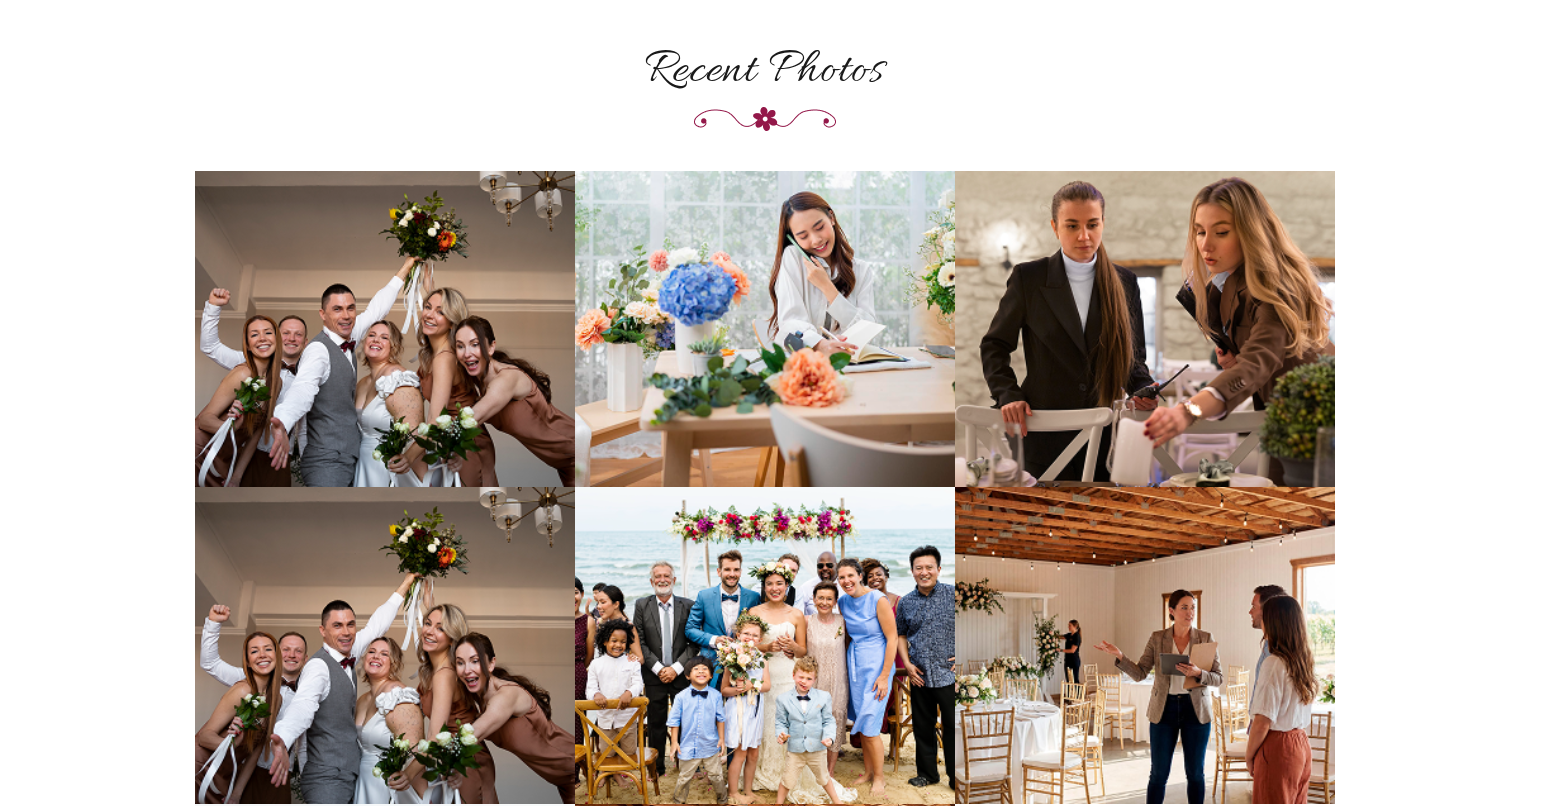
6.9 Video Section
To go ahead with the Video Section.
Explore to Appearance >> Customize >> Theme Settings >> Video Section
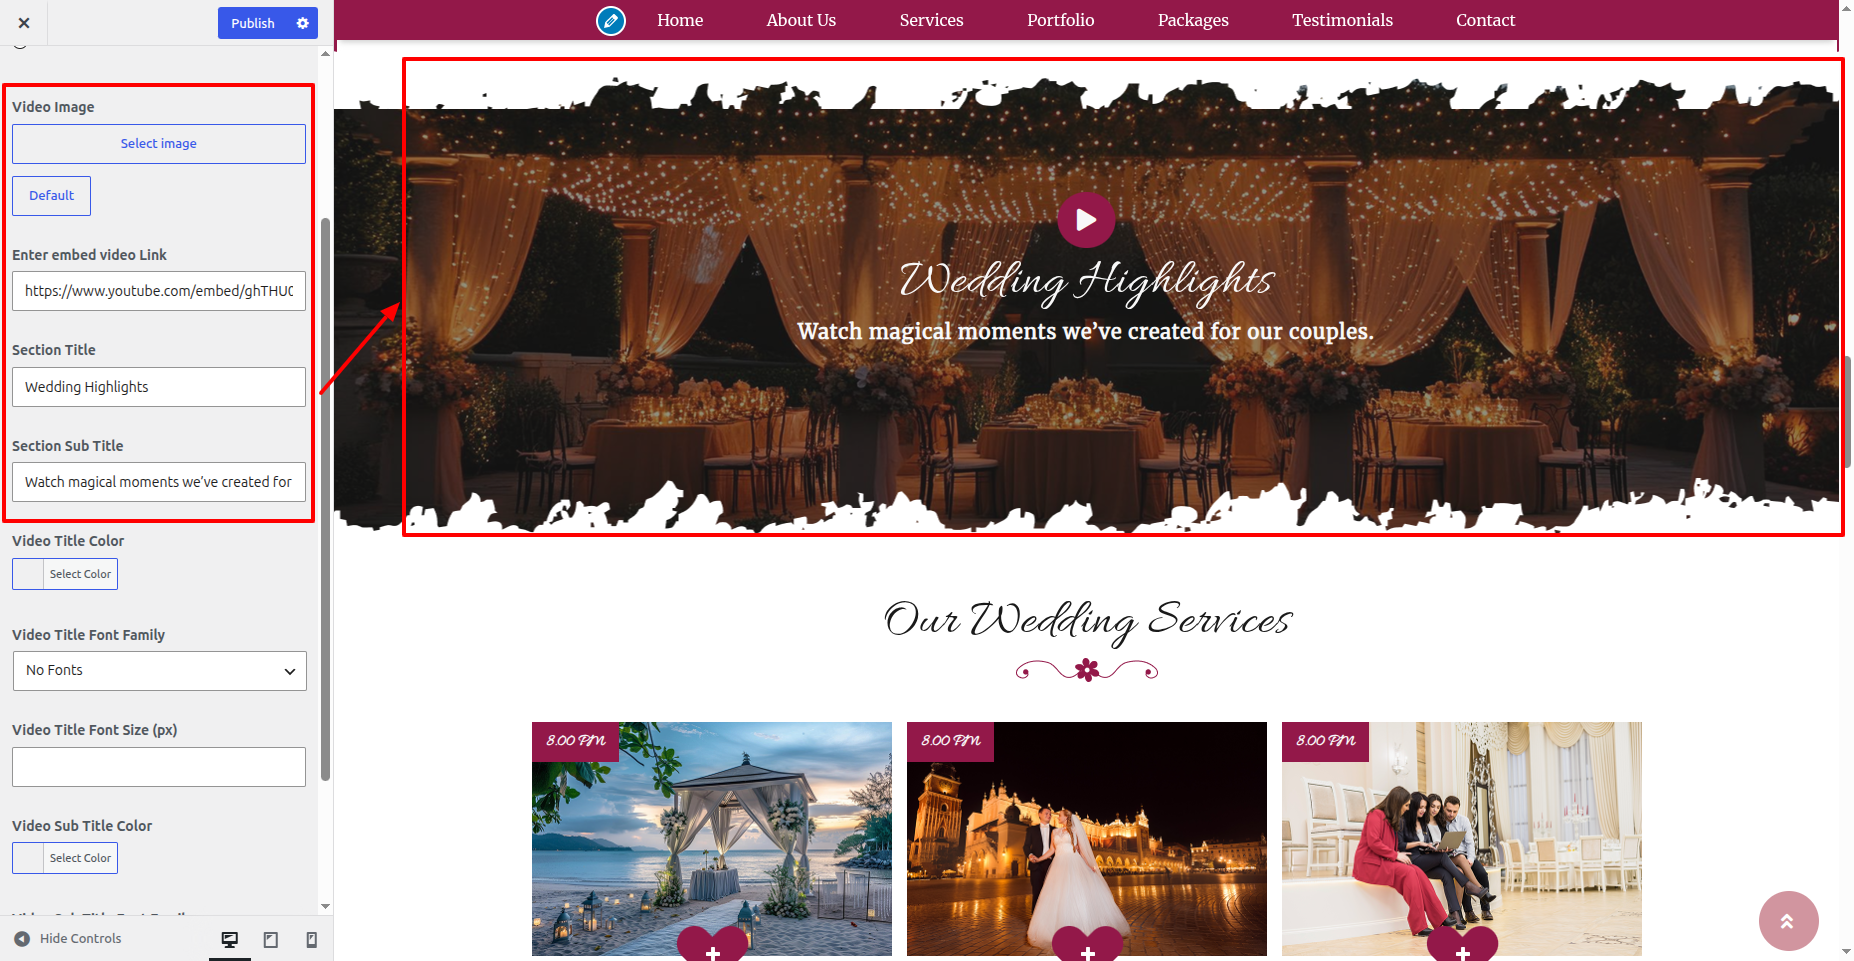
This is final image of Video Section
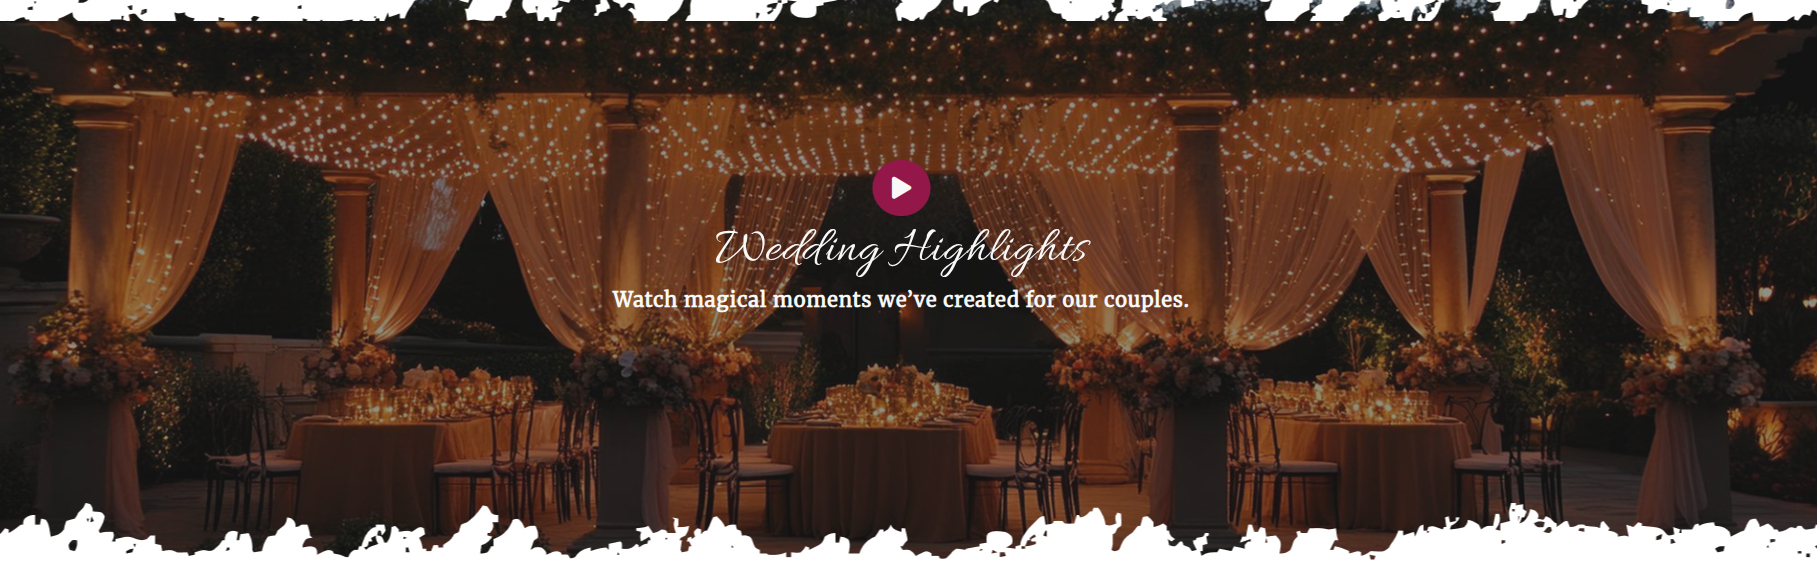
6.10 Events Section
Explore to Dashboard >> Events >> Add New Posts
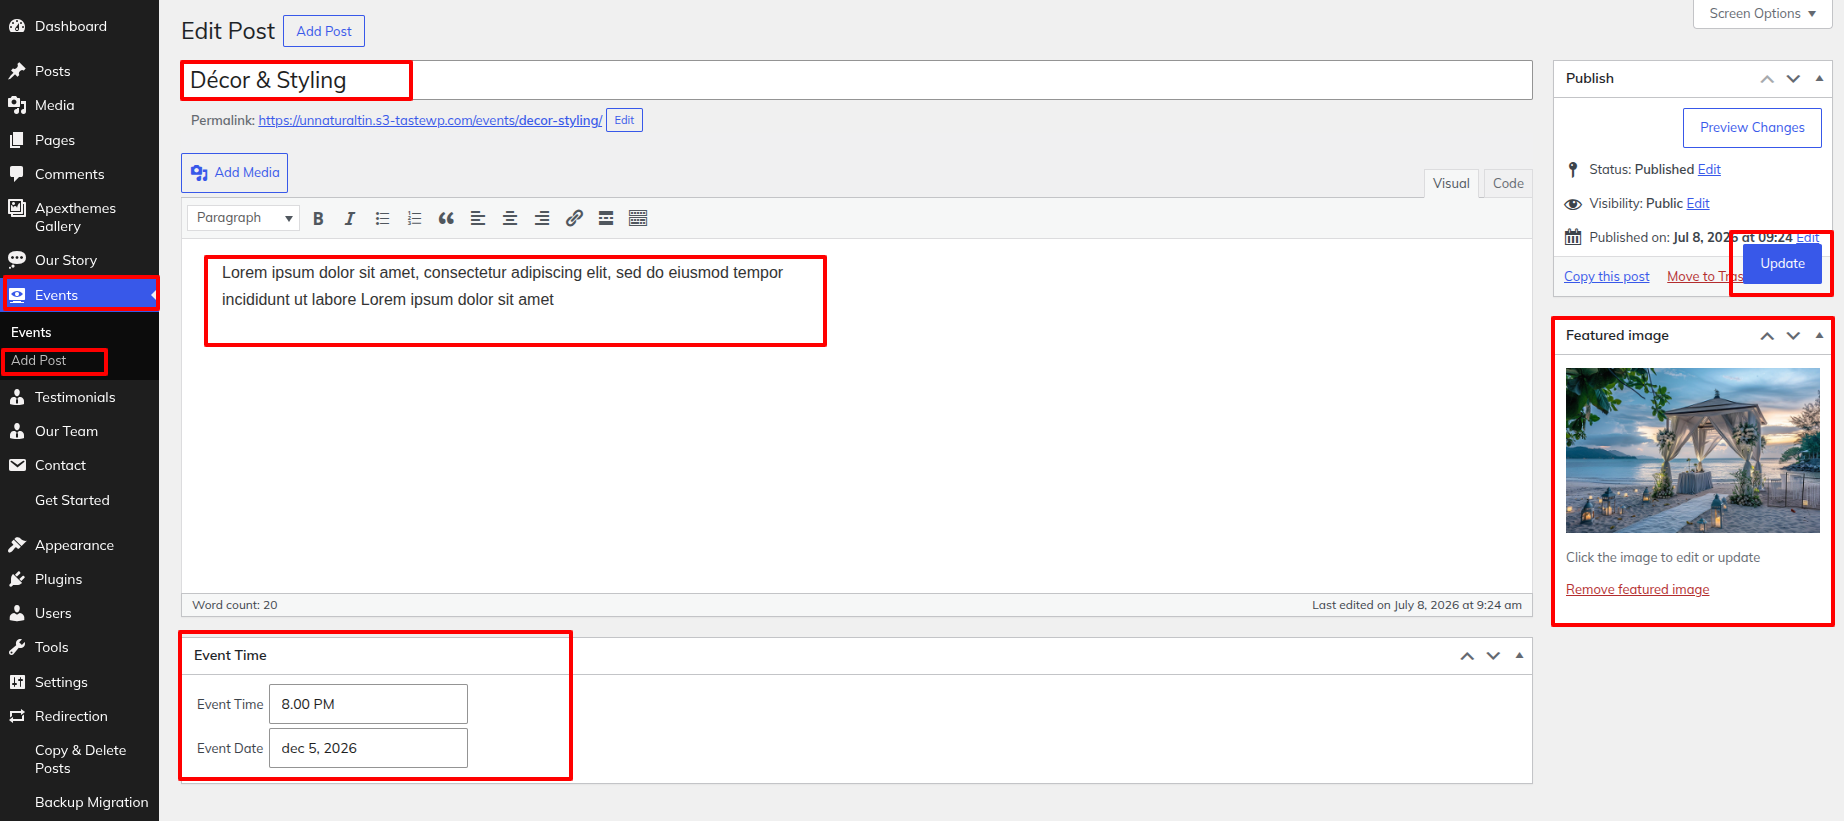
To go ahead with the Events Section.
Explore to Appearance >> Customize >> Theme Setting >> Events Section
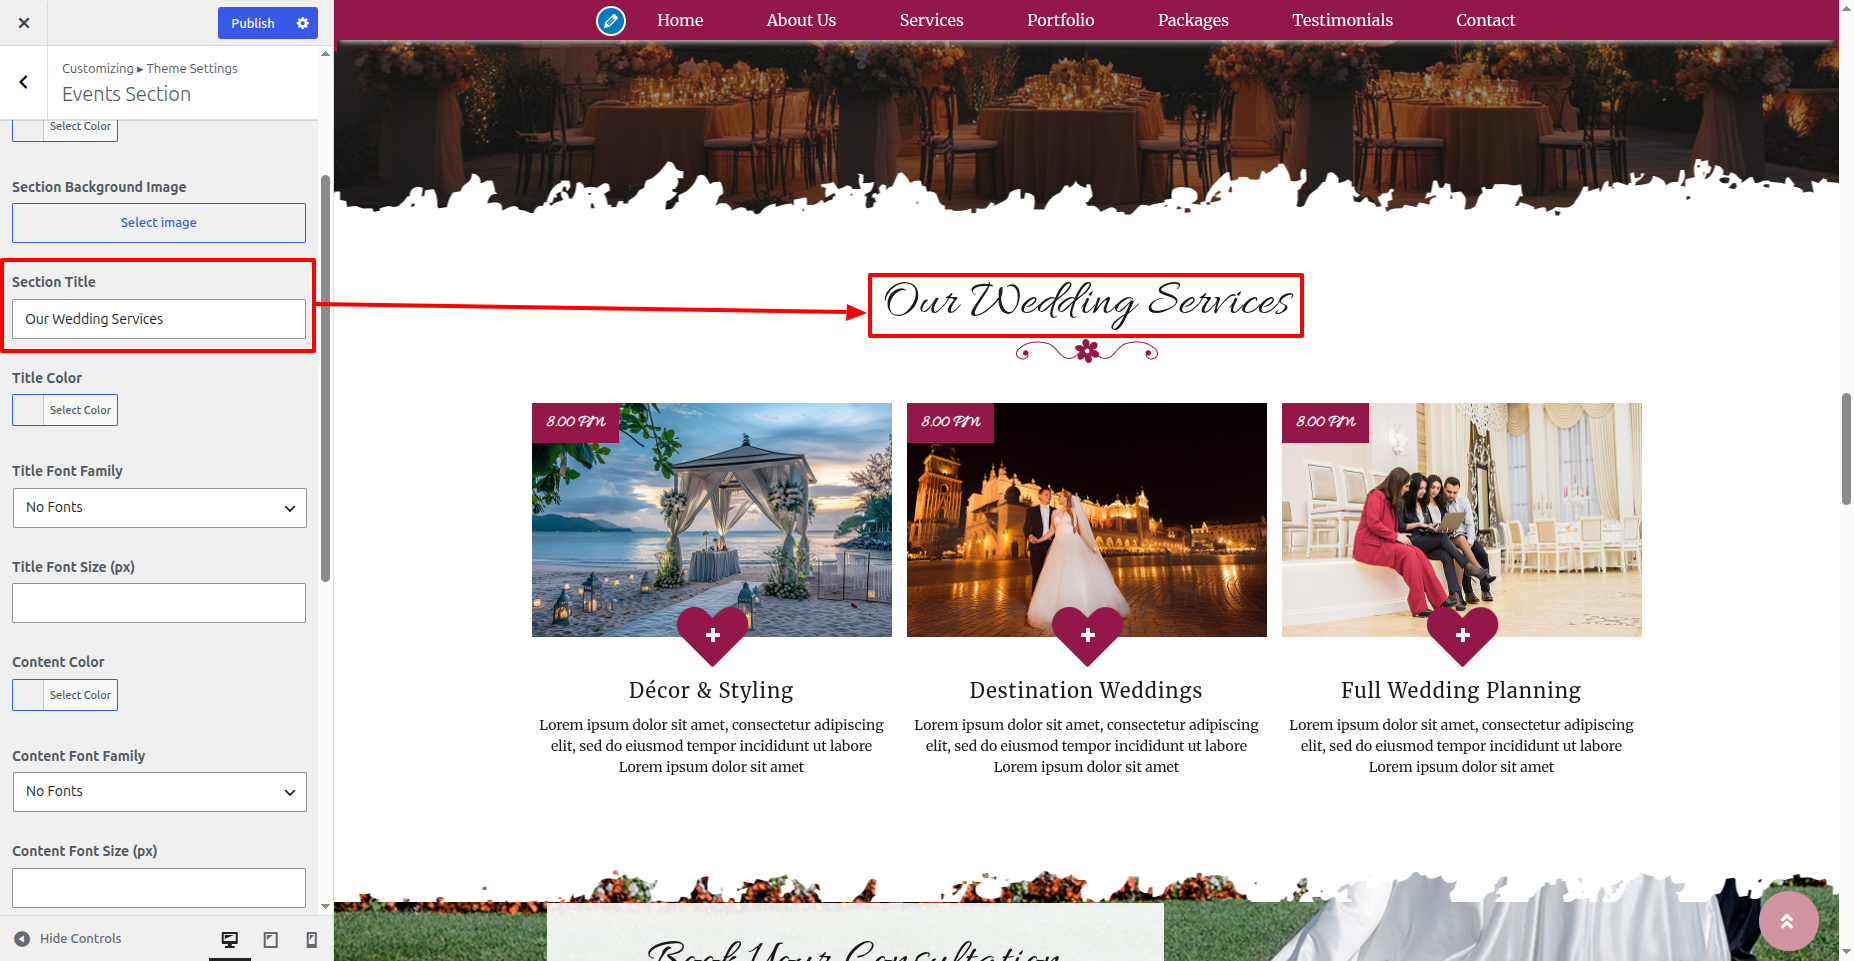
This is final image of Events Section
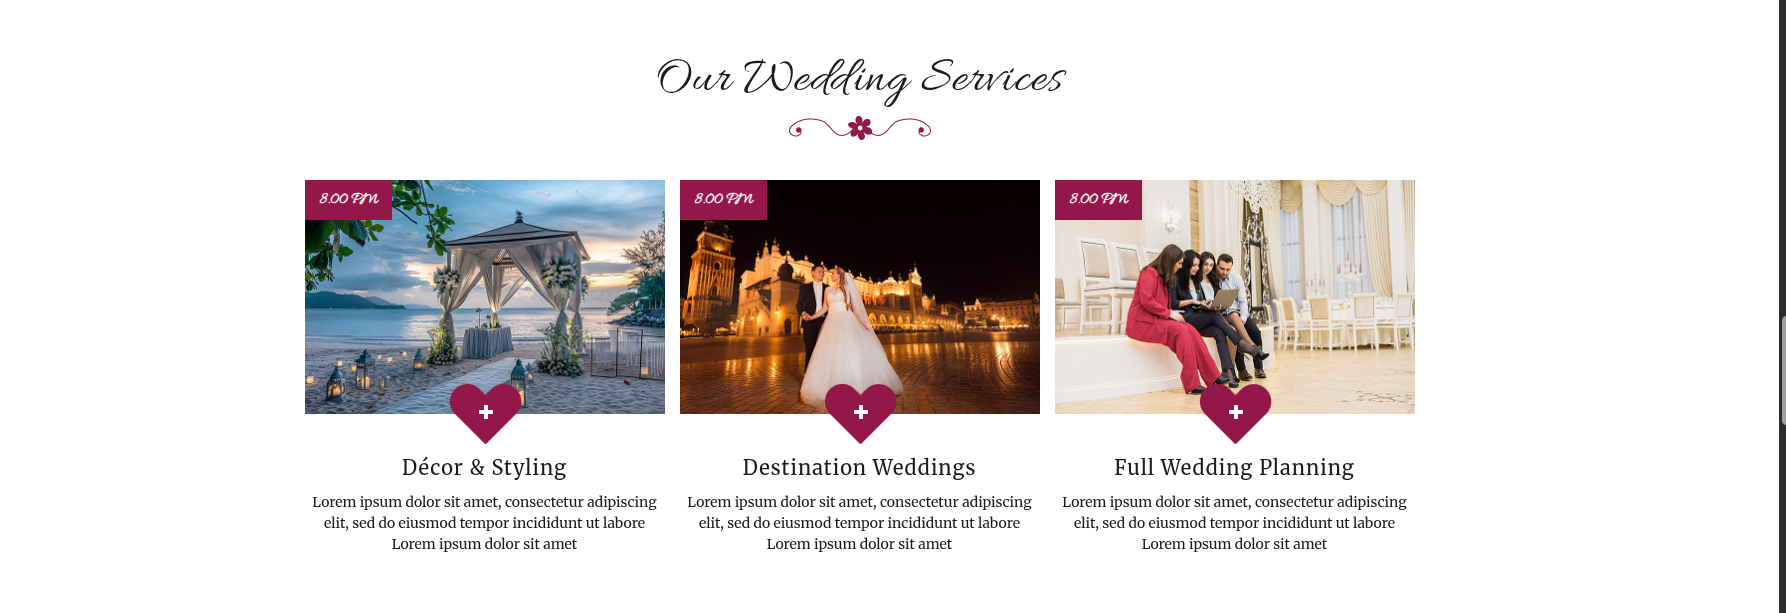
6.11 Newsletter Section
Explore to Dashboard >> Contact >> Add Contact Form
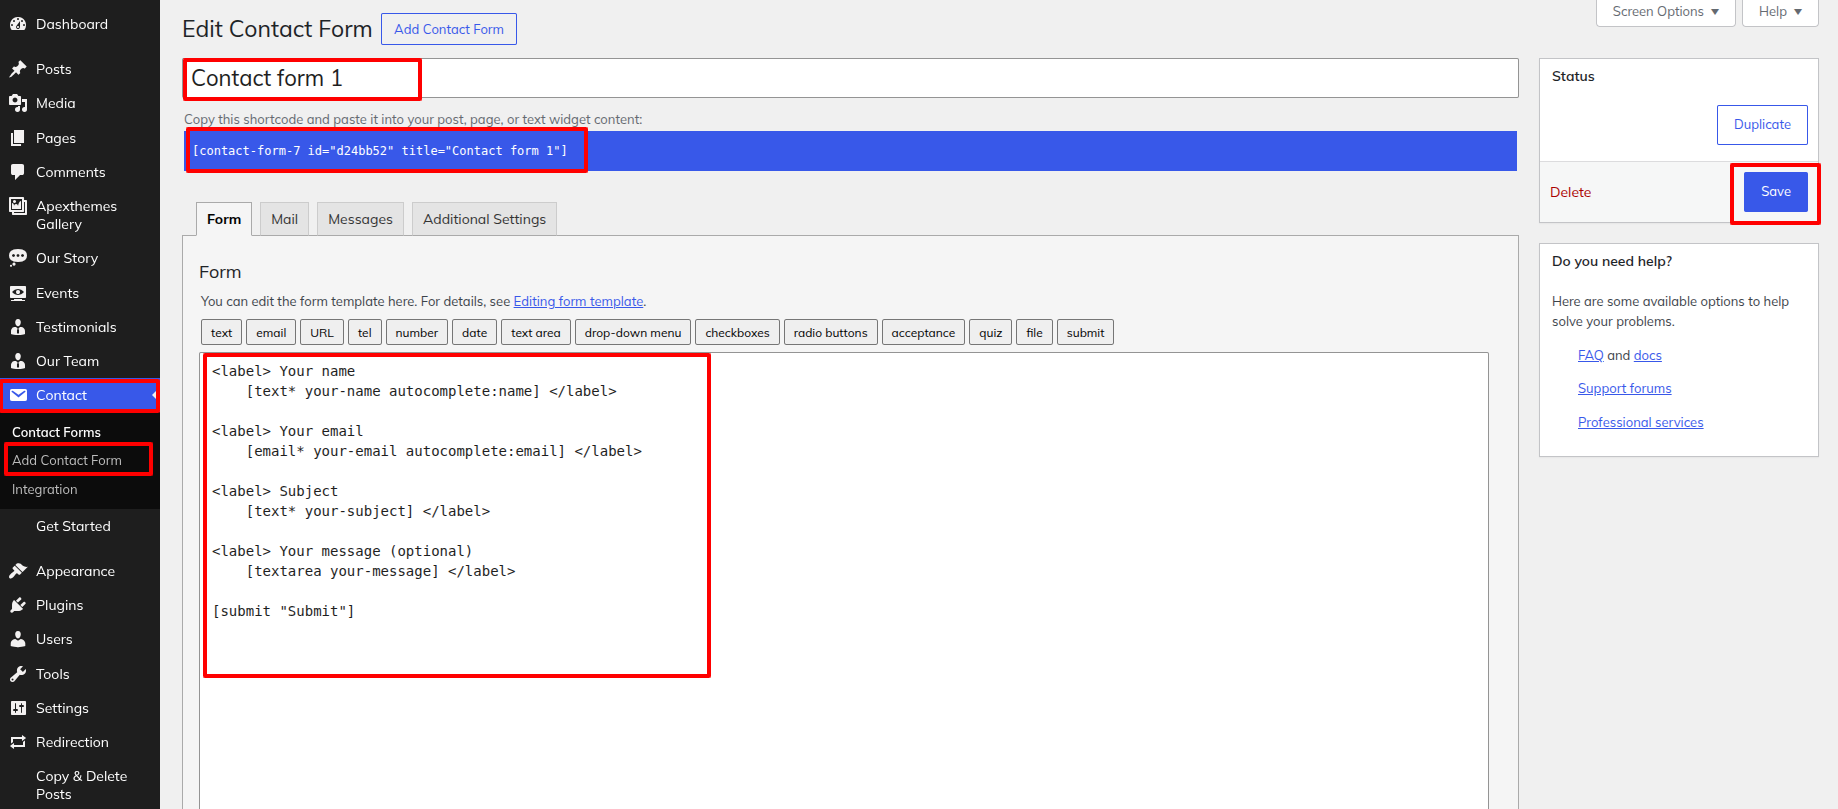
To go ahead with the Newsletter Section.
Explore to Appearance >> Customize >> Theme Setting >> Newsletter Section
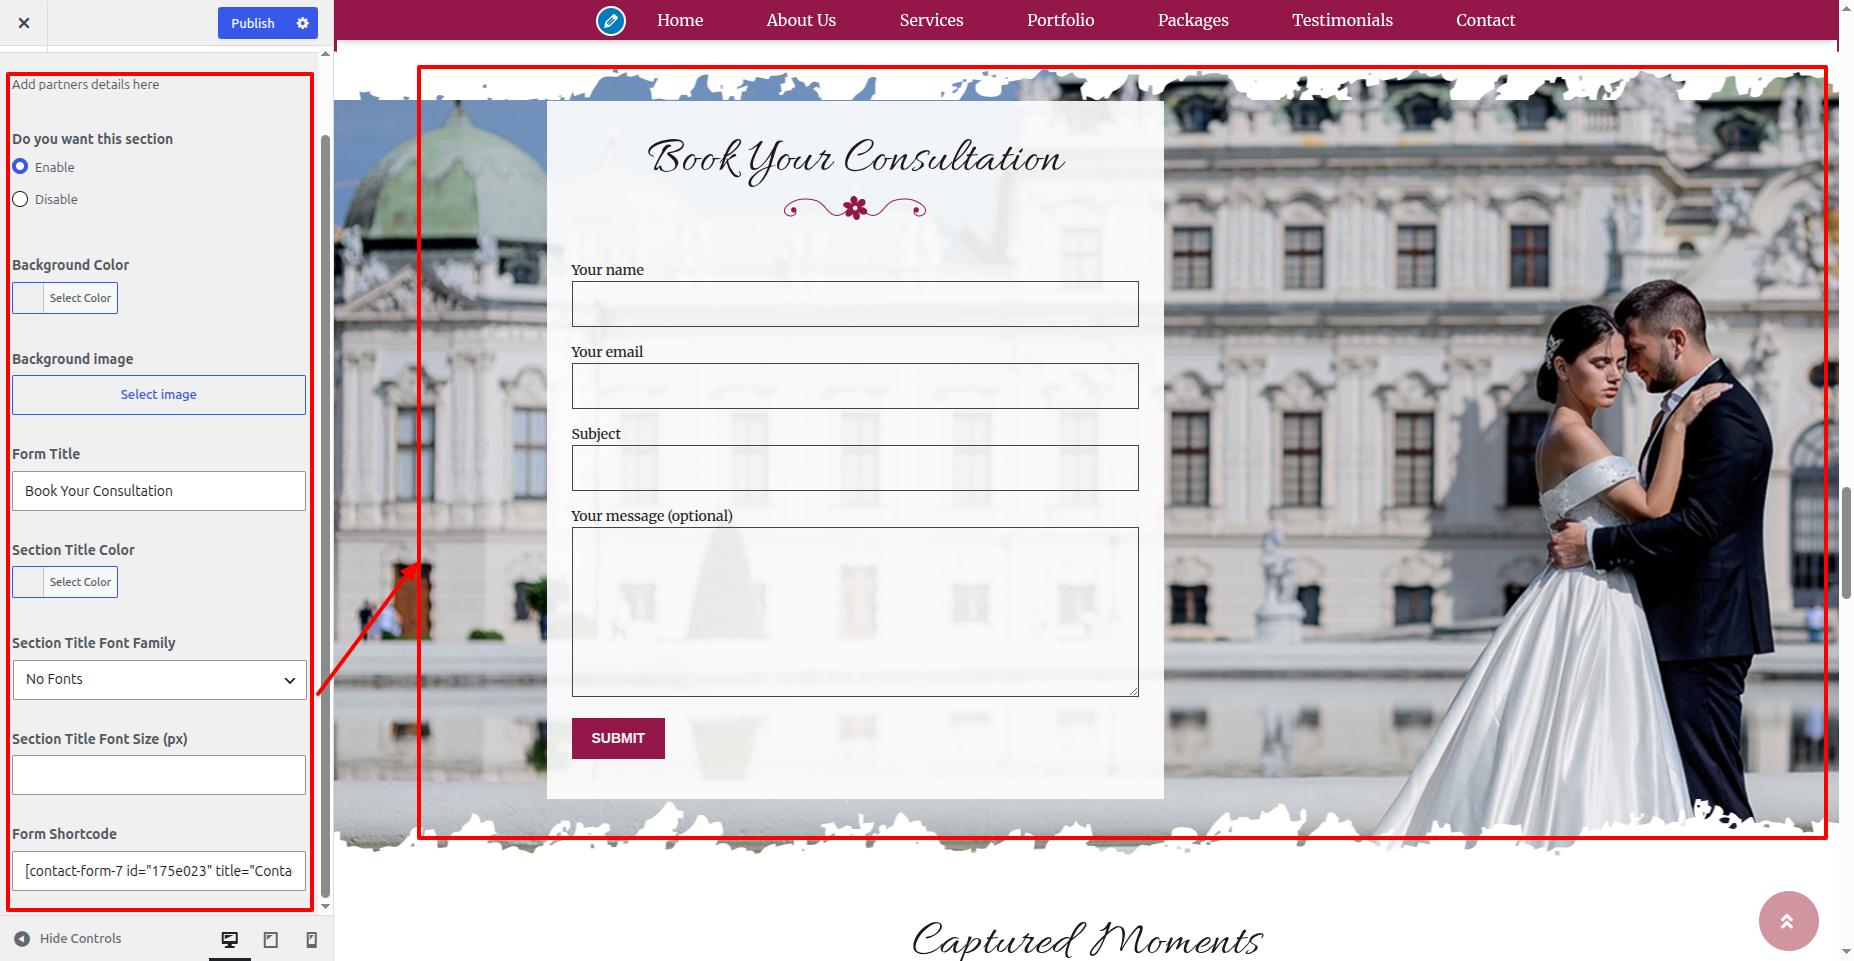
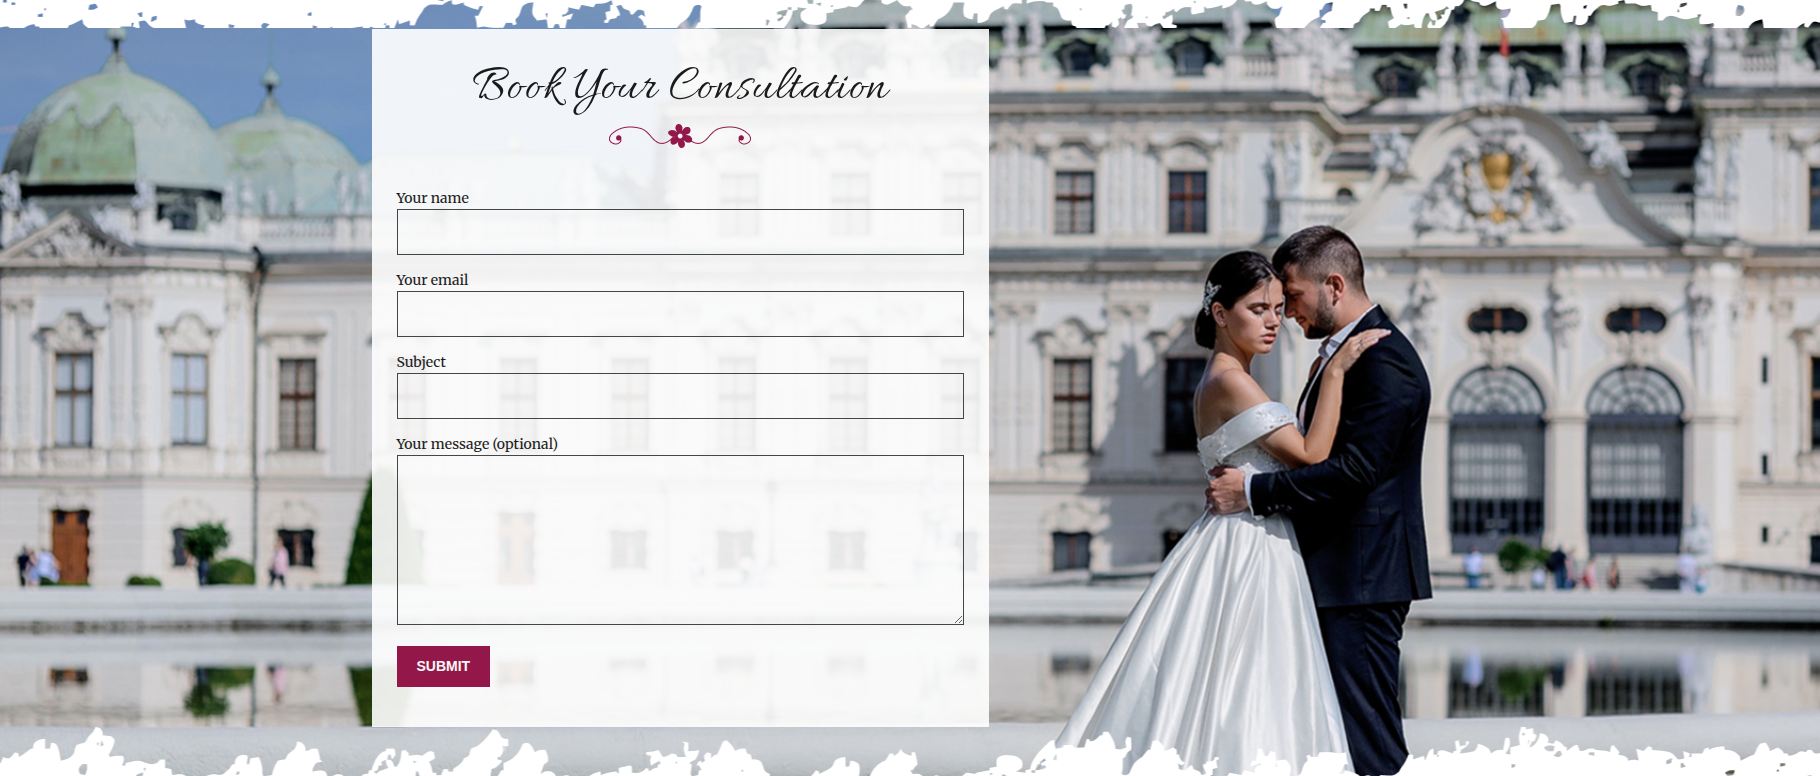
This is final image of Newsletter Section
6.12 Team Section
Explore to Dashboard >> Our Team >> Add New Posts
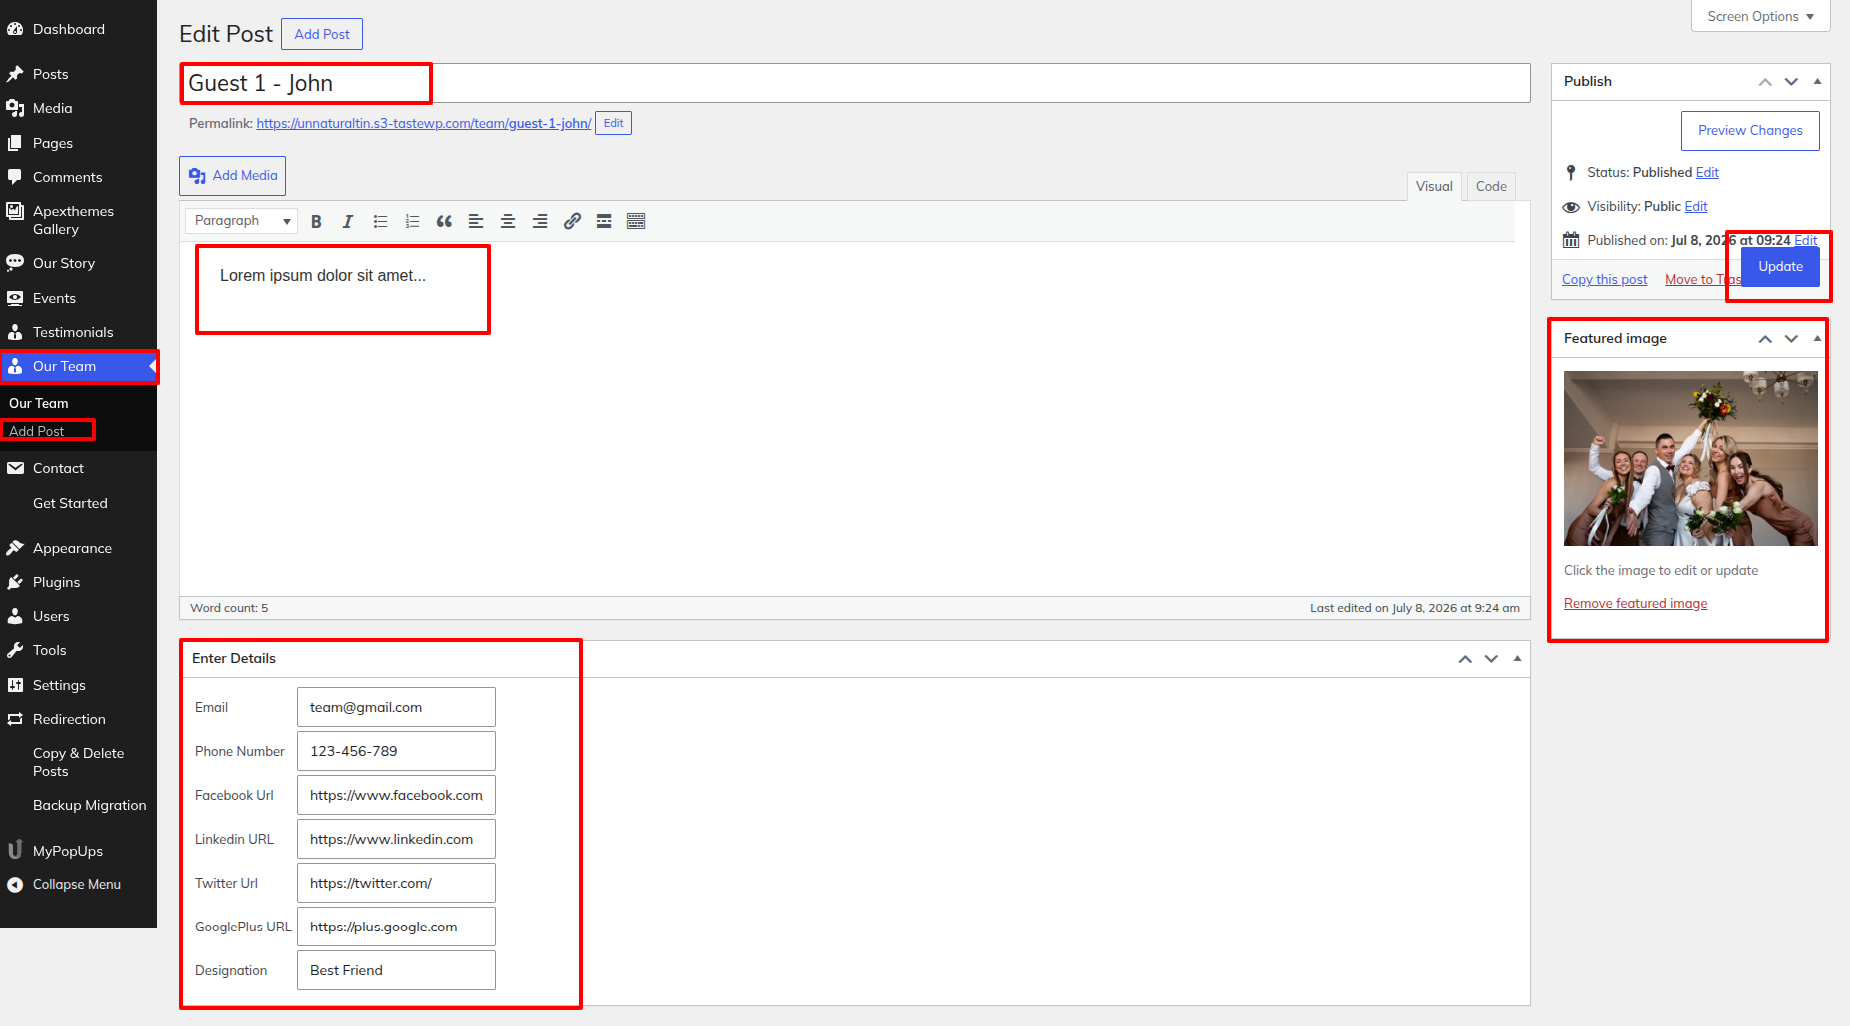
To go ahead with the Team Section.
Explore to Appearance >> Customize >> Theme Setting >> Team Section
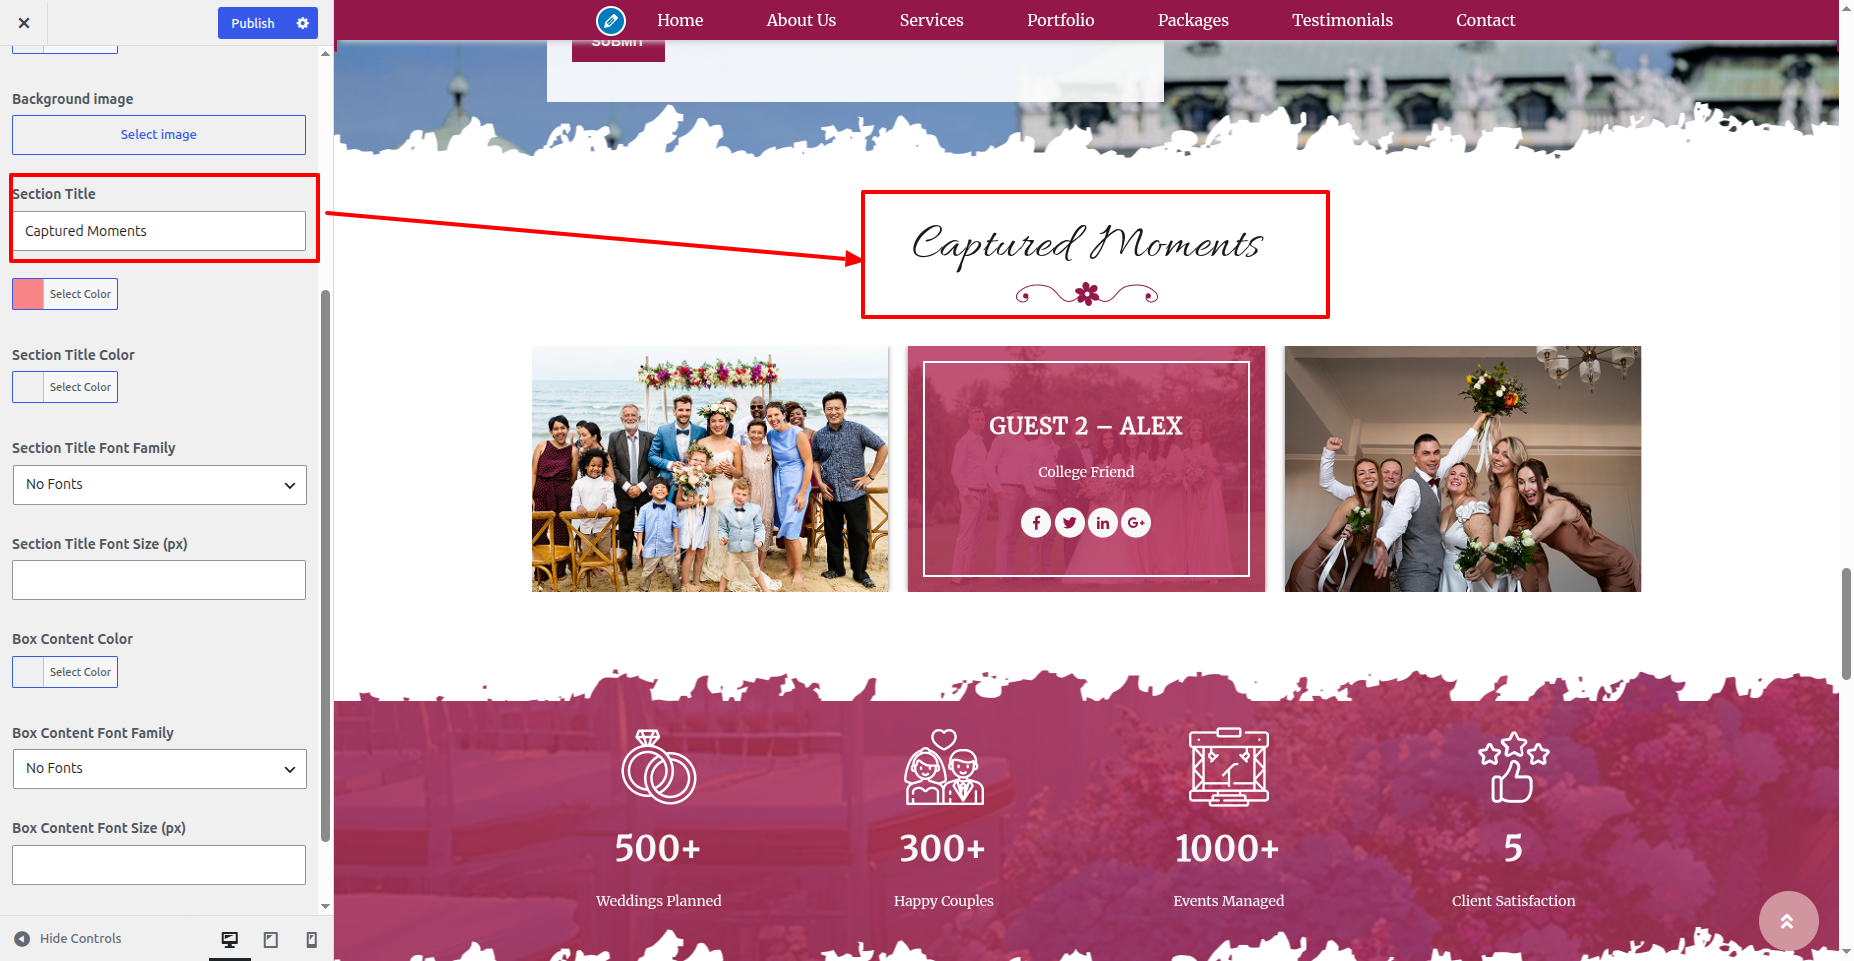
This is final image of Team Section
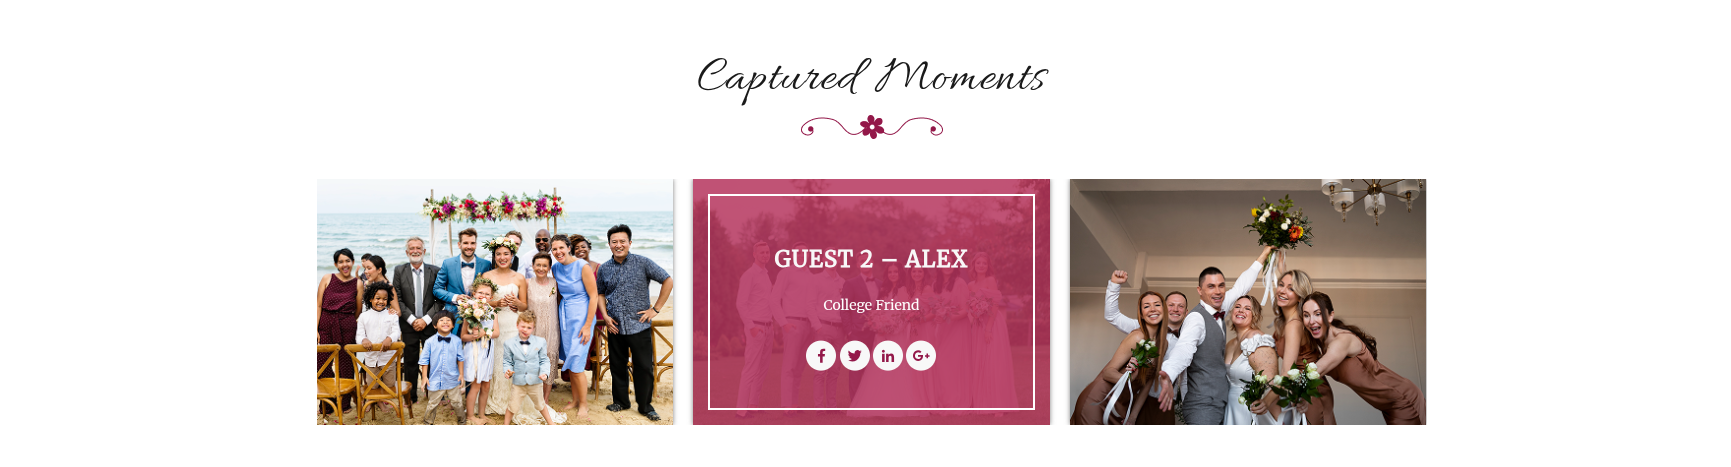
6.13 Records Section
To go ahead with the Records Section.
Explore to Appearance >> Customize >> Theme Setting >> Records Section
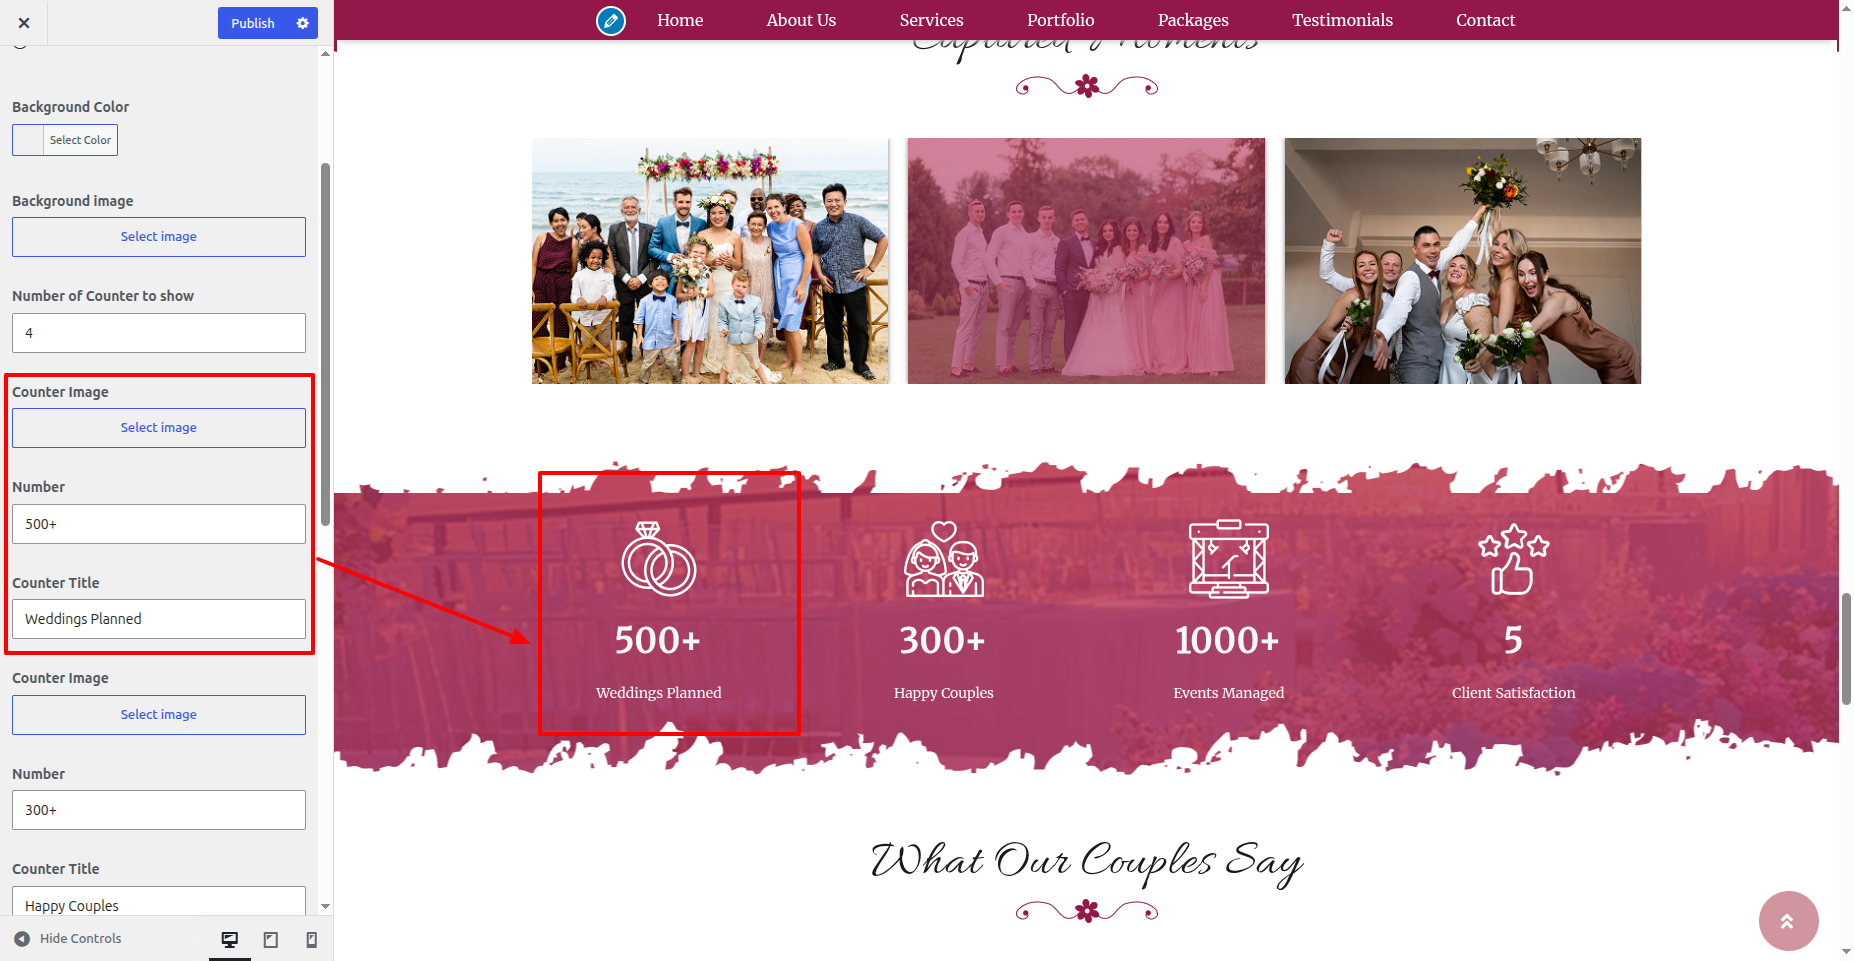
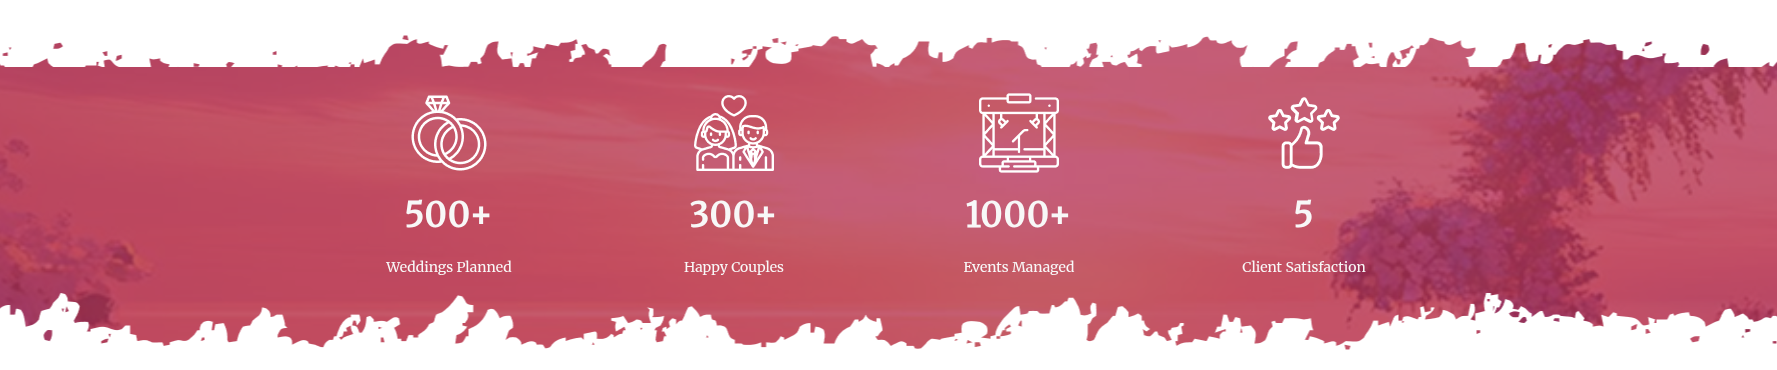
This is final image of Records Section
6.14 Testimonial Section
To go ahead with the Testimonial Section
Explore to Dashboard >> Testimonial >> Add New Posts
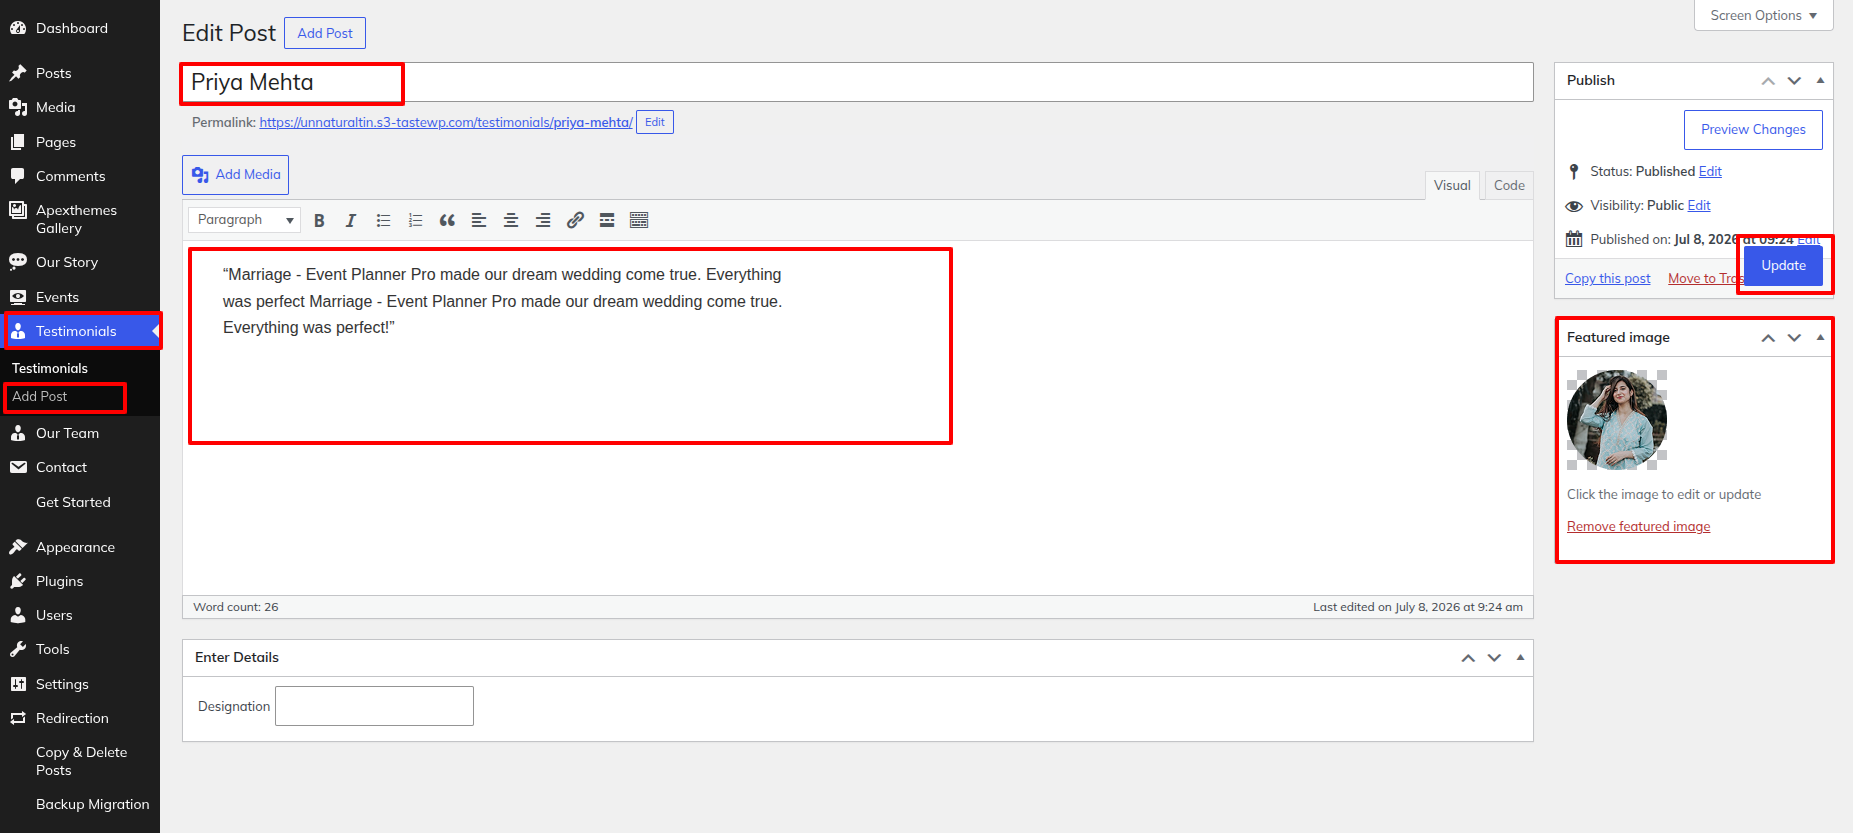
To go ahead with the Testimonial Section.
Explore to Appearance >> Customize >> Theme Setting >> Testimonial Section
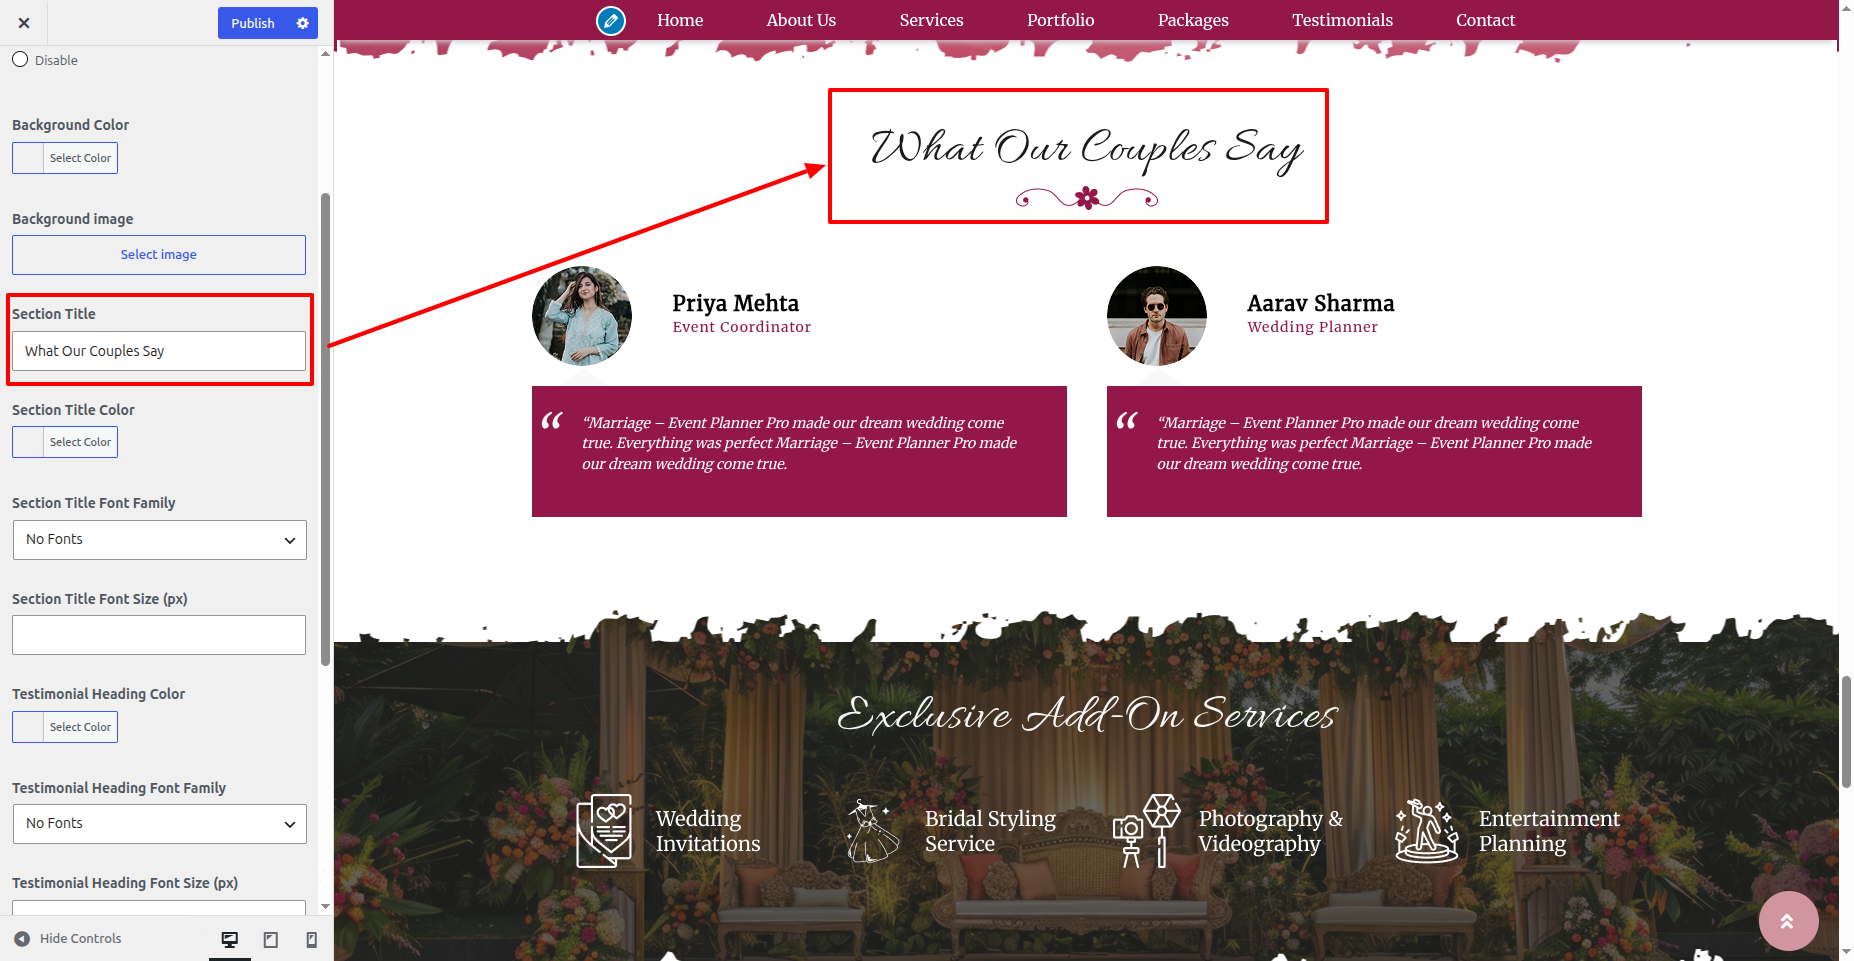
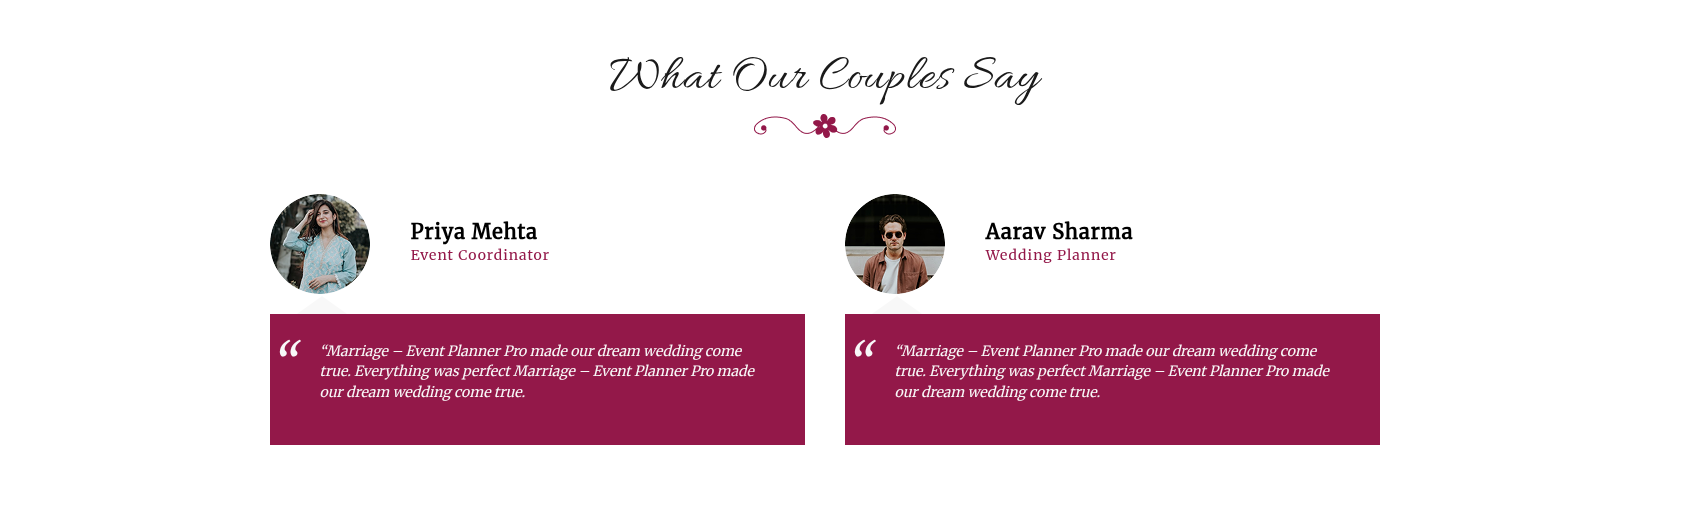
This is final image of Testimonial Section
6.15 Partners Section
Explore to Appearance >> Customize >> Theme Settings >> Partners Section
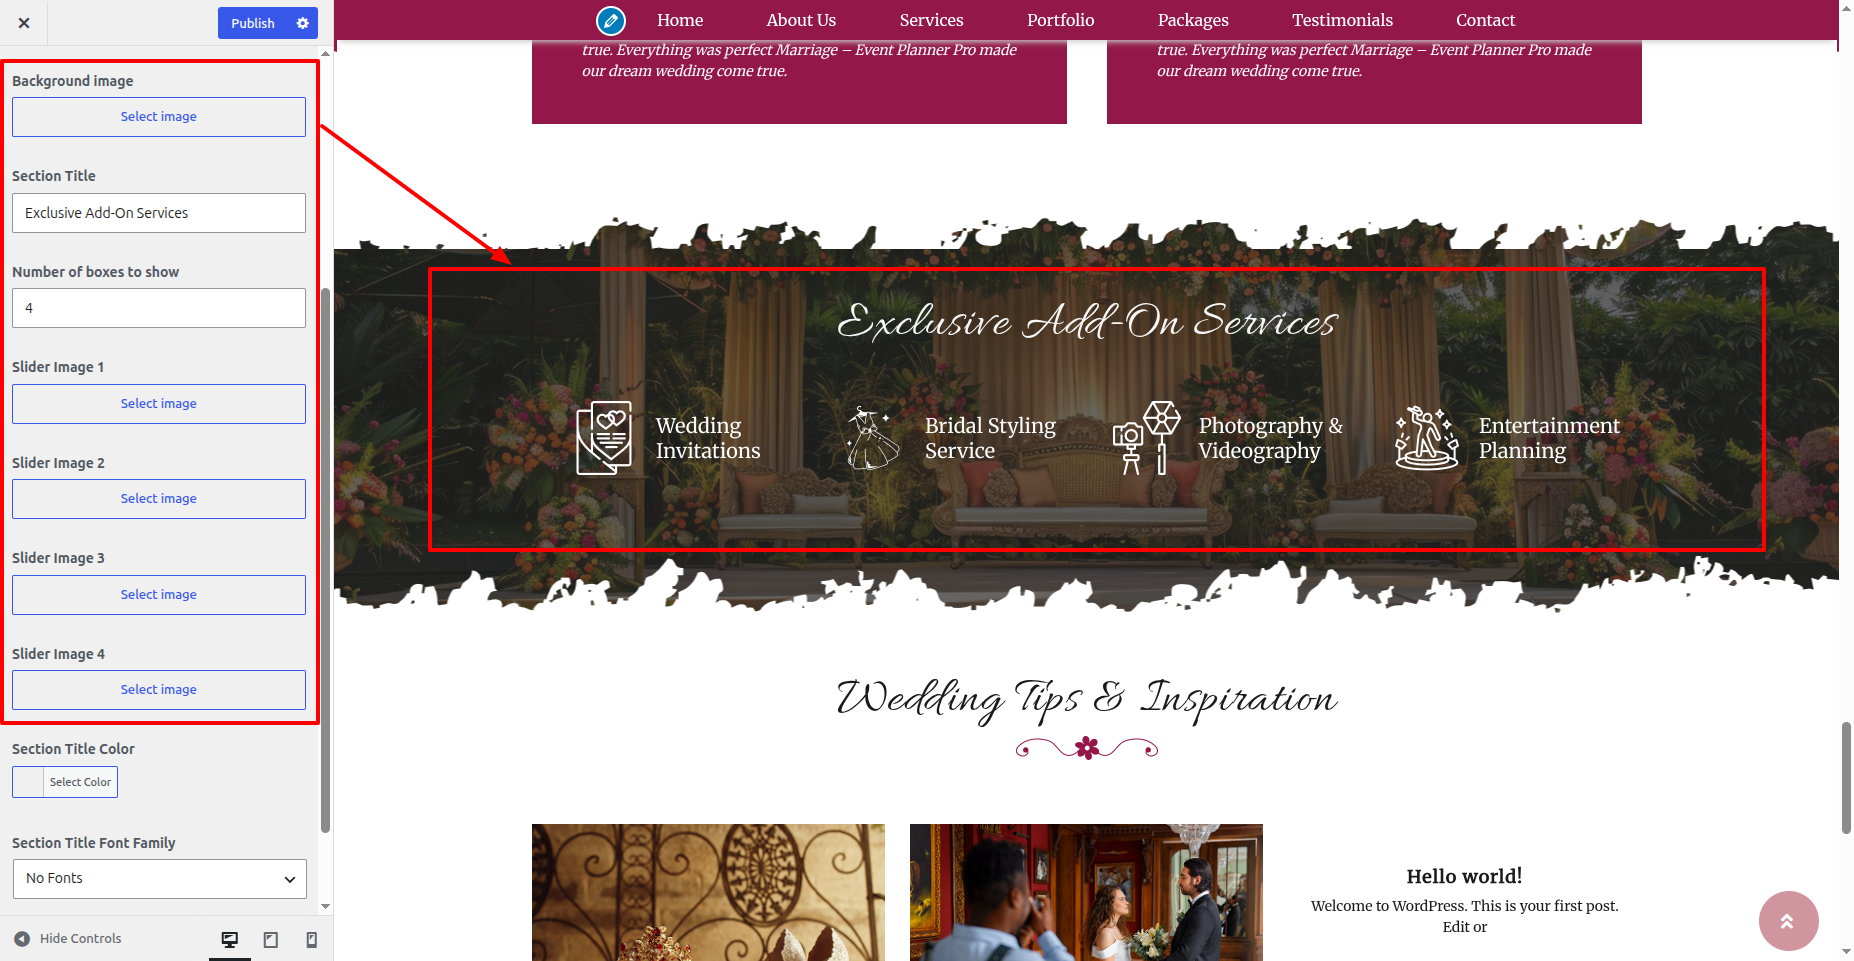
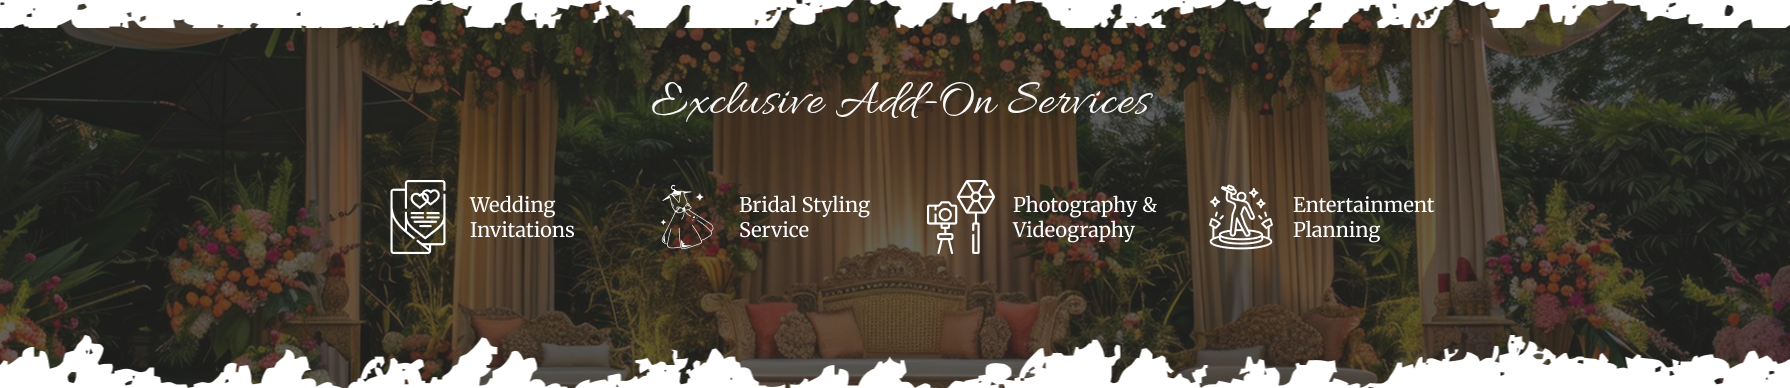
You can then include the Final Partners Section Within this manner.
6.16 Blog Section
To go ahead with the Blog Section.
Explore to Dashboard >> Posts >> Add News Posts
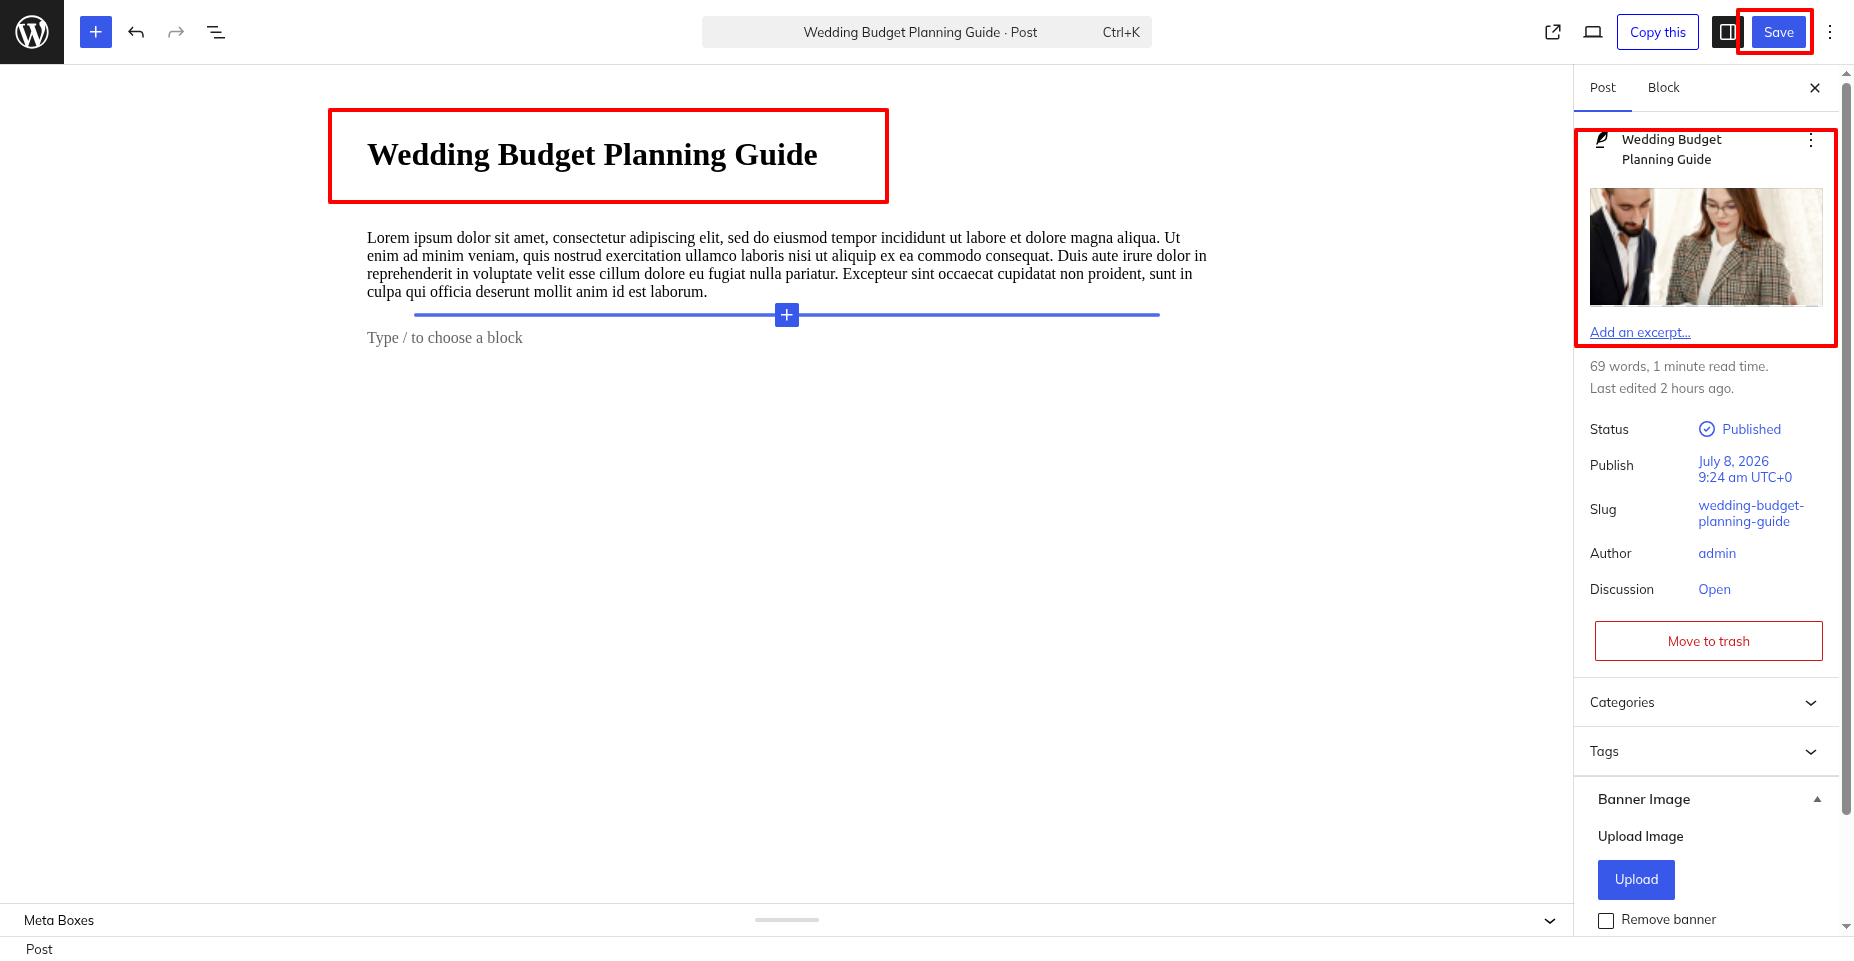
Use the steps outlined below to set ascending the Blog Section.
Explore to Appearance >> Customize >> Theme Settings >> Blog.
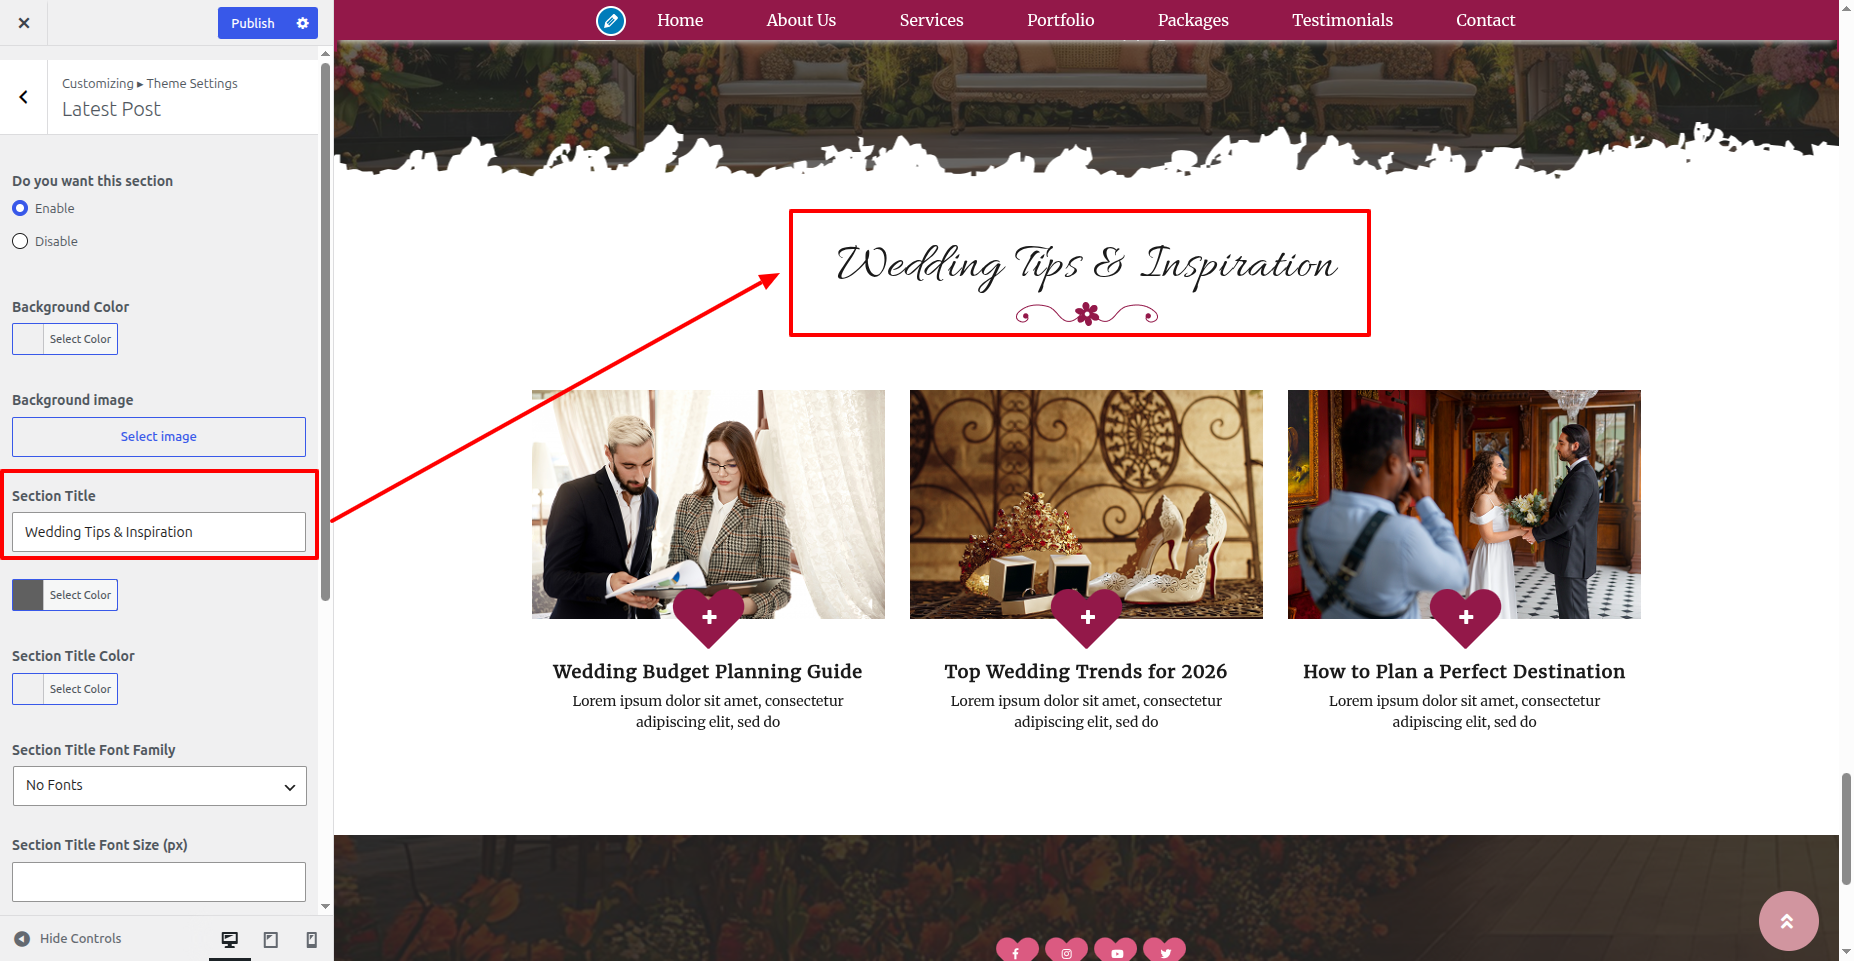
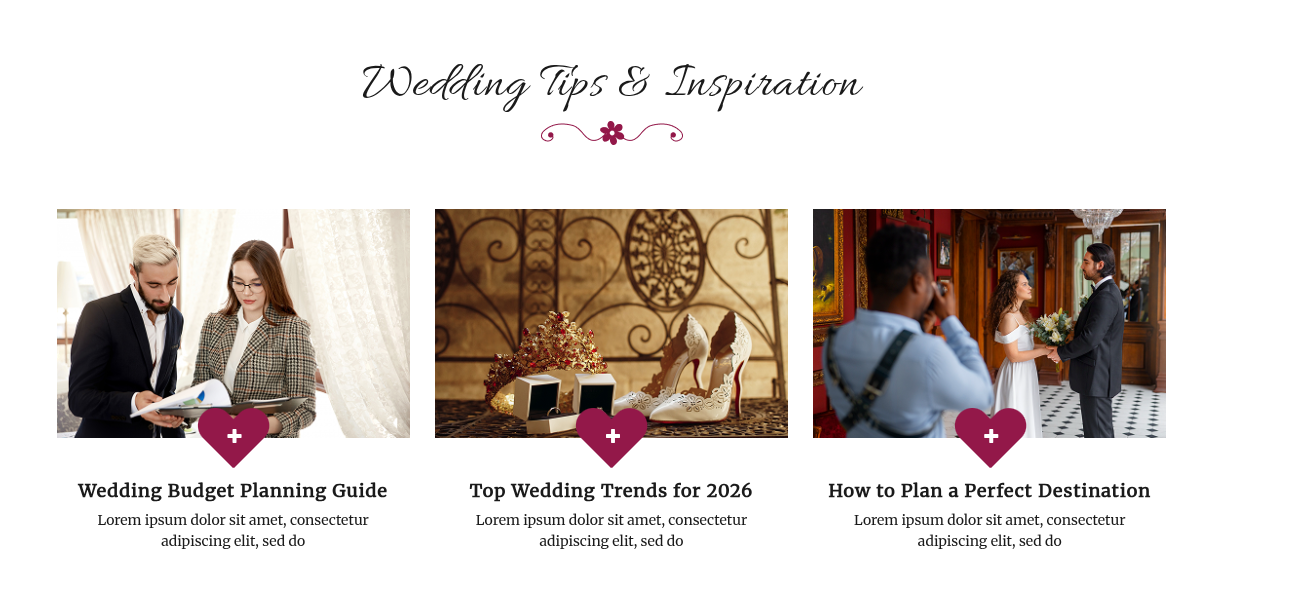
You can then include the Final Blog Section Within this manner.
6.17 Integration Footer Section
To Integration Footer Section
Explore to Dashboard >> Appearance >> Widgets
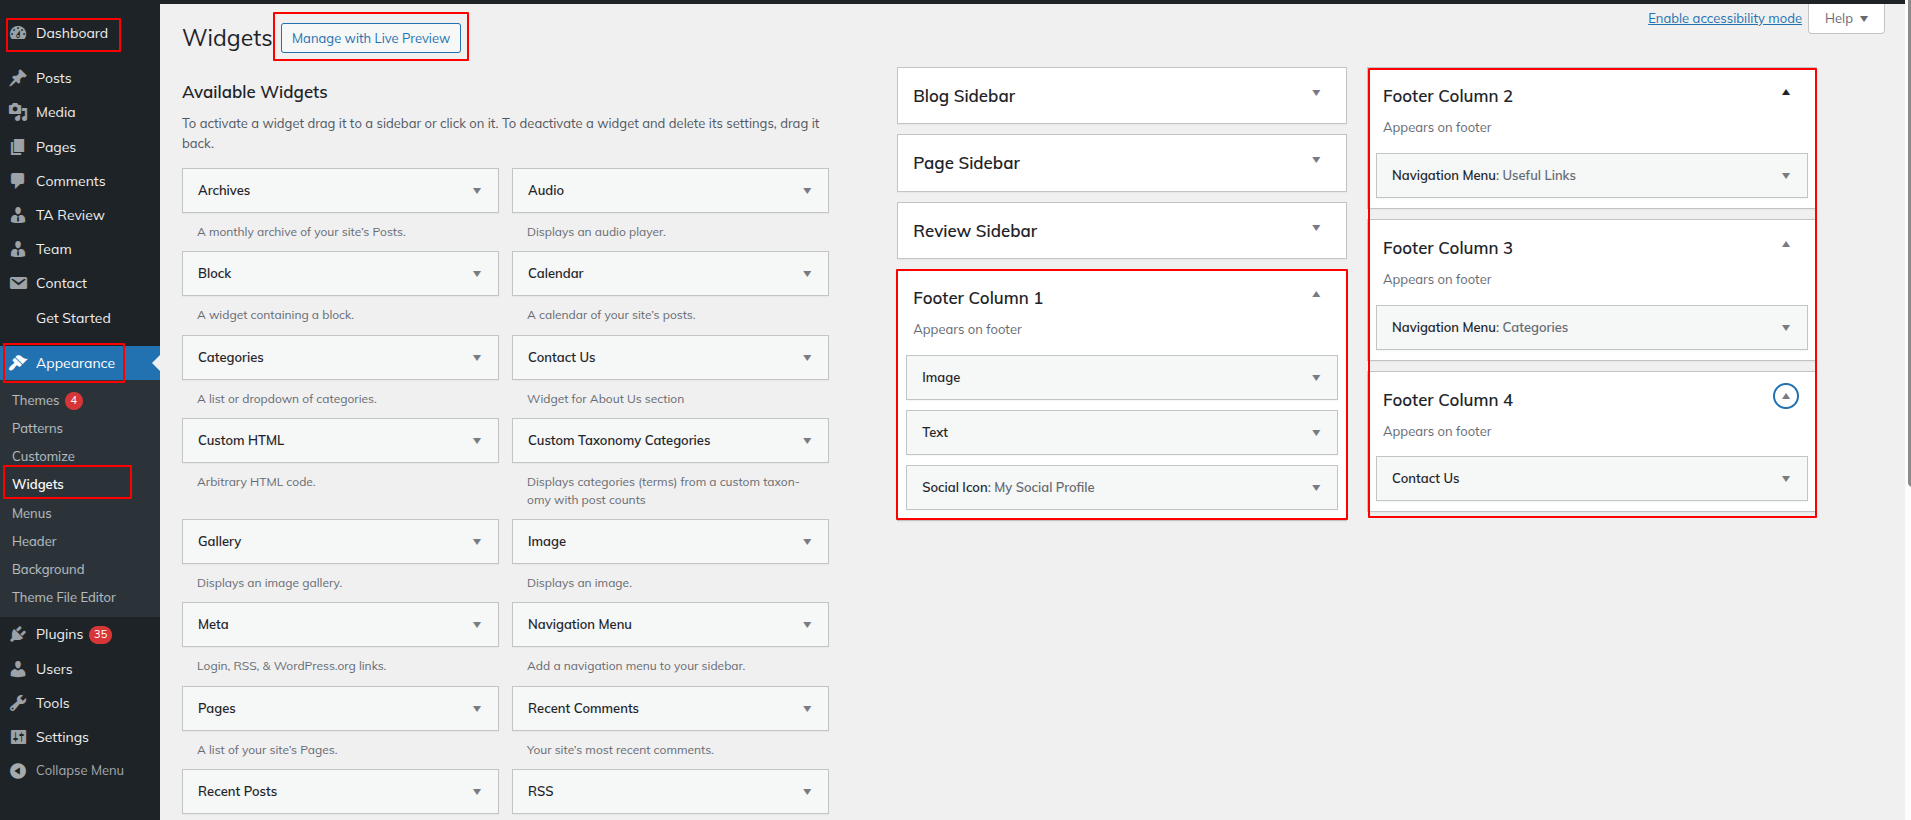
To go ahead with the Footer Section.
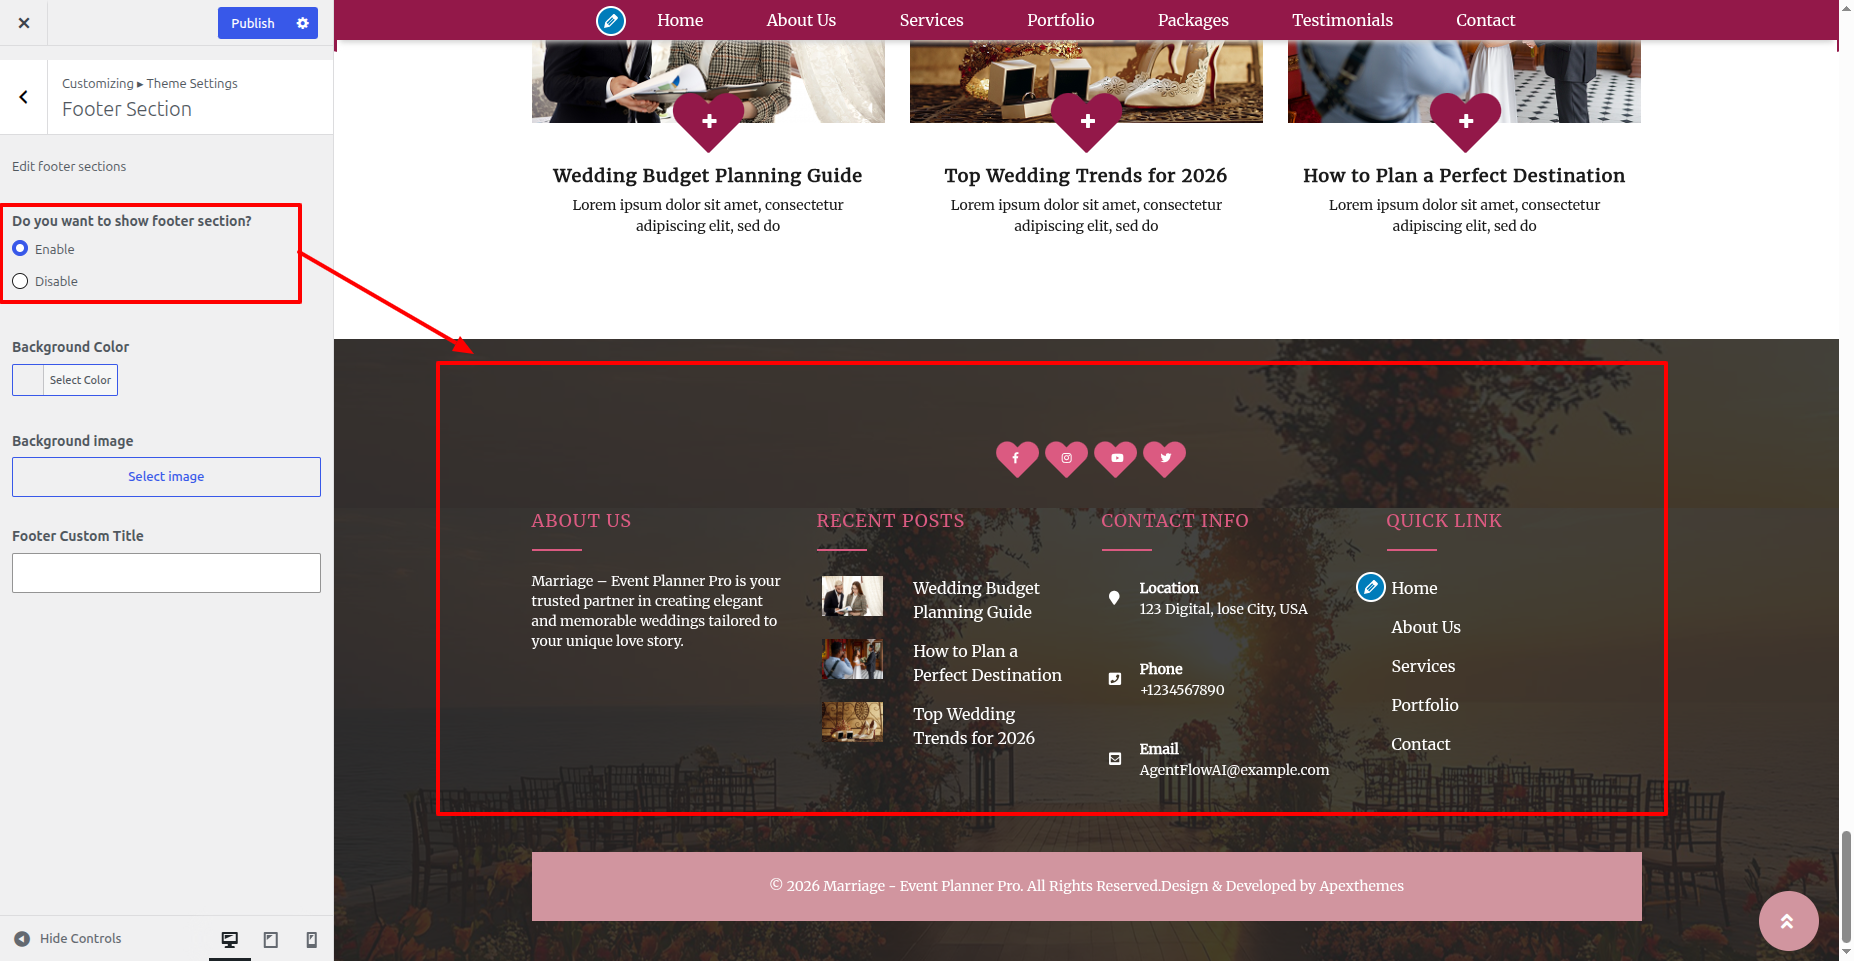
Explore to Appearance >> Customize >> Theme Settings >> Footer Section
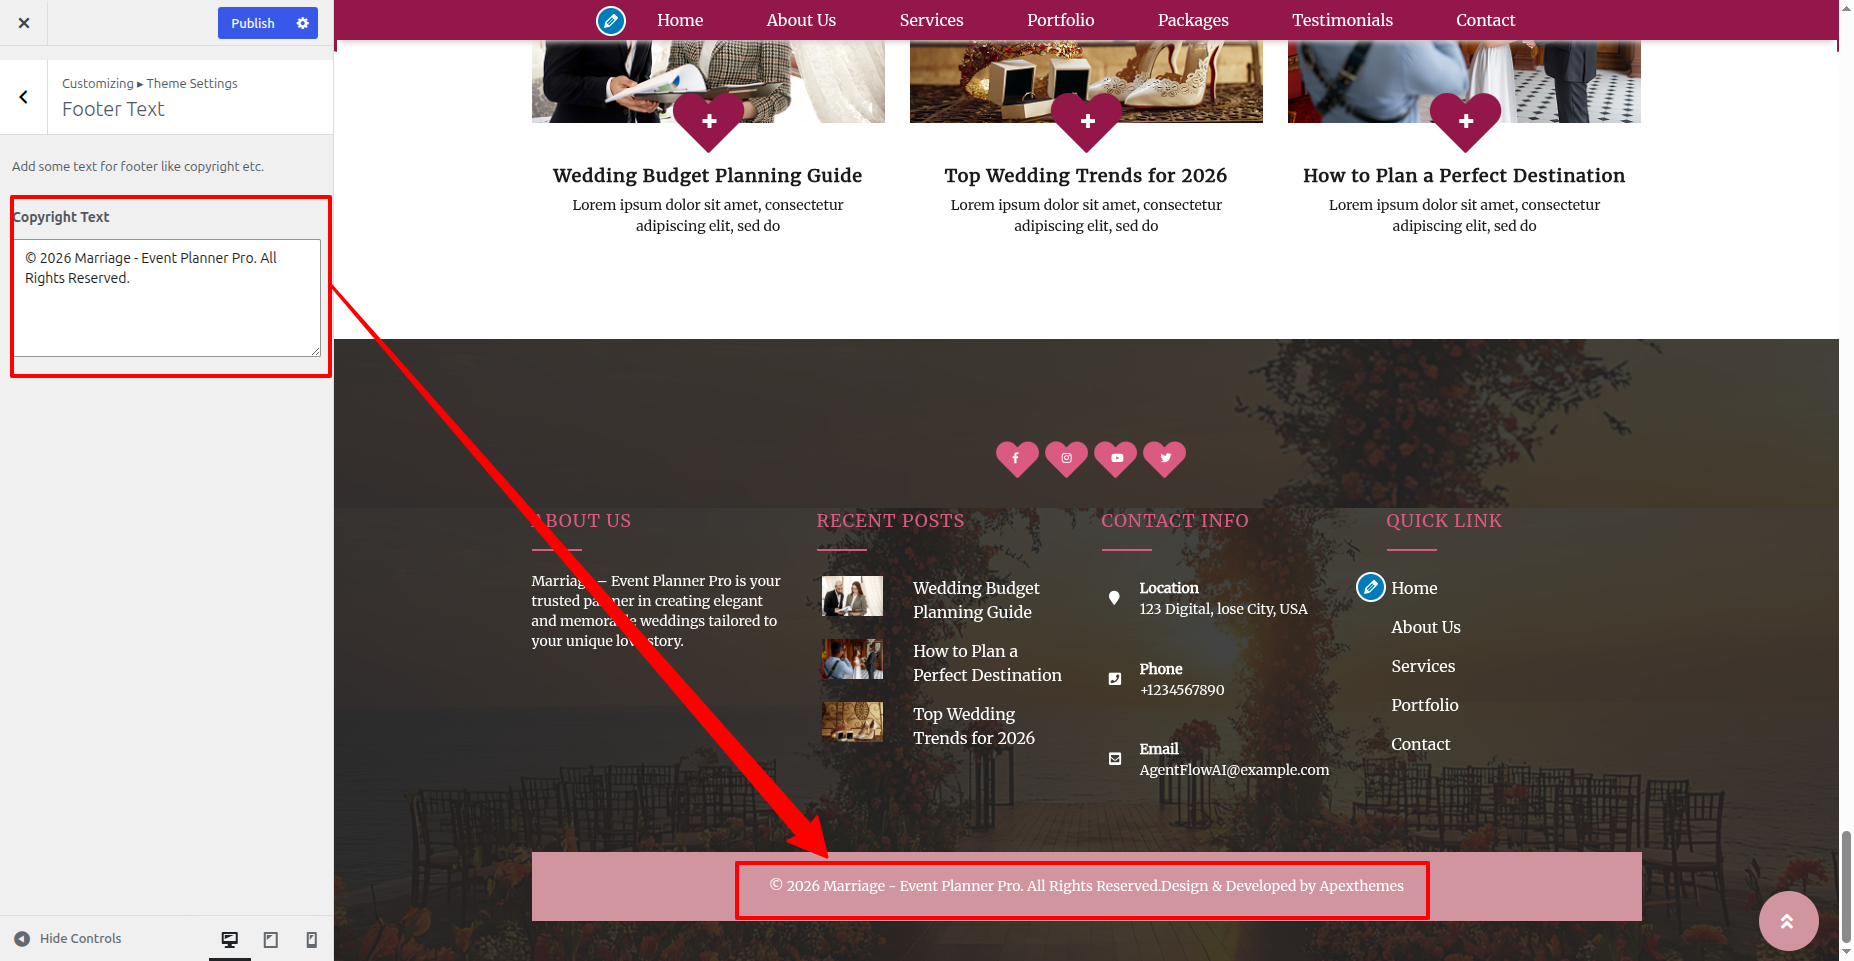
Explore to Appearance >> Customize >> Theme Settings >> Footer Text
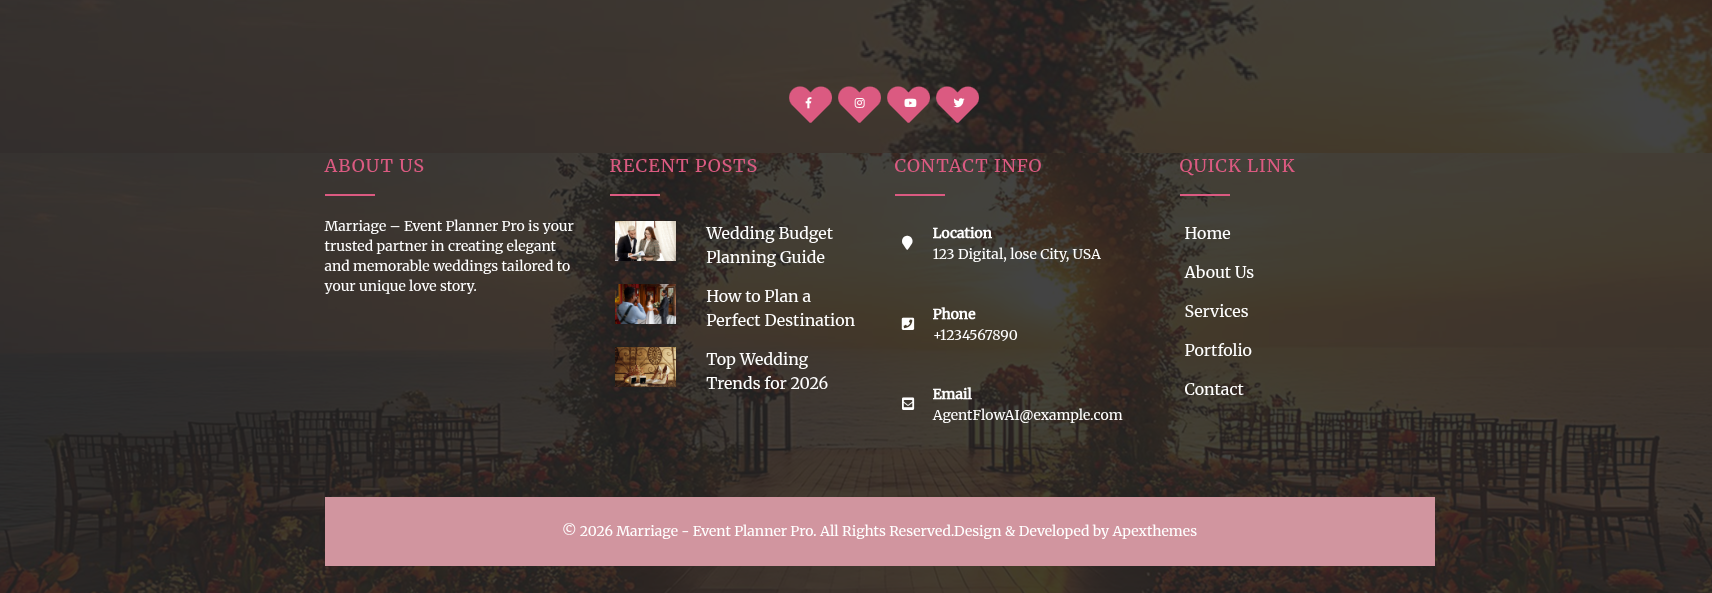
You can configure the Final Footer Section In such a way.
All Inner Pages
6.18 Contact Page Section
To go ahead with the Contact Page Section
Observe these instructions to set up Contact Page Section.
Explore to Appearance >> Customize >> Theme Settings >> Contact Page
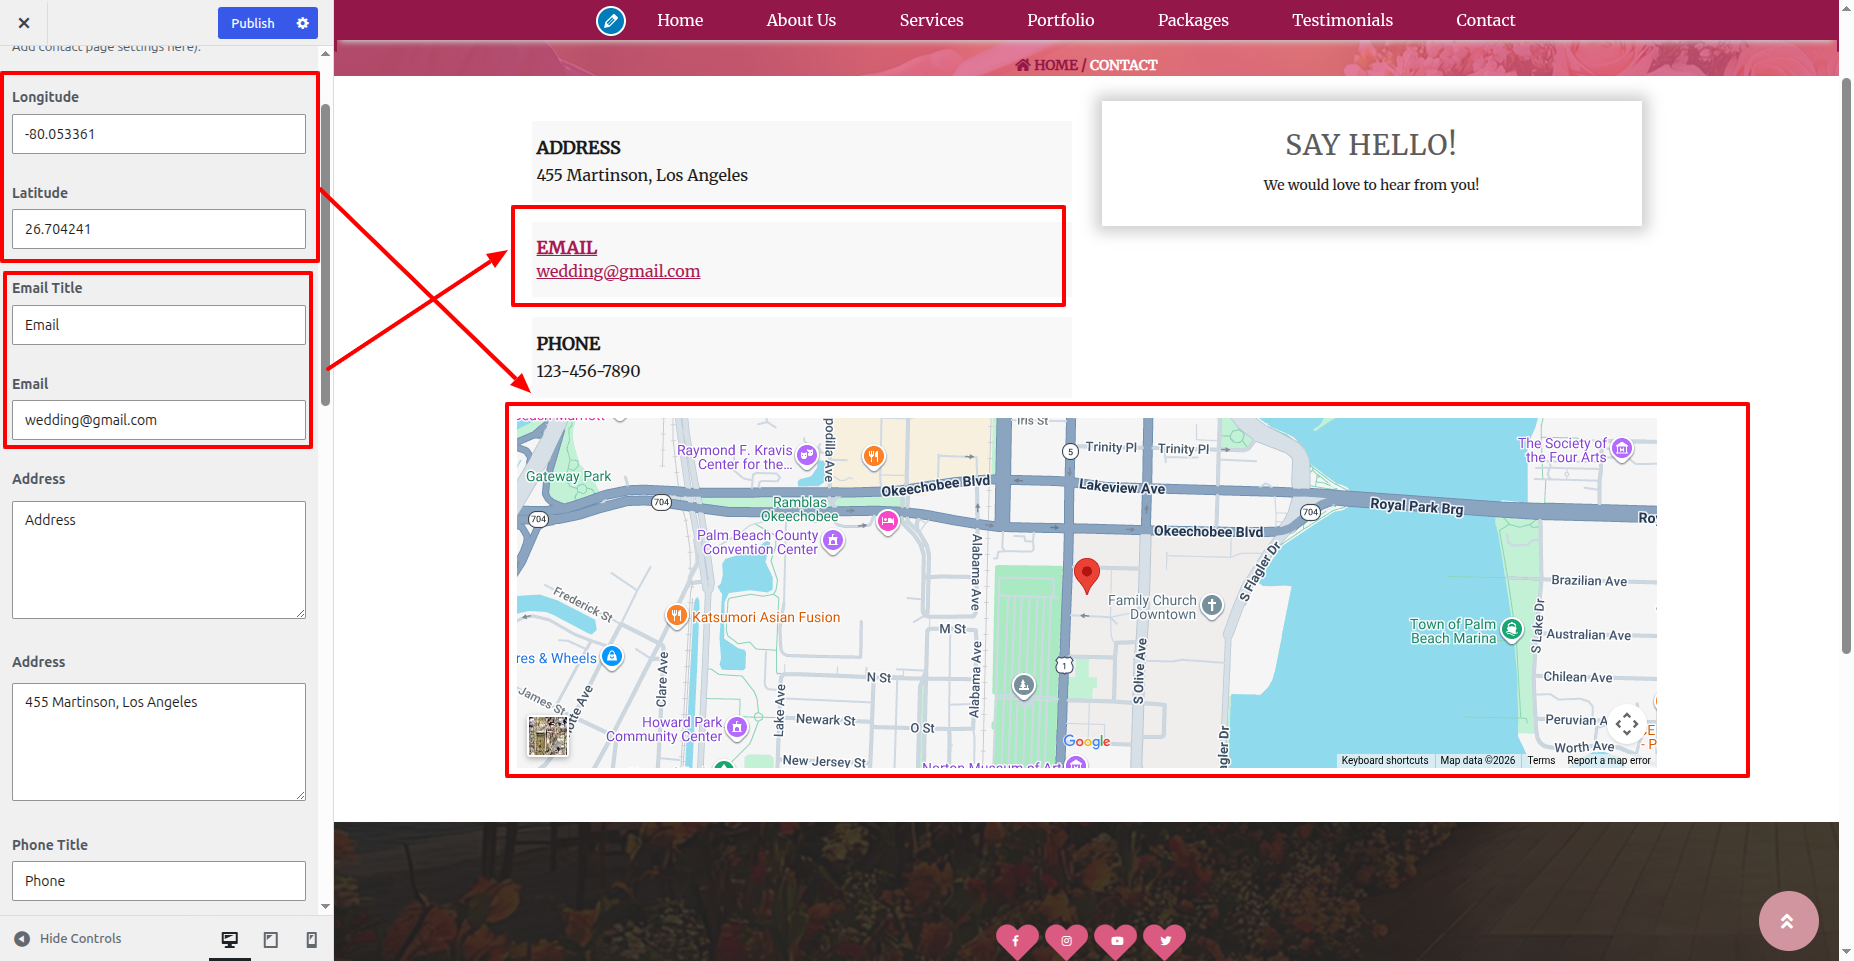
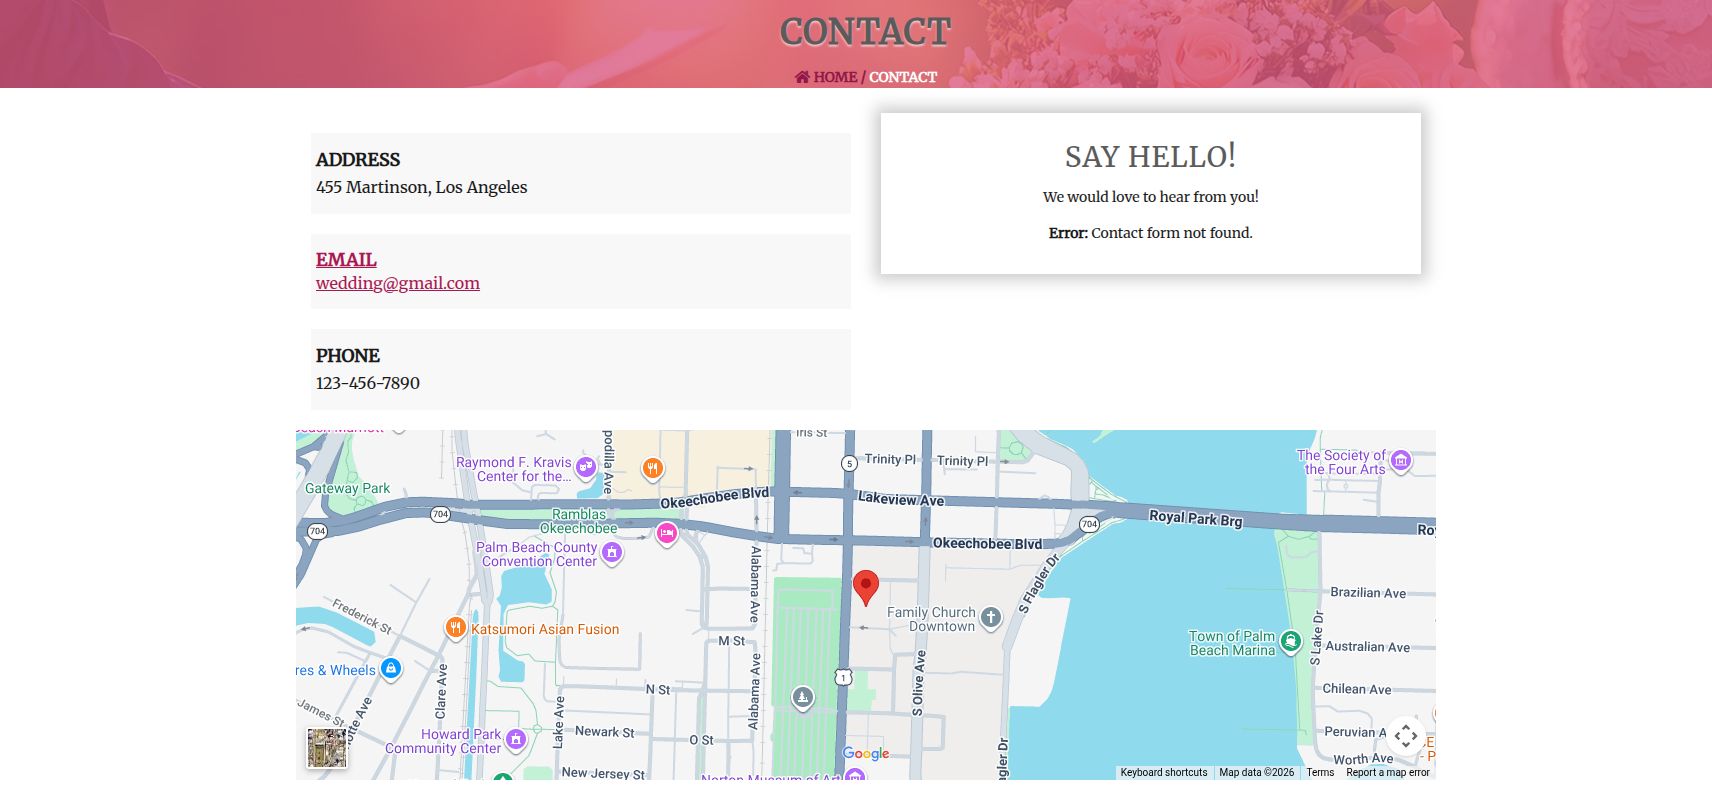
You can configure the Final Contact Page Section In such a way.
Plugin Installation.
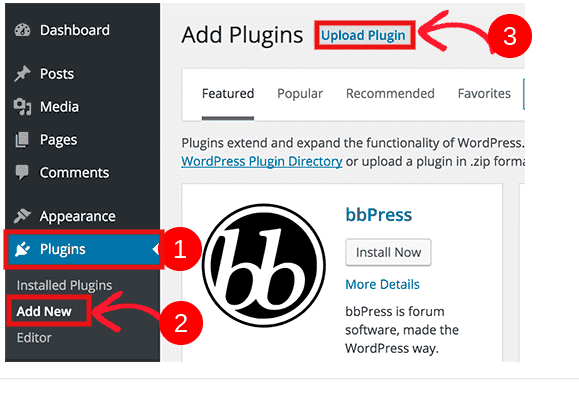
To manually install a WordPress plugin from a.zip package, utilise the plugin upload steps below.
Install any necessary plugins:
Access the Dashboard >> Include a new upload plugin.