There are 2 ways to install Trendy Storefront:
Installing using ZIP file:
- Installation via ZIP file involves obtaining the software package in a compressed ZIP archive format. This method of installation typicallyrequires the user to manually extract thecontents of the ZIP file to a designated directory or folder on their system. Once the files are extracted, the user can then proceed with the installation process, often by running an executable file or following specific instructions included within the extracted files. This approach offersflexibility in choosing the installationlocation and can be useful when dealing with software that doesn't have a dedicated installer.
-
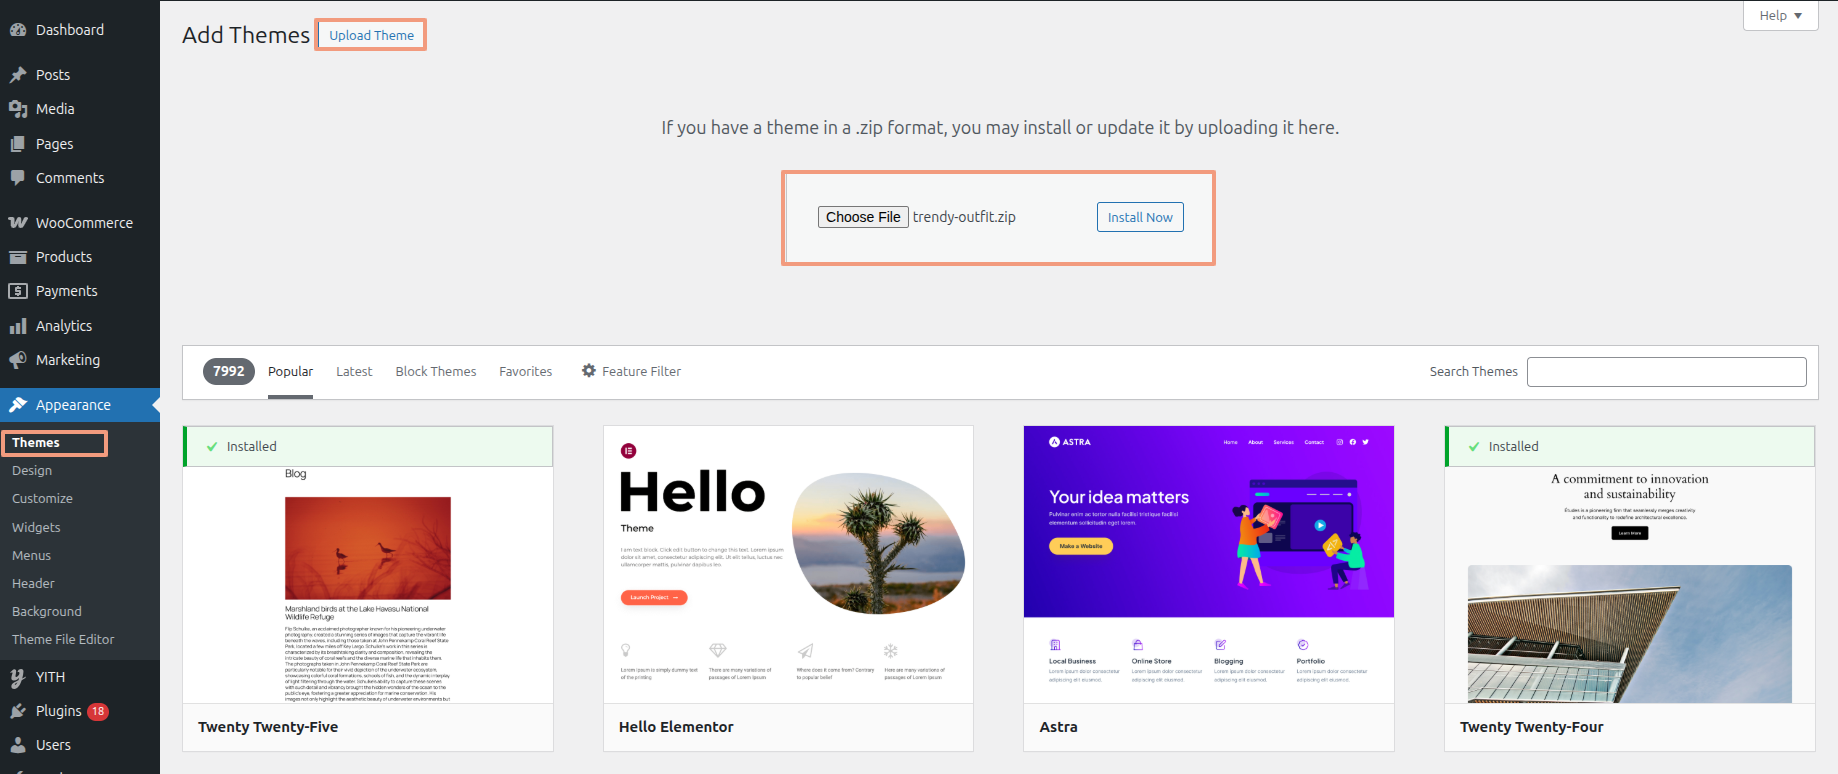
Using WordPress Theme Directory for installation:
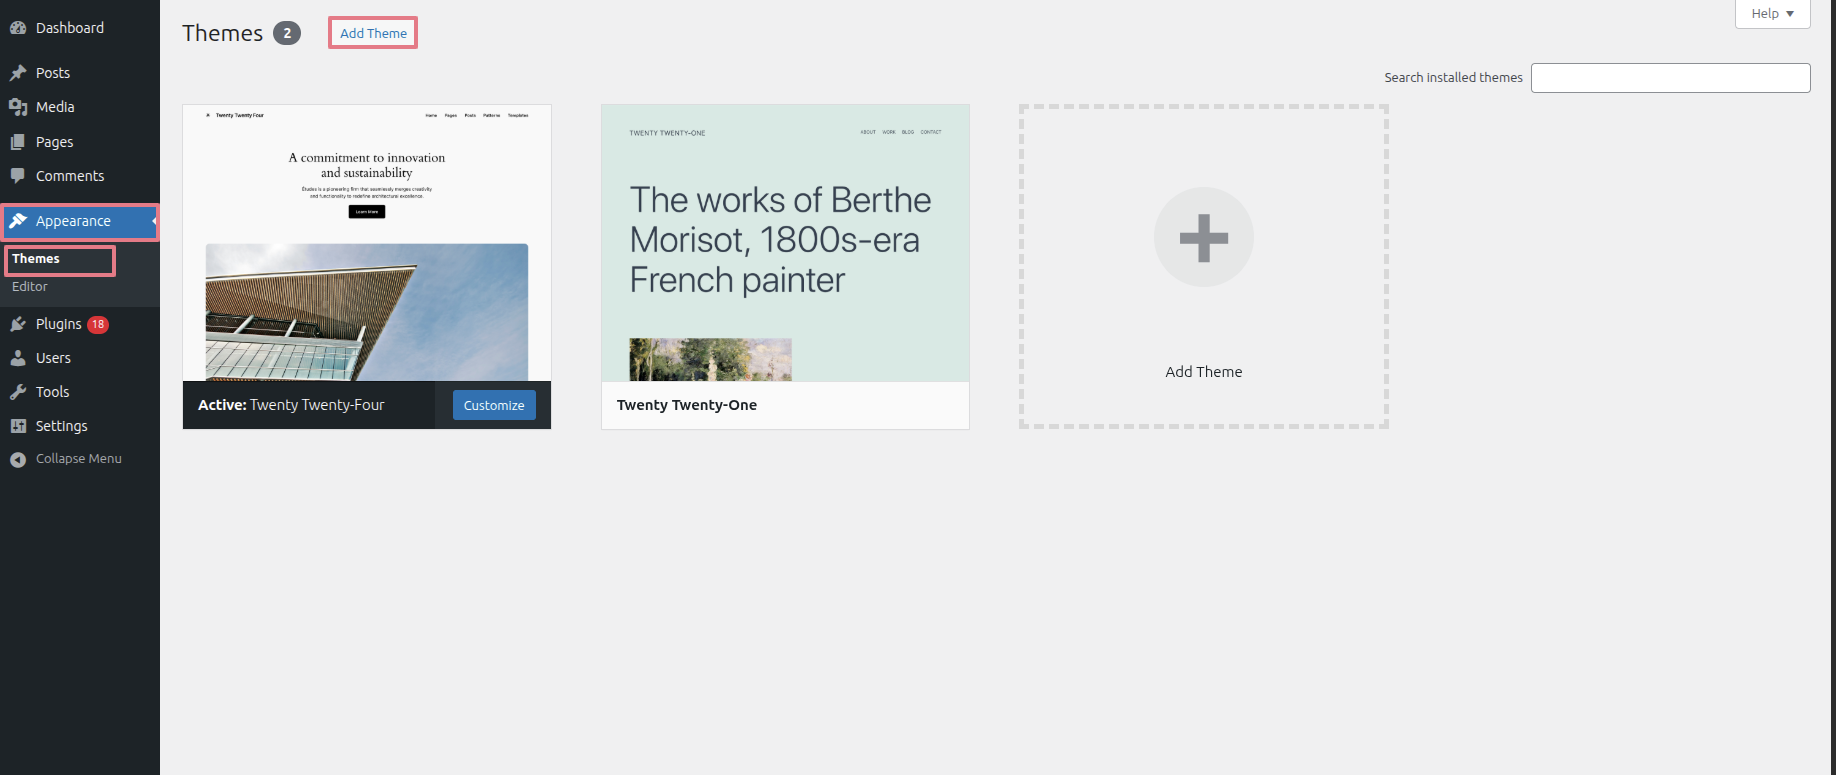
- To install and activate a new theme, navigate to Dashboard Appearance Themes Add Theme
- Select "Upload Theme" Tap Install Now
- Once located, click "Install" followed by "Activate" to complete the theme installation and activation process.
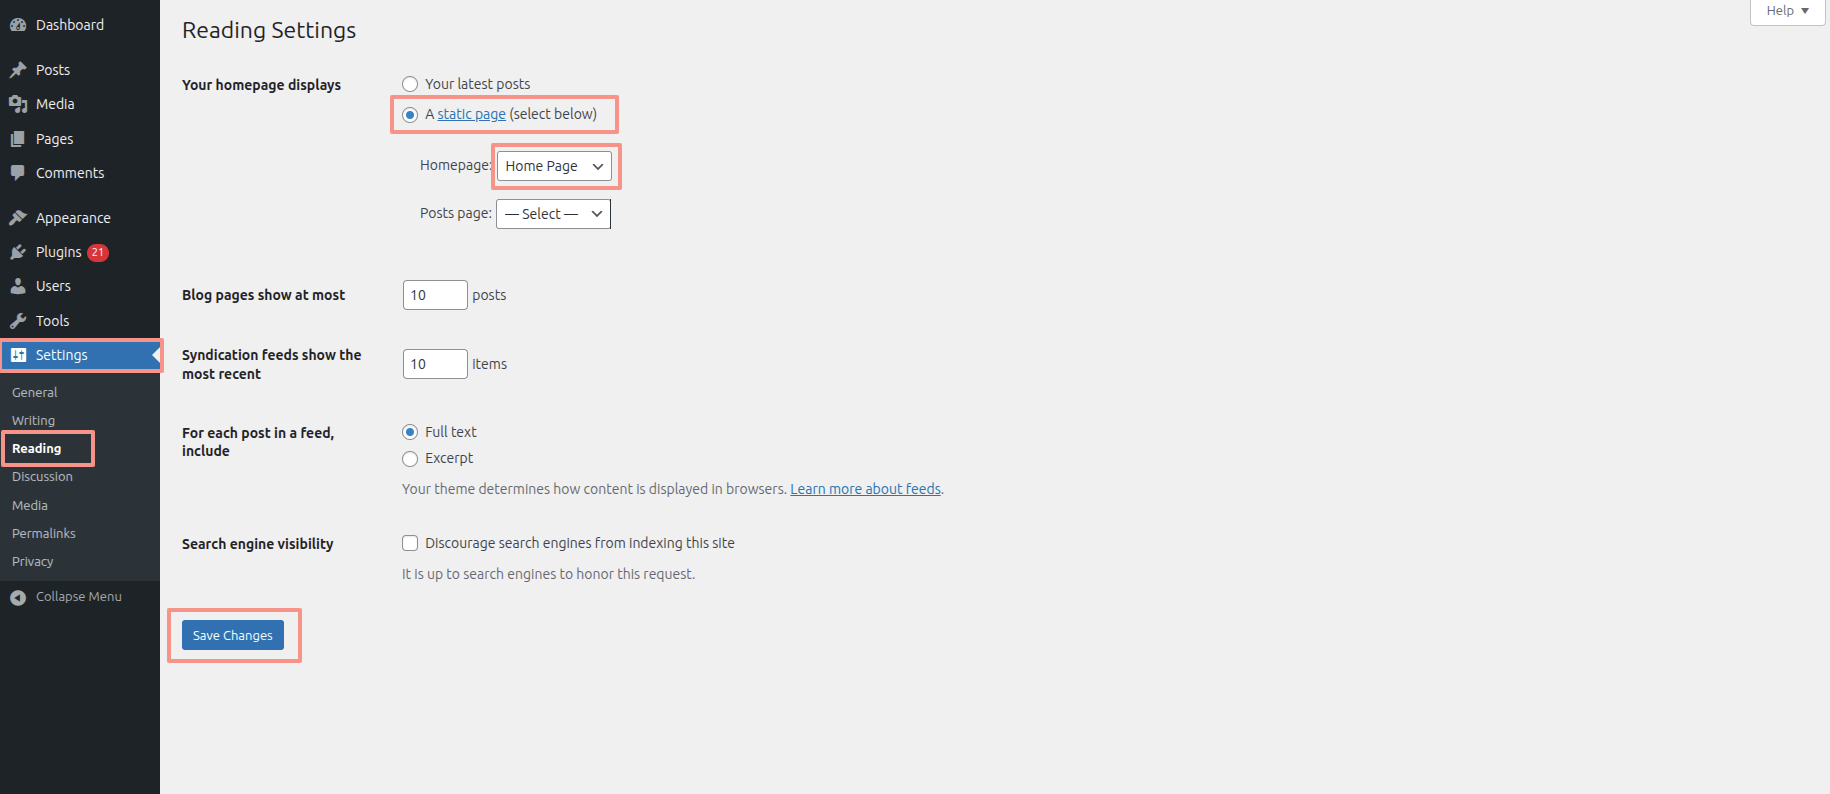
- Navigate to the Dashboard and select "Settings."
- Click on "Reading."
- Under "Homepage displays," choose the "Static page" option.
- Designate the desired page as your "Home page.".
- Login to your WordPress Dashboard.
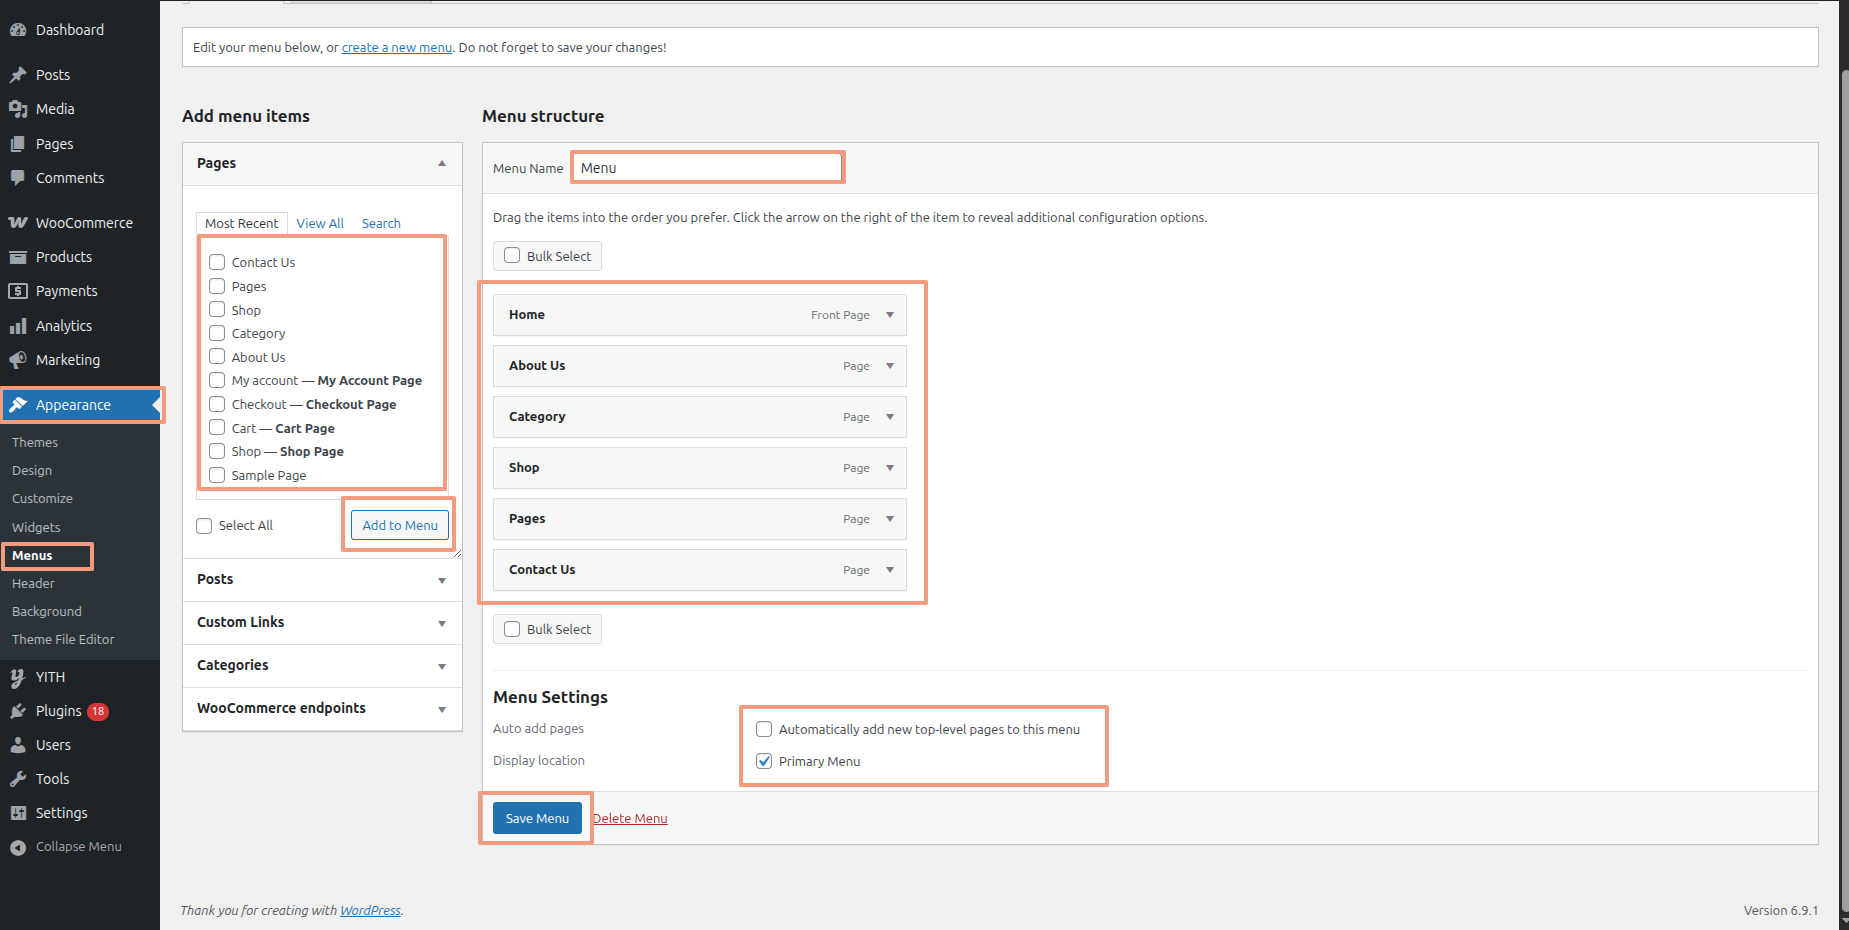
- Go to Appearance > Menus from the left sidebar.
- Click on Create a new menu link.
- Enter a name for your menu (e.g., Main Menu).
- Click the Create Menu button.
- Select the checkboxes of the items you want to include in your menu.
- Click the Add to Menu button..
- Arrange the menu items by dragging and dropping them as needed..
- Set the Display Location (e.g., Primary Menu, Footer Menu) by checking the appropriate box.Finally, click the Save Menu button.
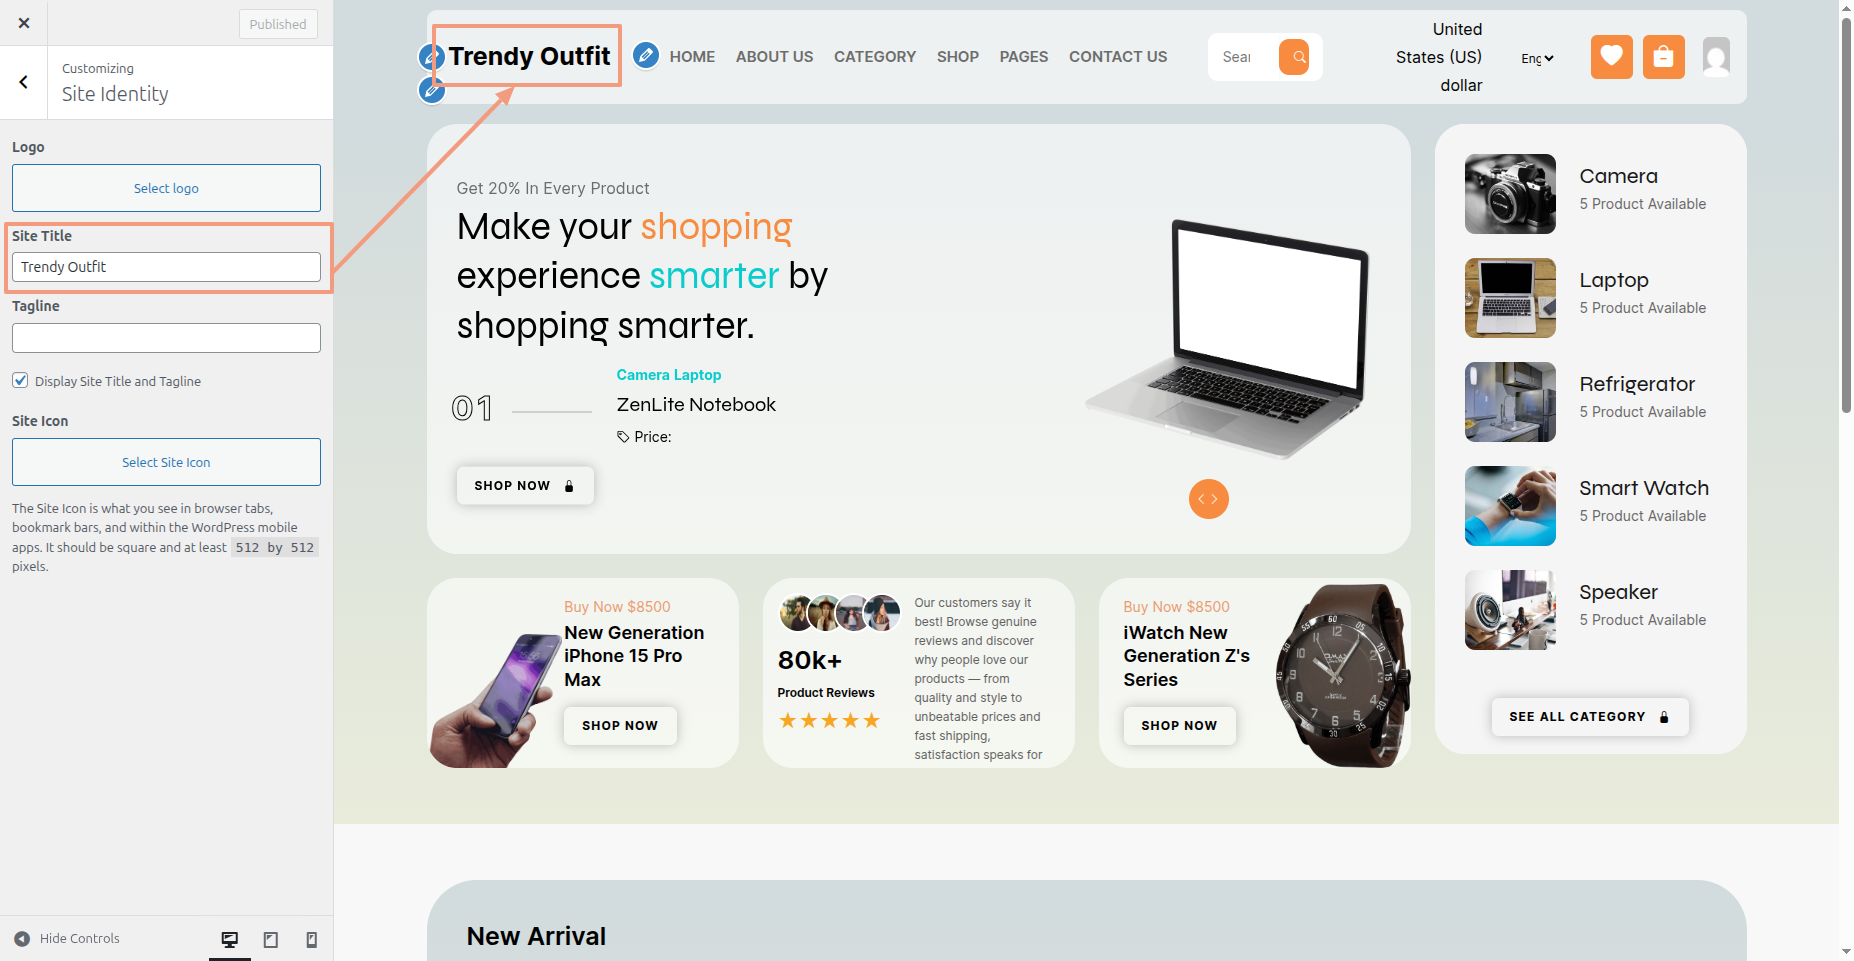
Site identity is covered in this section.
- To modify this section, navigate to Dashboard Appearance Customize Site Identity.
- Once edits are complete, select the Publish button.

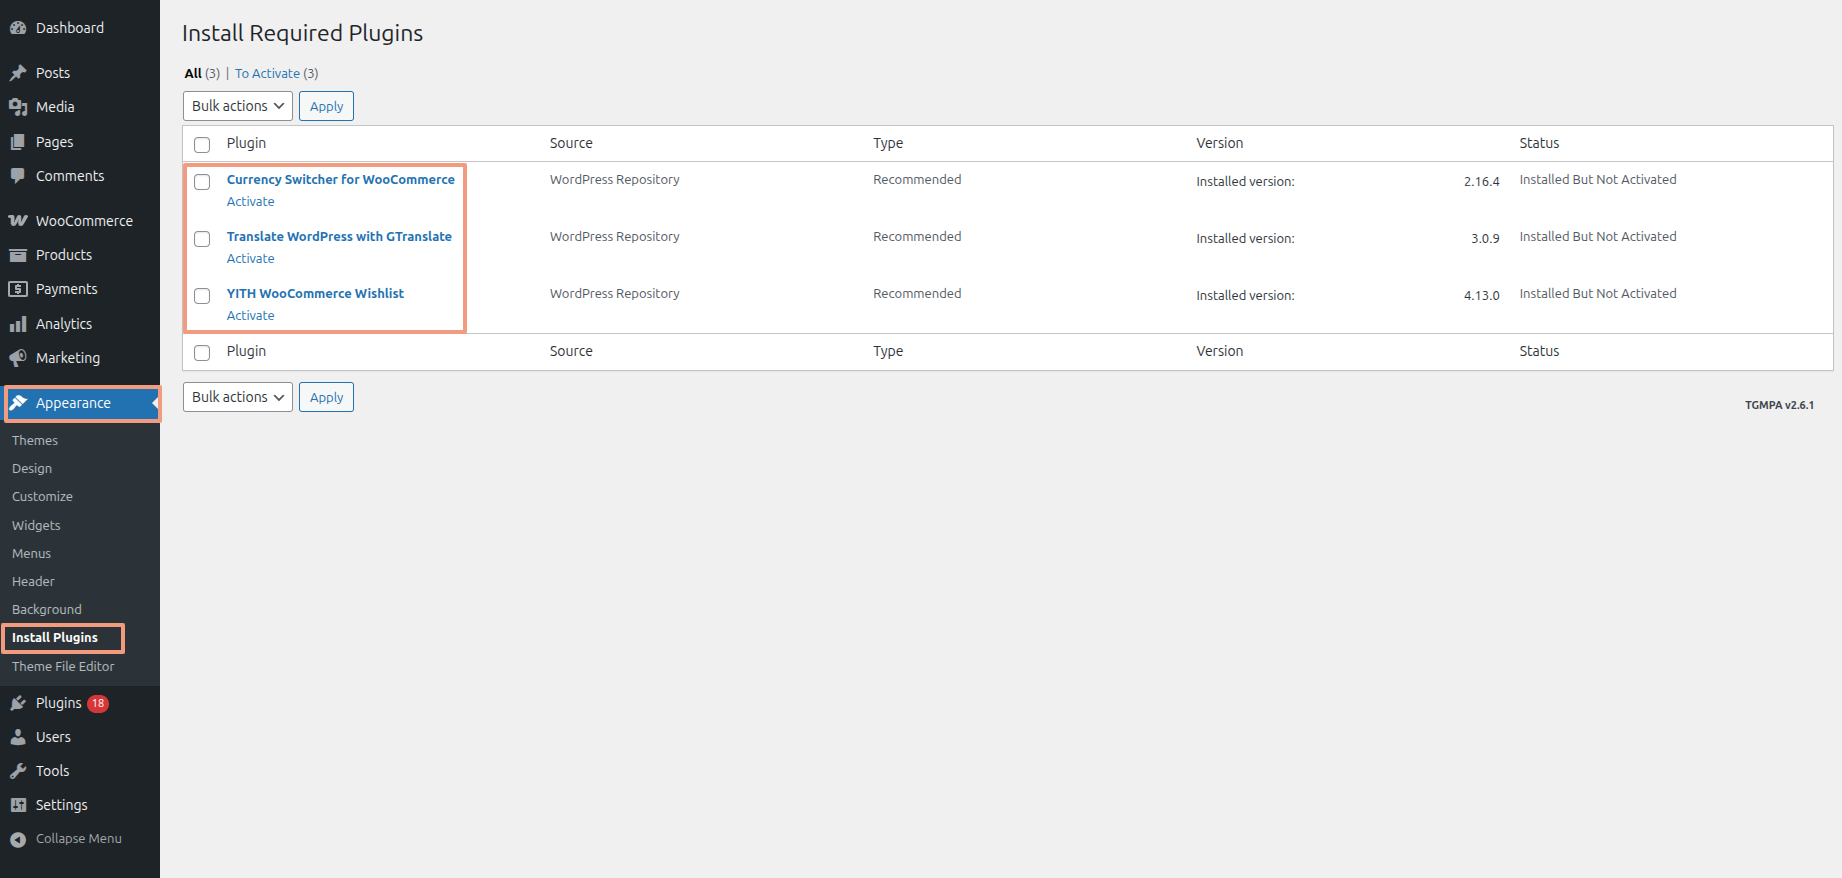
Header is covered in this section.
- To modify this section, navigate to Dashboard Appearance Install Plugins Install Activate.
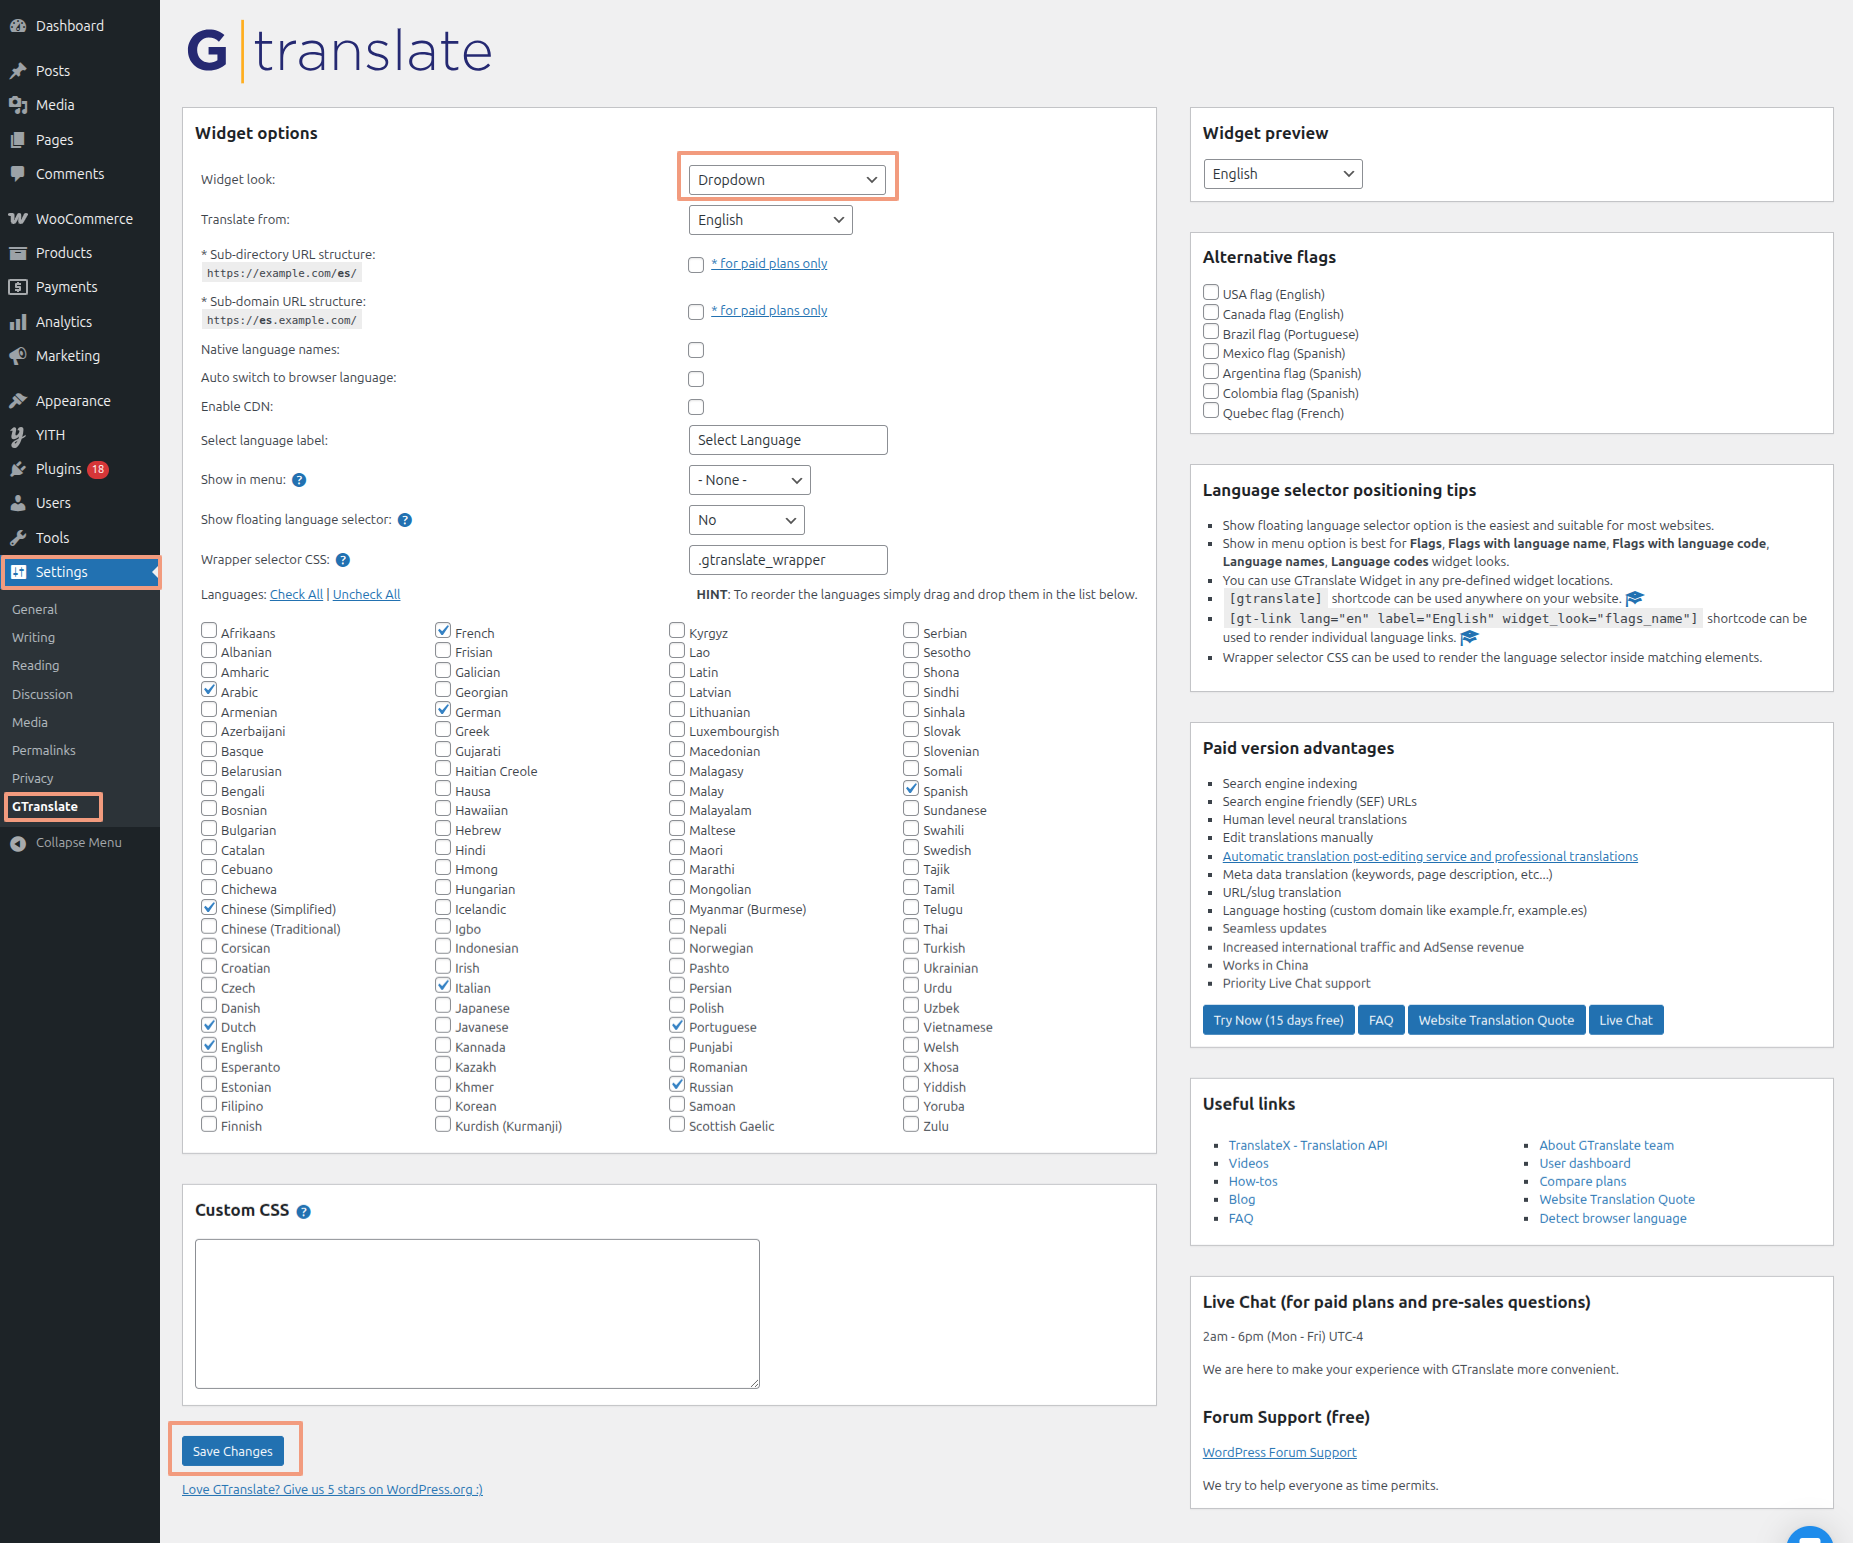
- To modify this section, navigate to Dashboard Settings GTranslate Select Dropdown Save Changes.
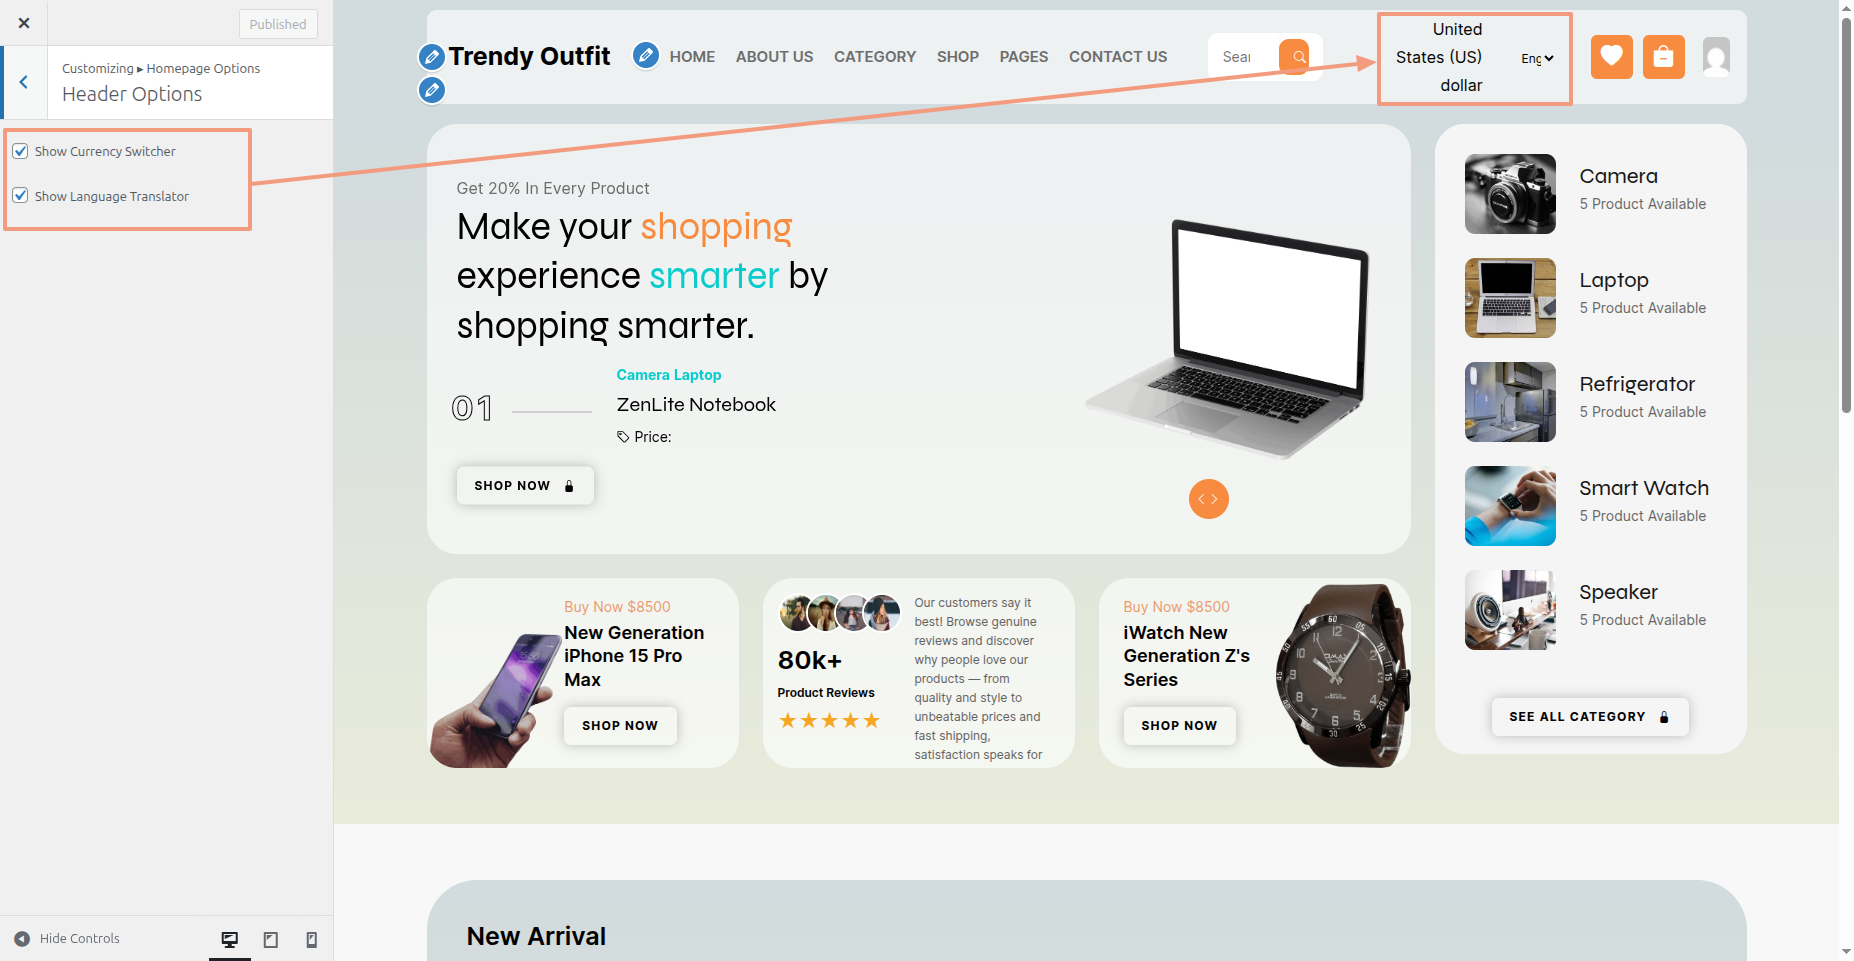
- To modify this section, navigate to Dashboard Appearance Customize Homepage Options Header Options.
- Once edits are complete, select the Publish button.
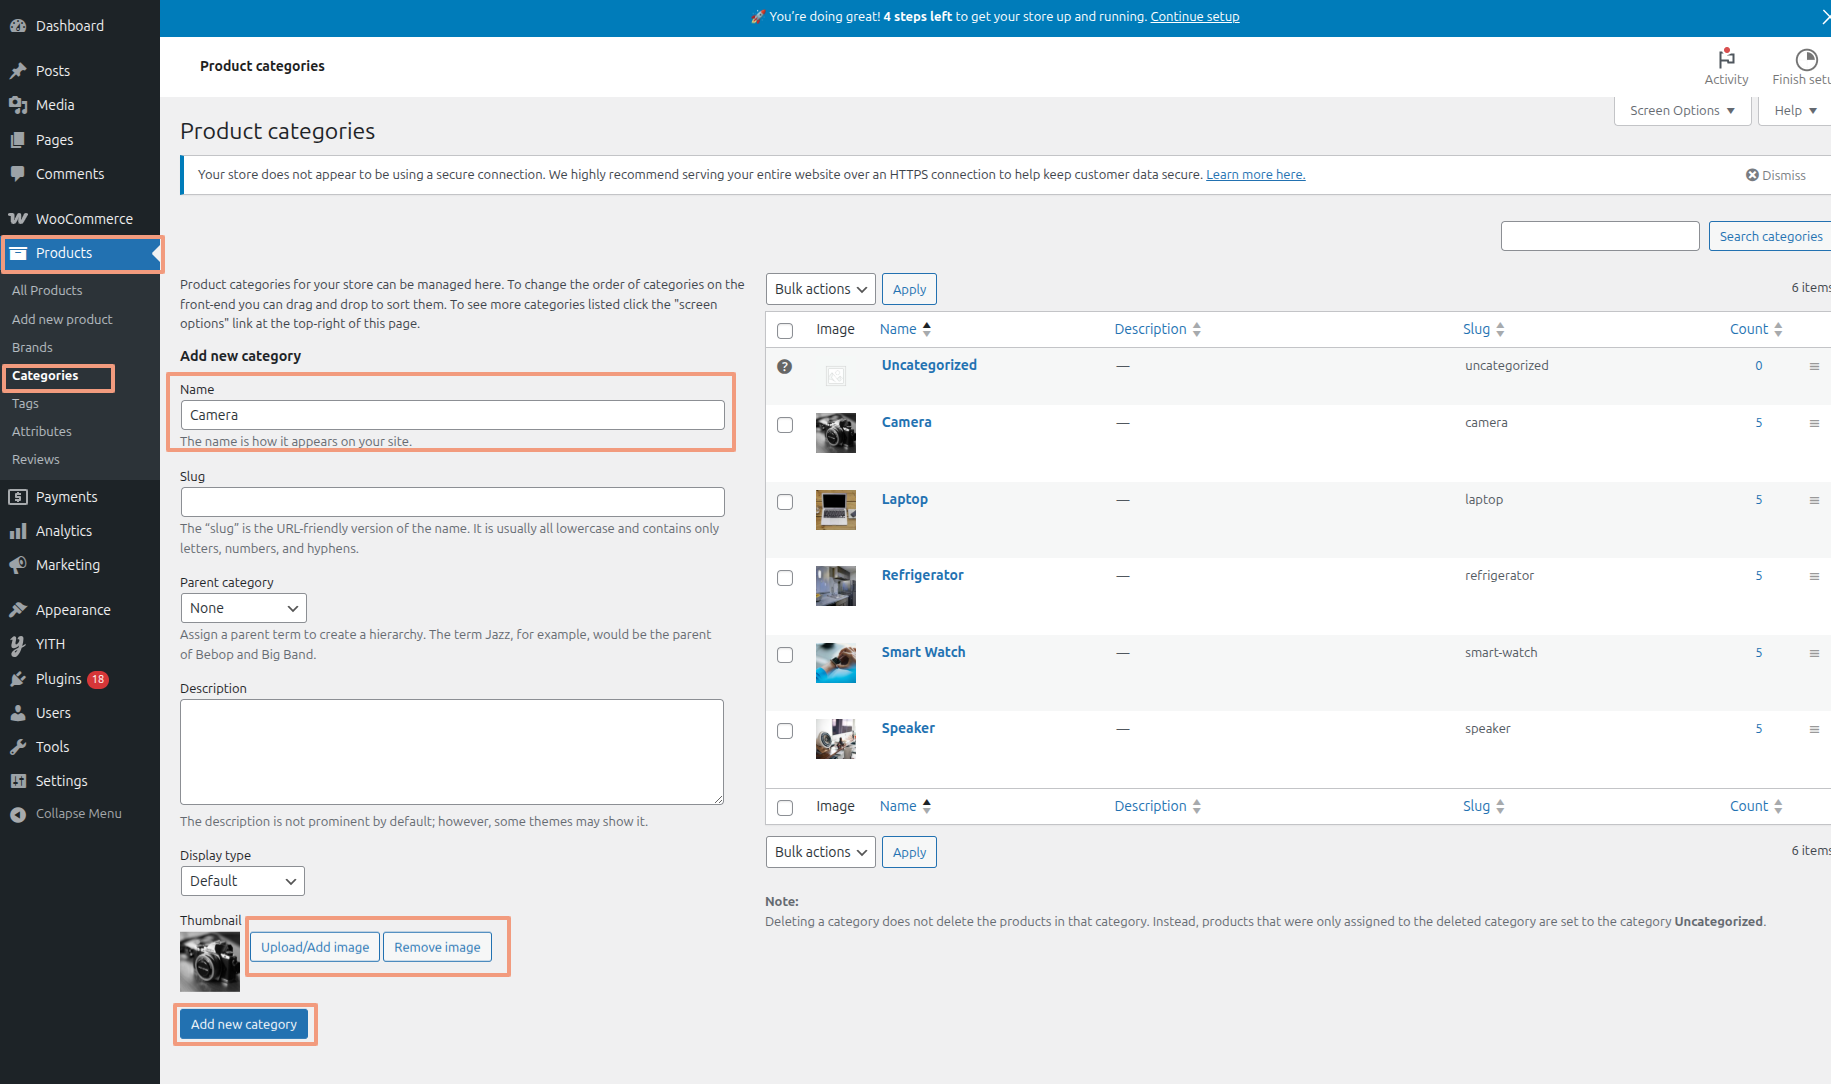
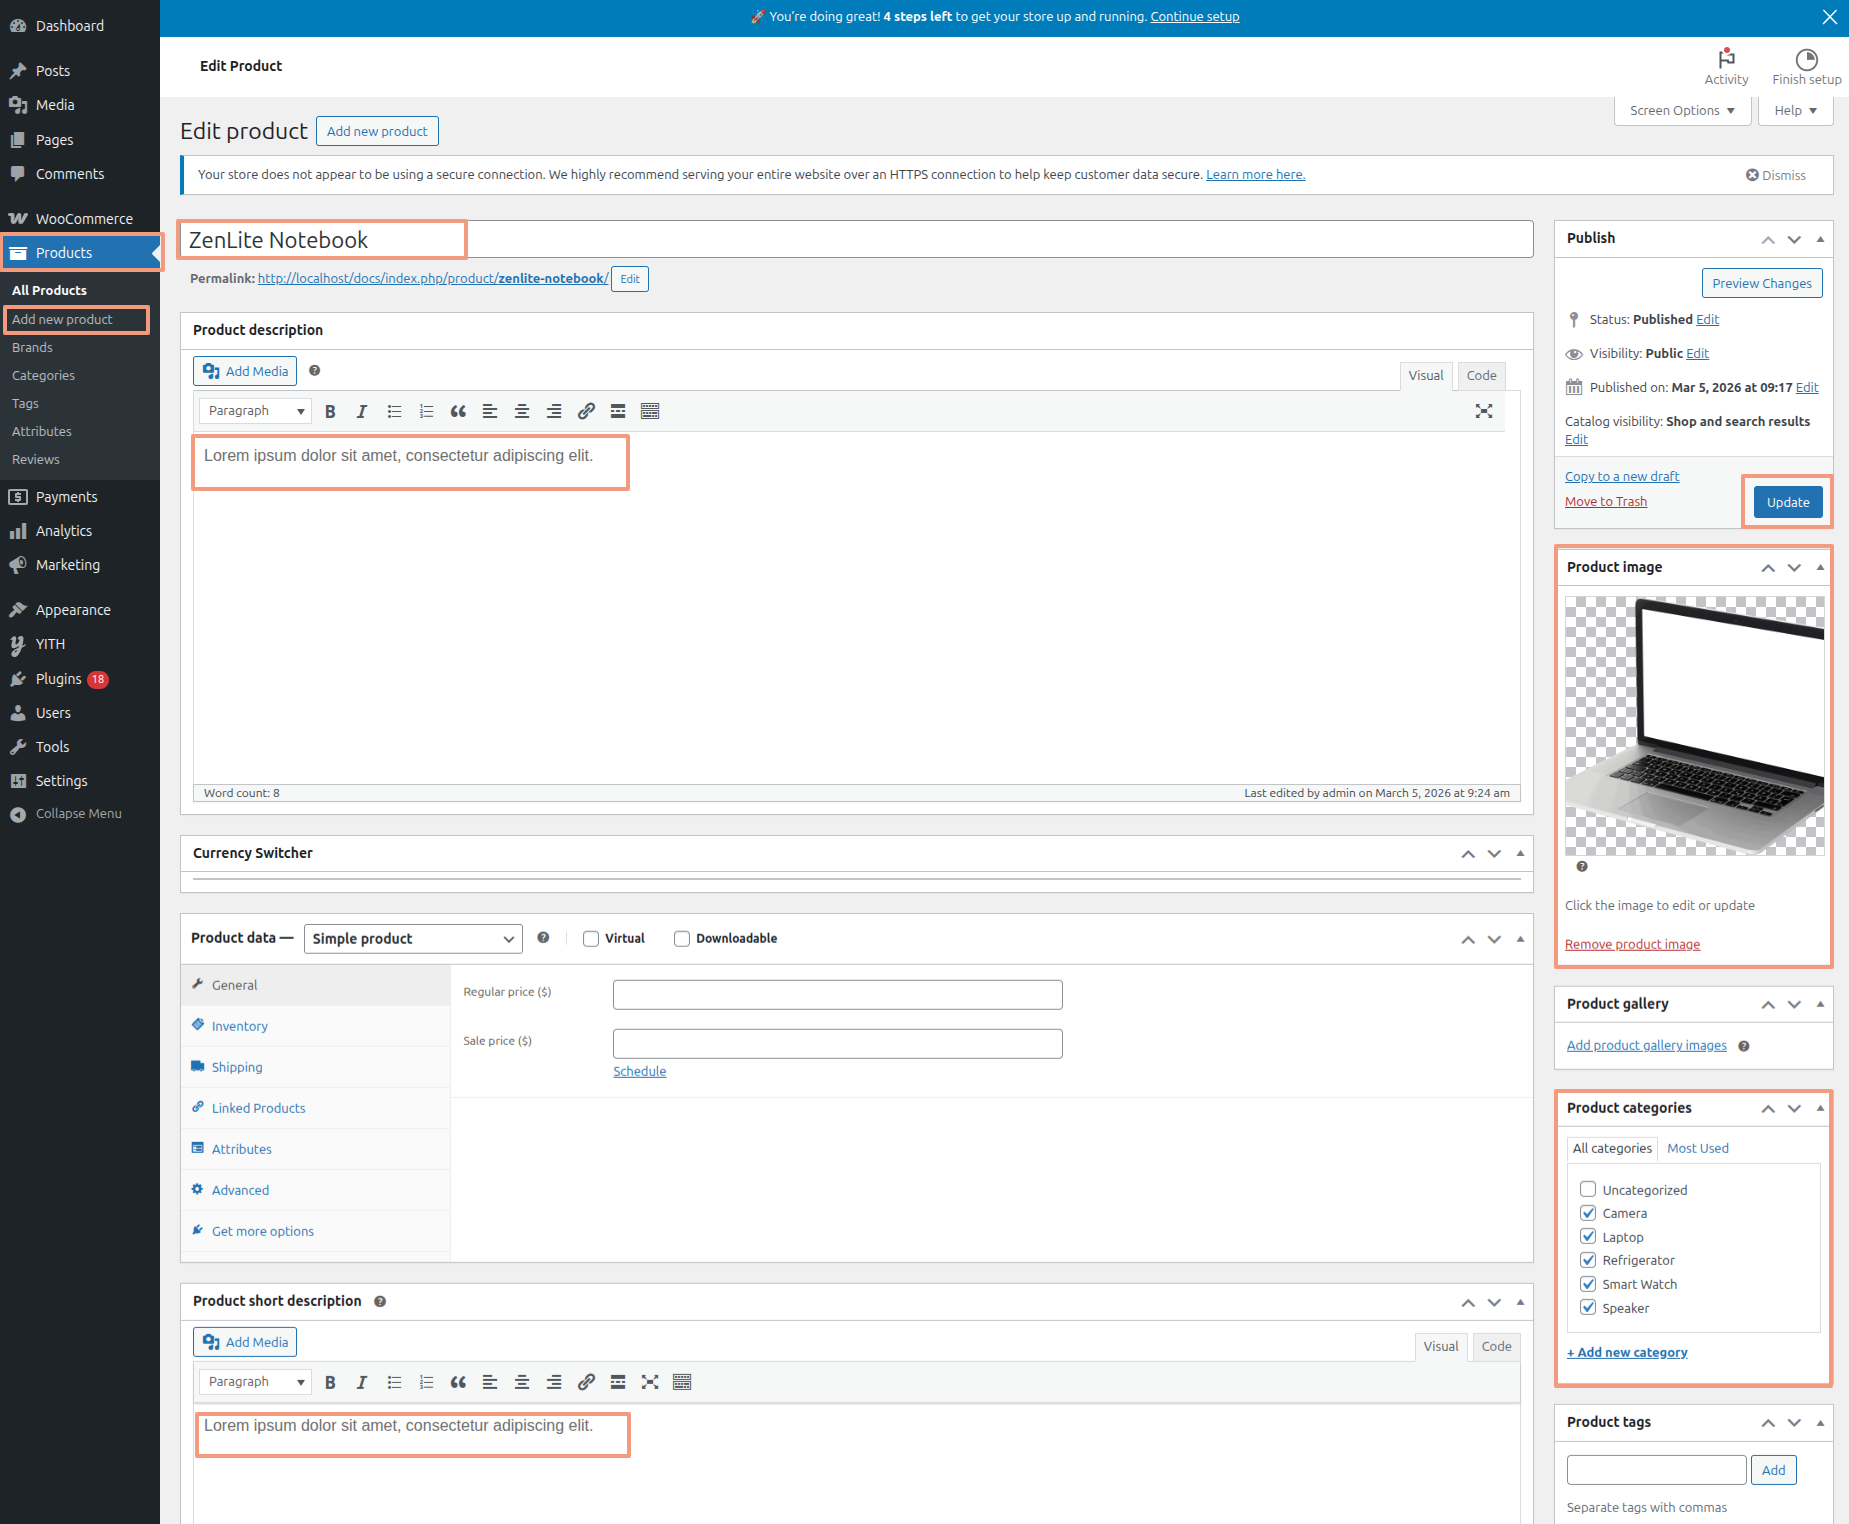
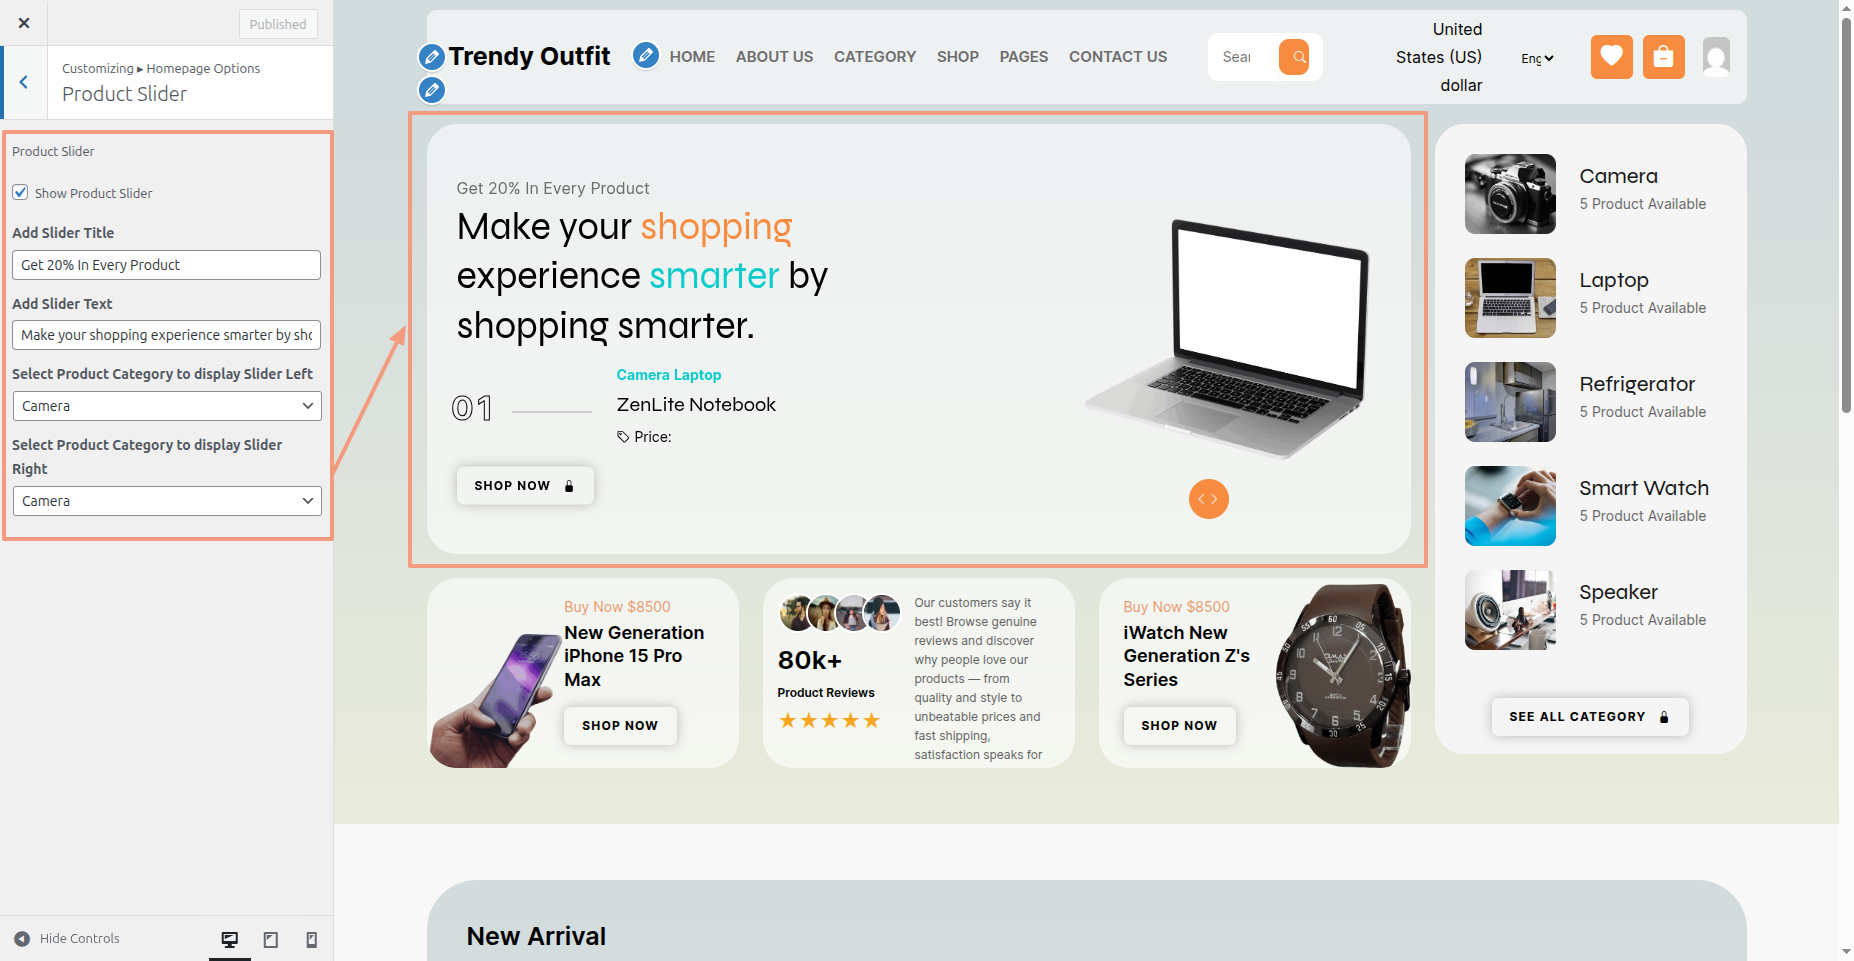
Product Slider is covered in this section.
WordPress sliders Post display images/content dynamically, often on homepages, to highlight featured items or promotions visually.
To implement a Product Slider:
- Navigate to Dashboard Product Categories.
- Navigate to Dashboard Product Add New Product.
- Go to Dashboard Appearance Customize Homepage Options Product Slider.
- After editing, select the Publish button.
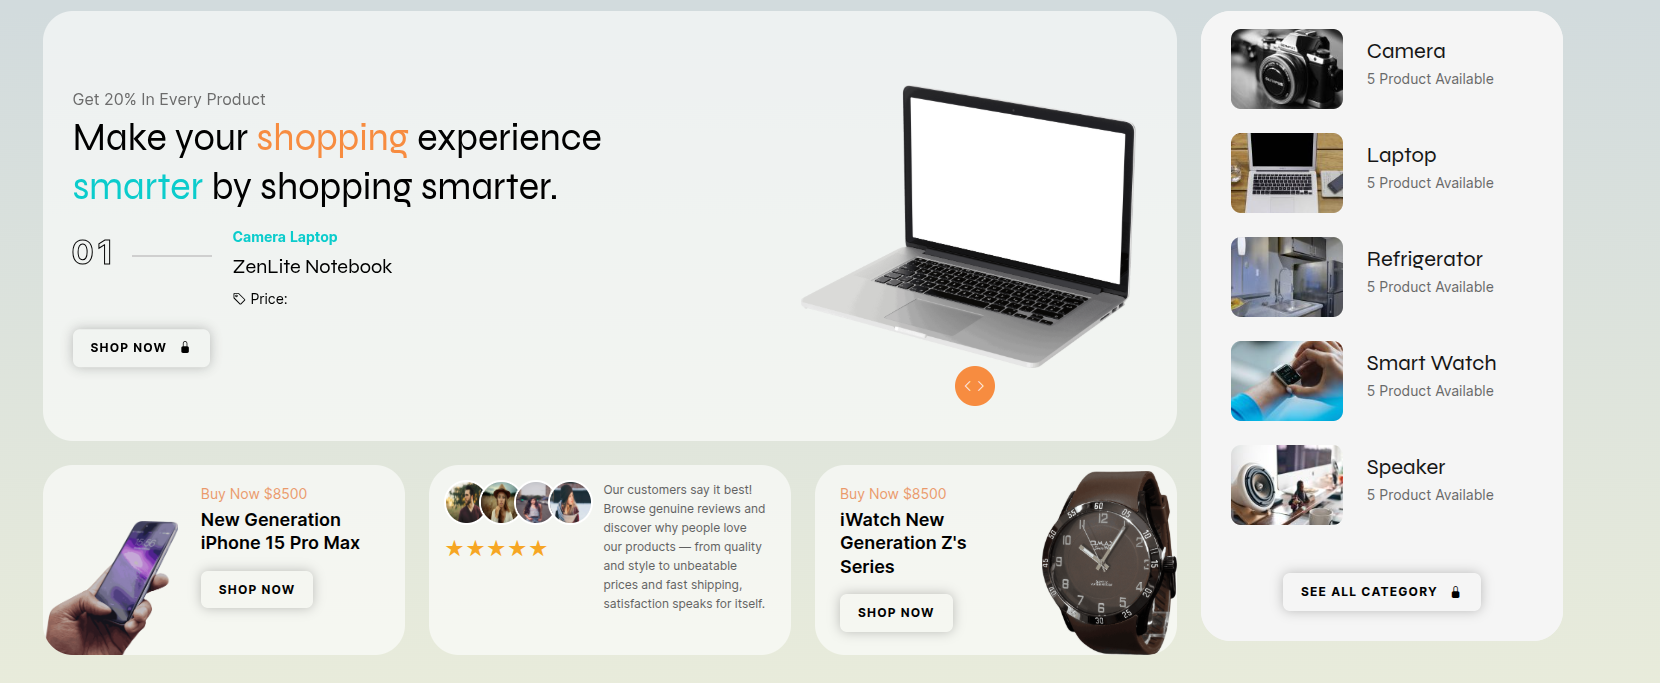
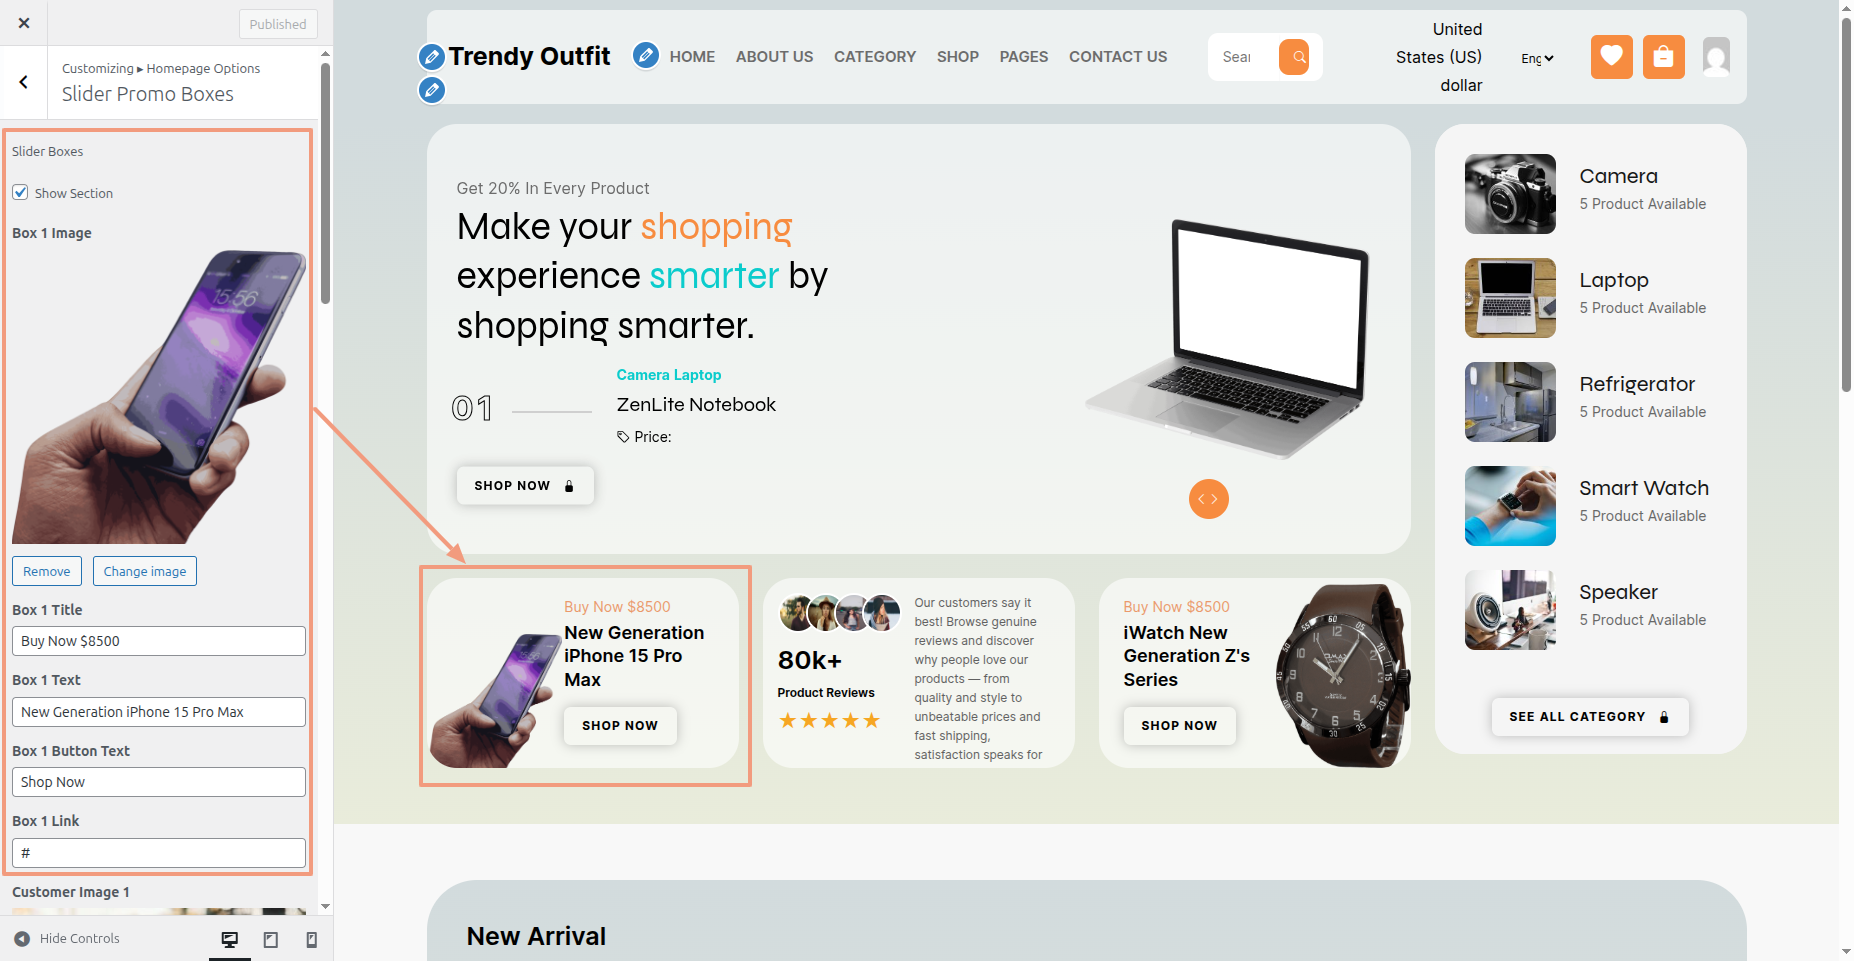
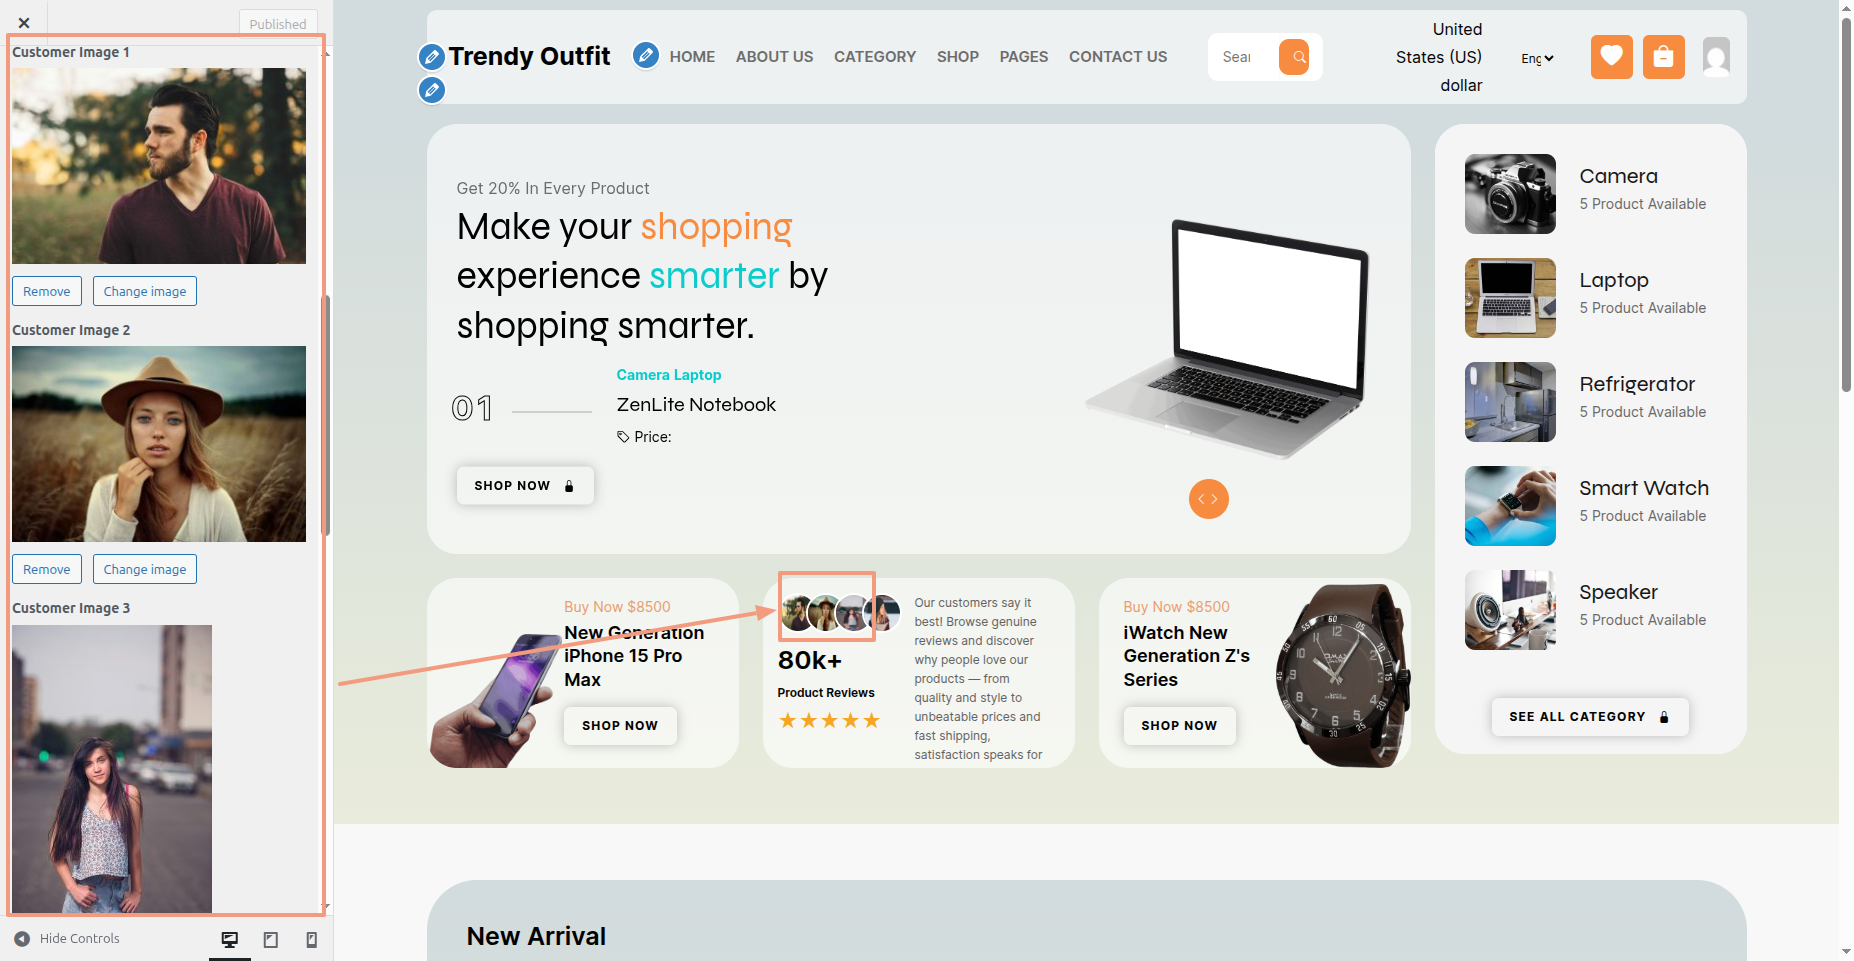
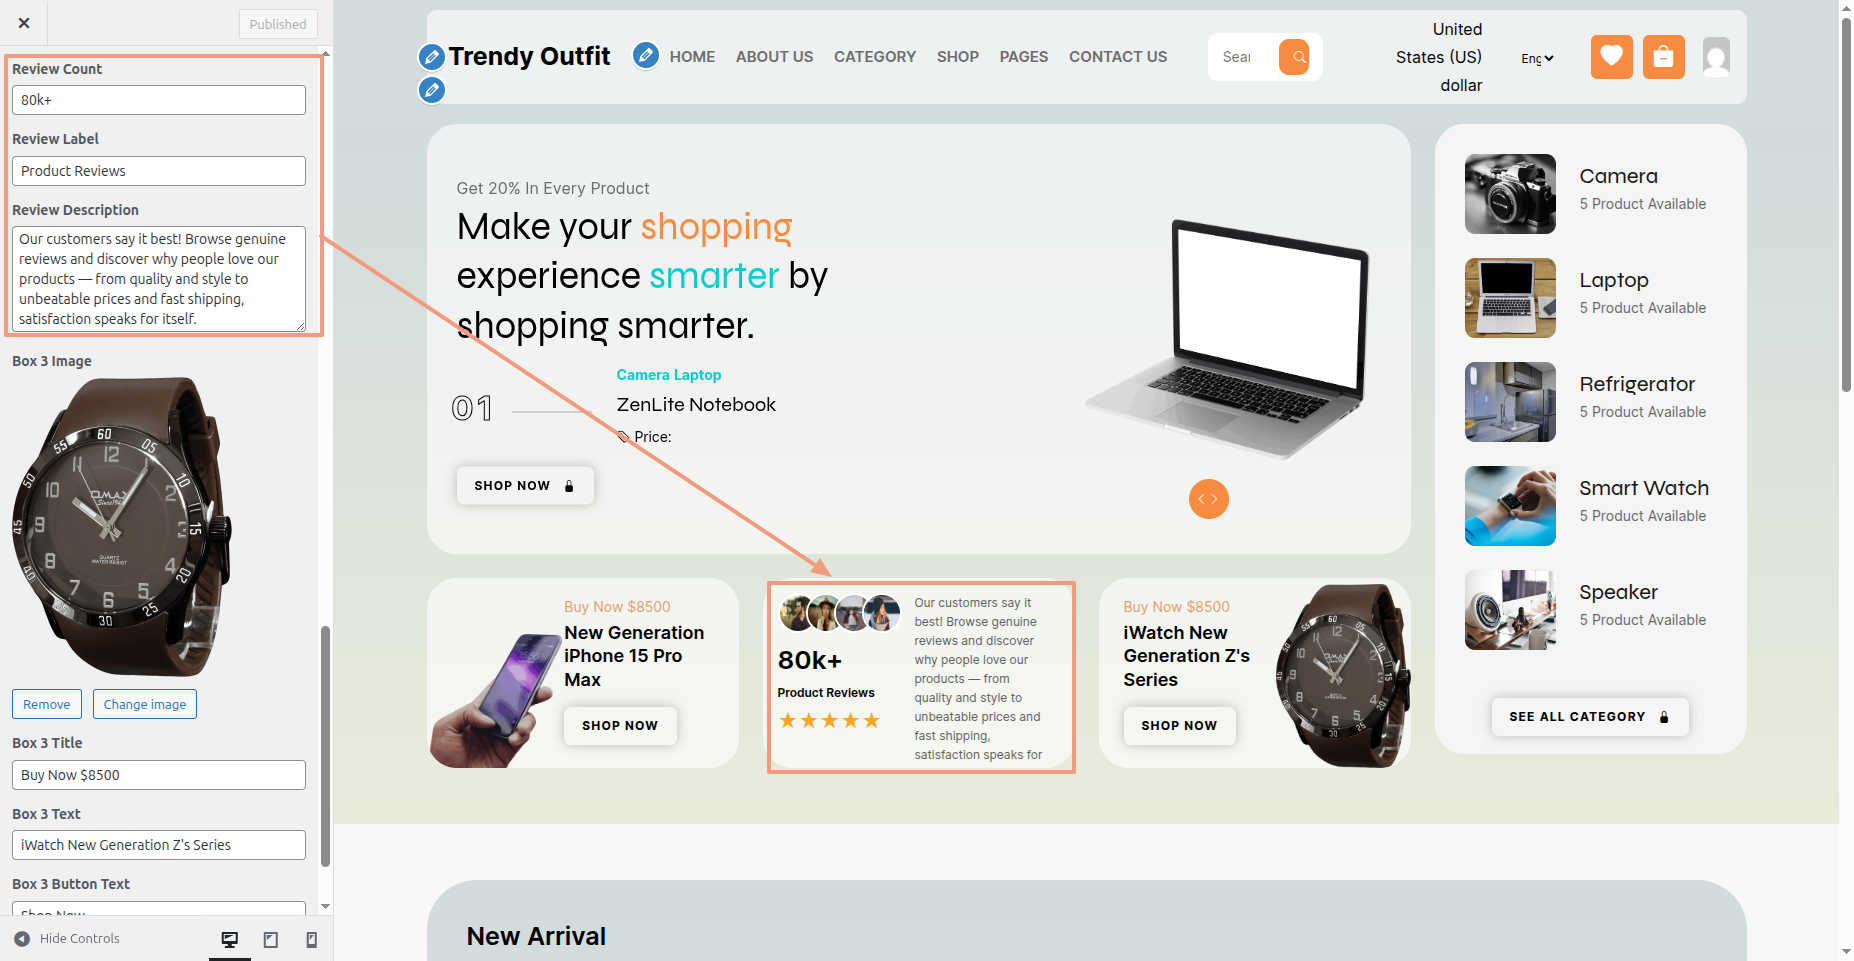
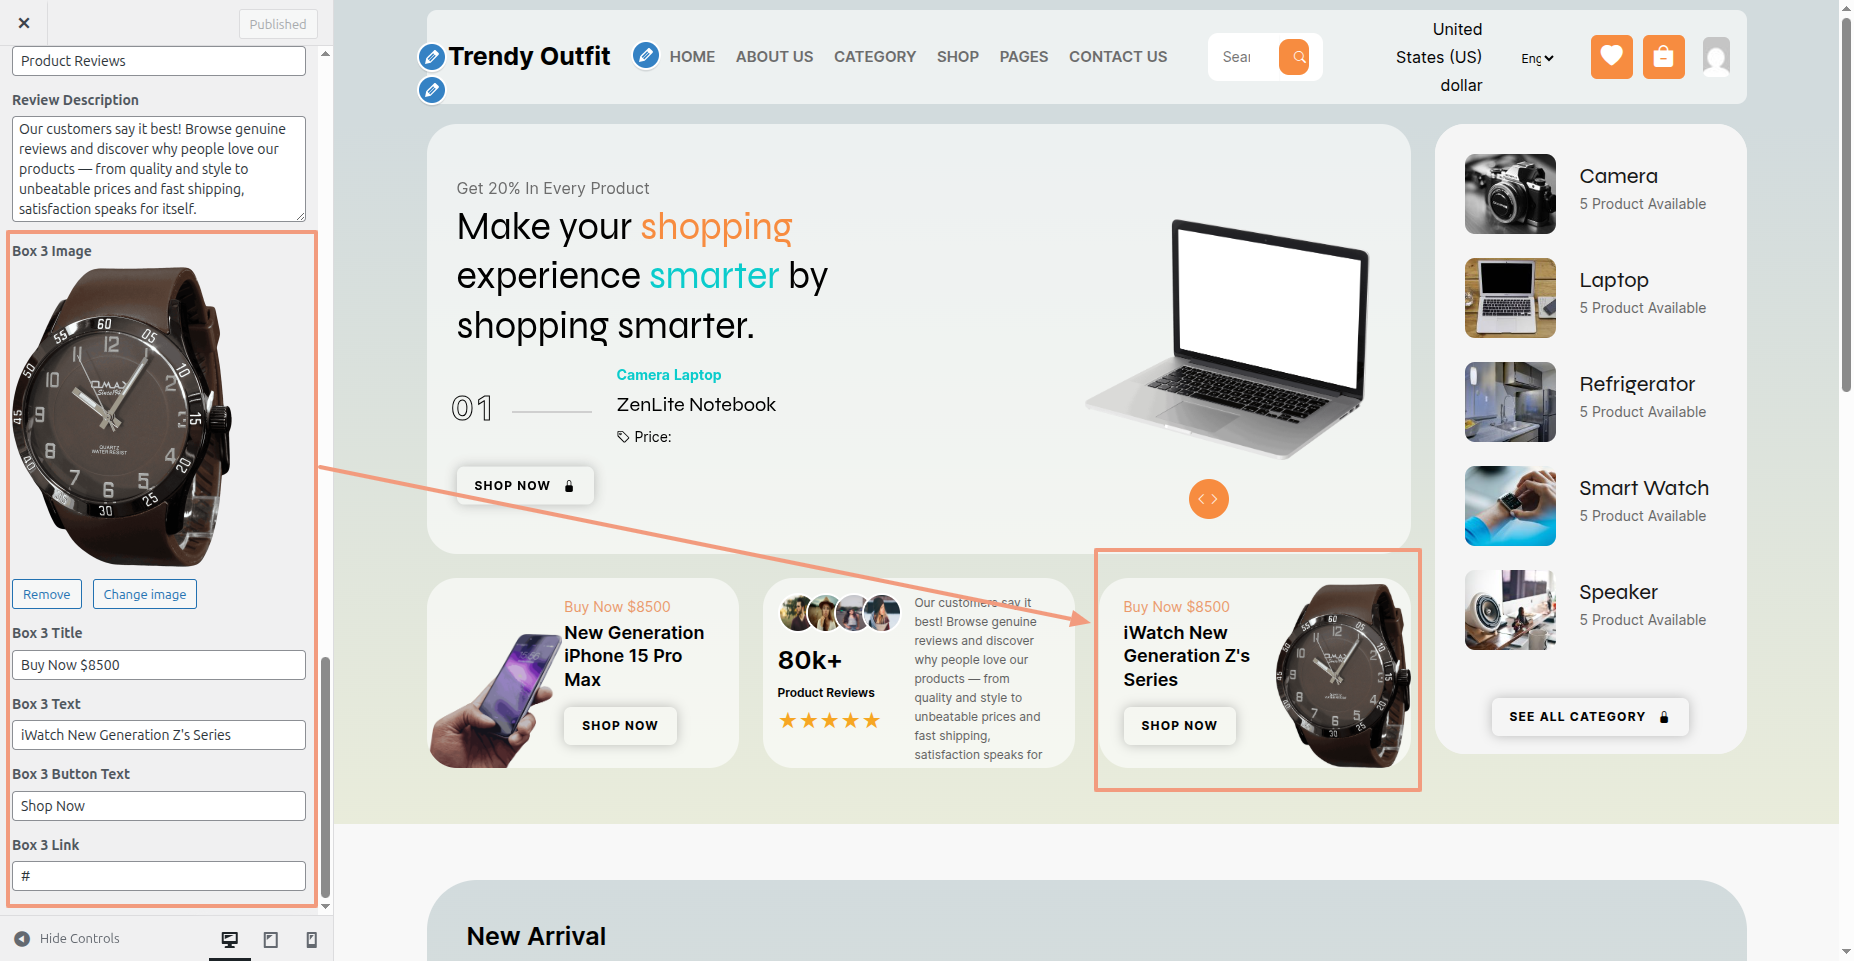
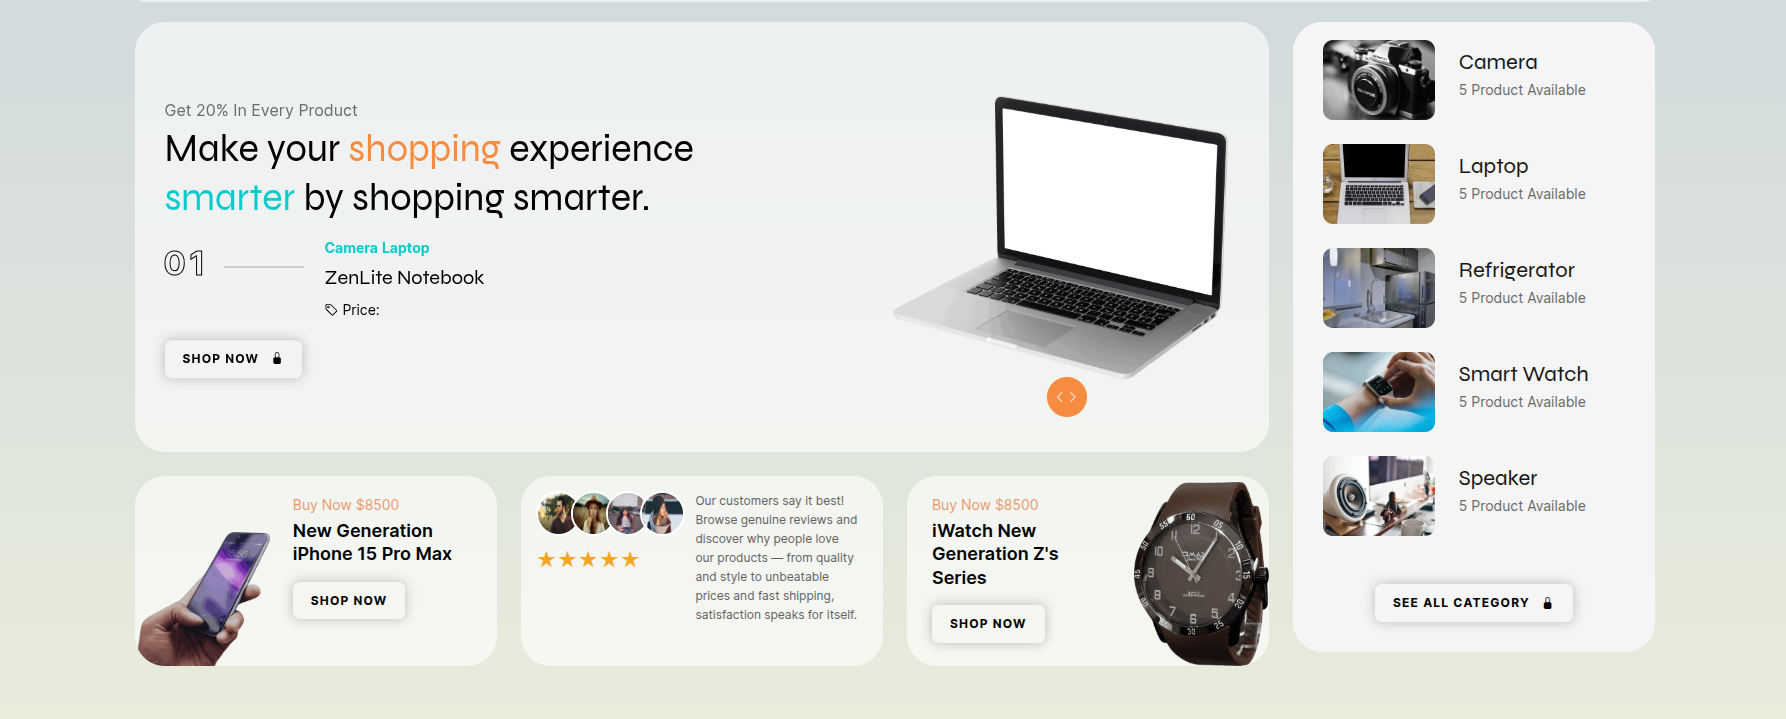
Slider Promo Boxes is covered in this section.
WordPress Slider Promo Boxes s display images/content dynamically, often on homepages, to highlight featured items or promotions visually.
To implement a Slider Promo Boxes :
- Go to Dashboard Appearance Customize Homepage Options Slider Promo Boxes Section .
- After editing, select the Publish button.
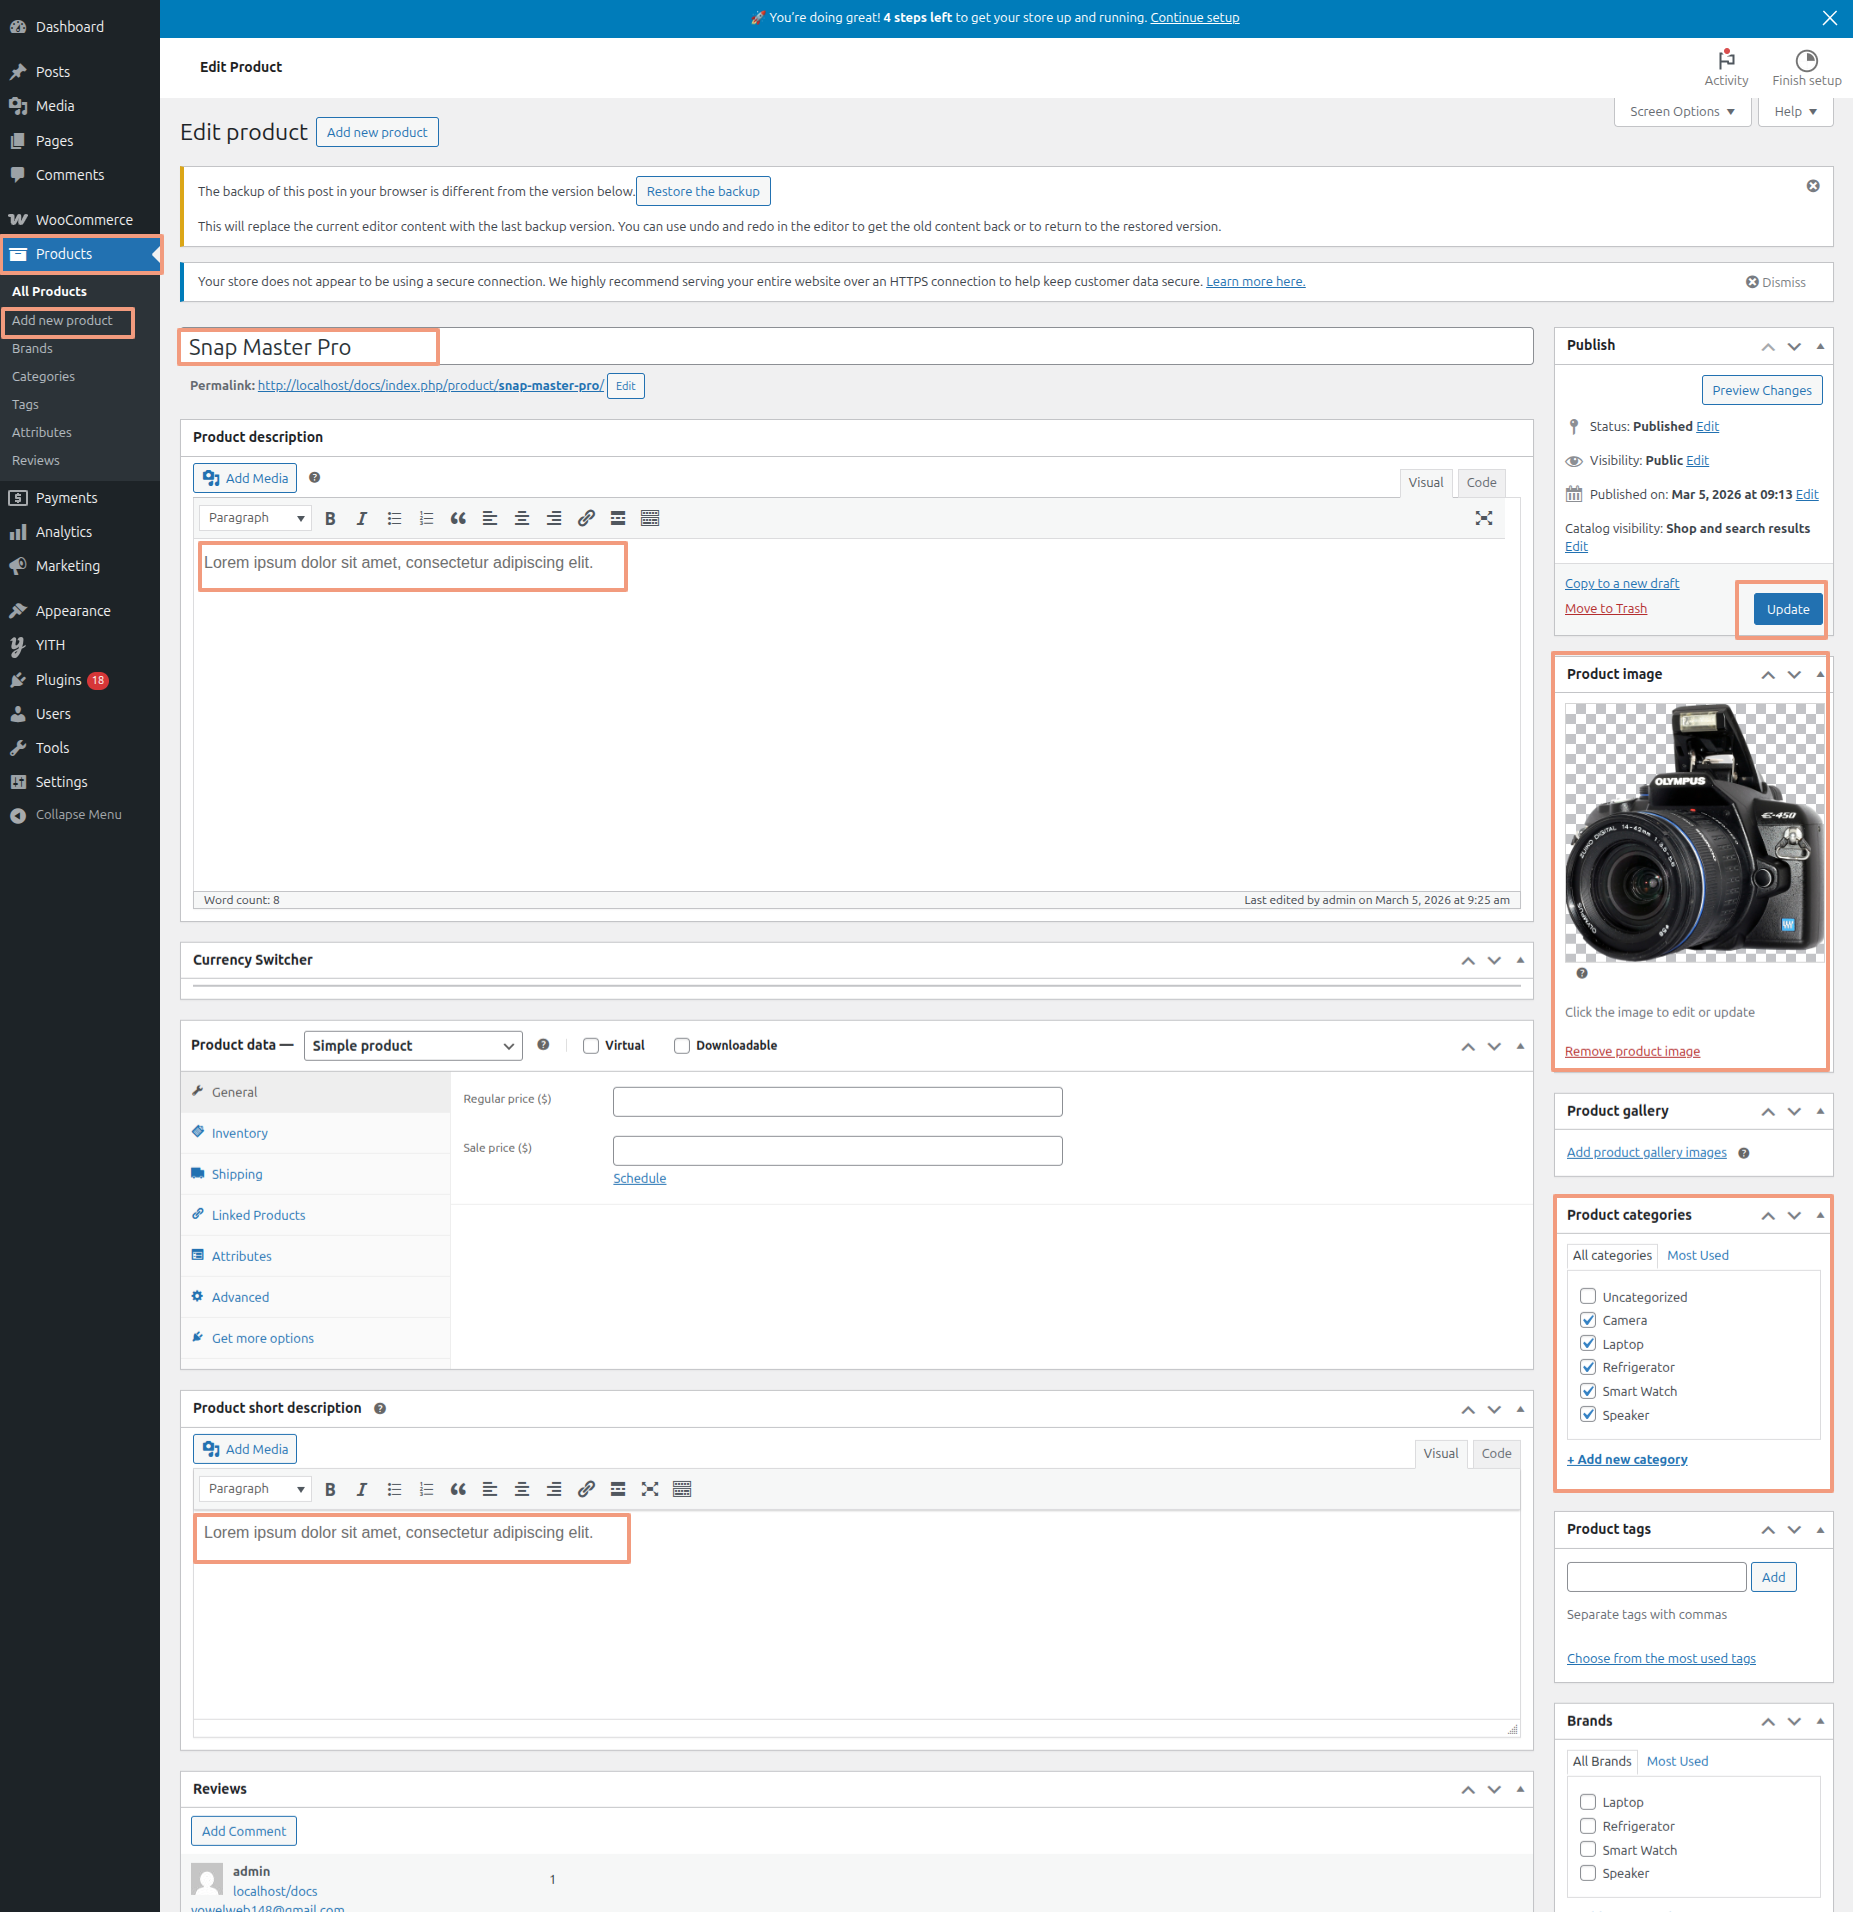
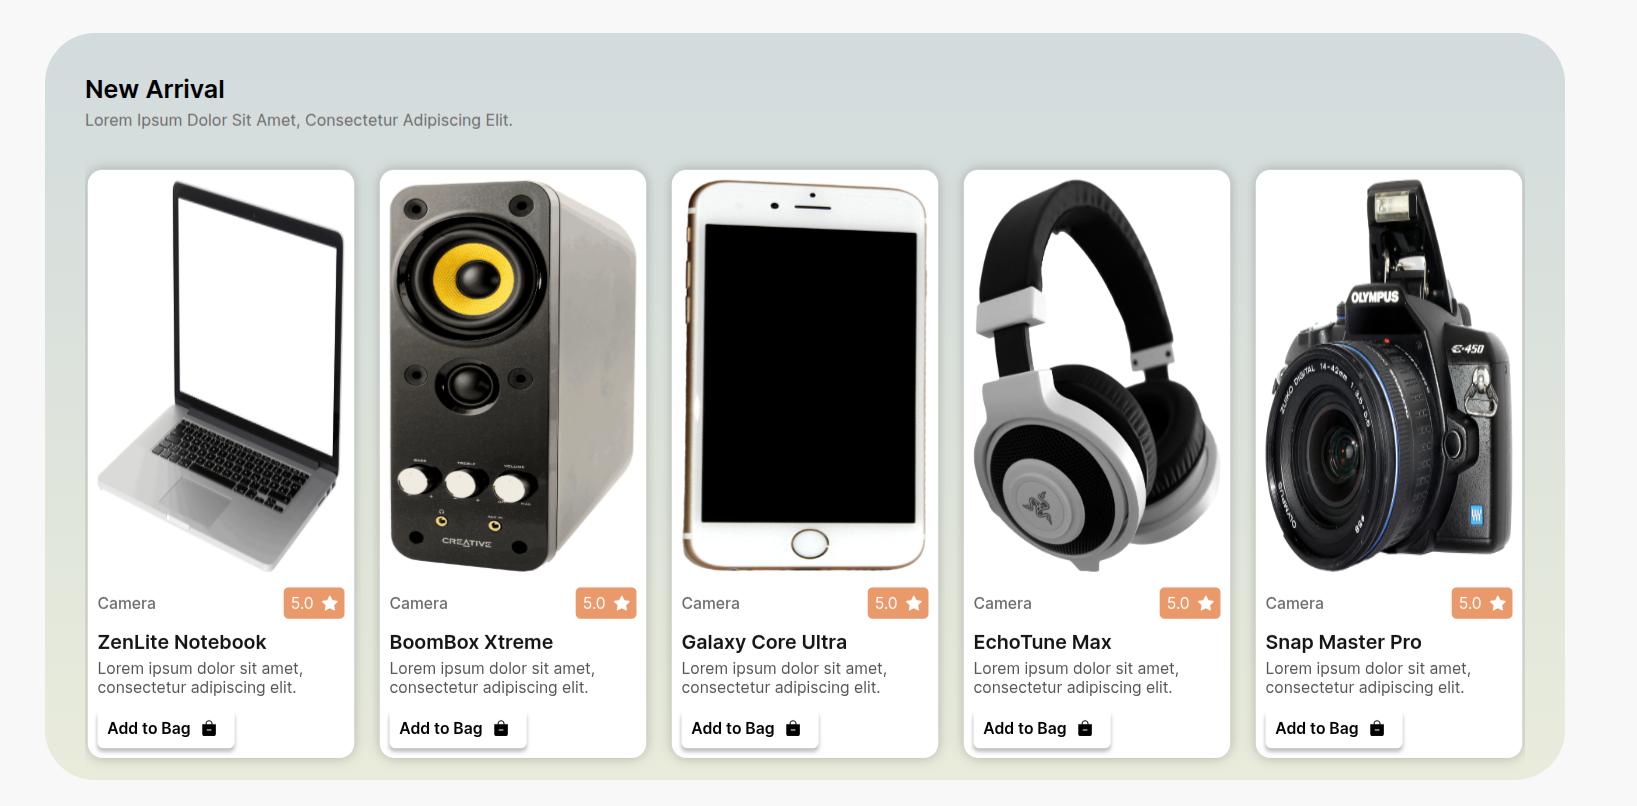
New Arrival is covered in this section.
WordPress New Arrival s display images/content dynamically, often on homepages, to highlight featured items or promotions visually.
To implement a New Arrival :
- Navigate to Dashboard Products Add New Products.
- Go to Dashboard Appearance Customize Homepage Options New Arrival Section .
- After editing, select the Publish button.

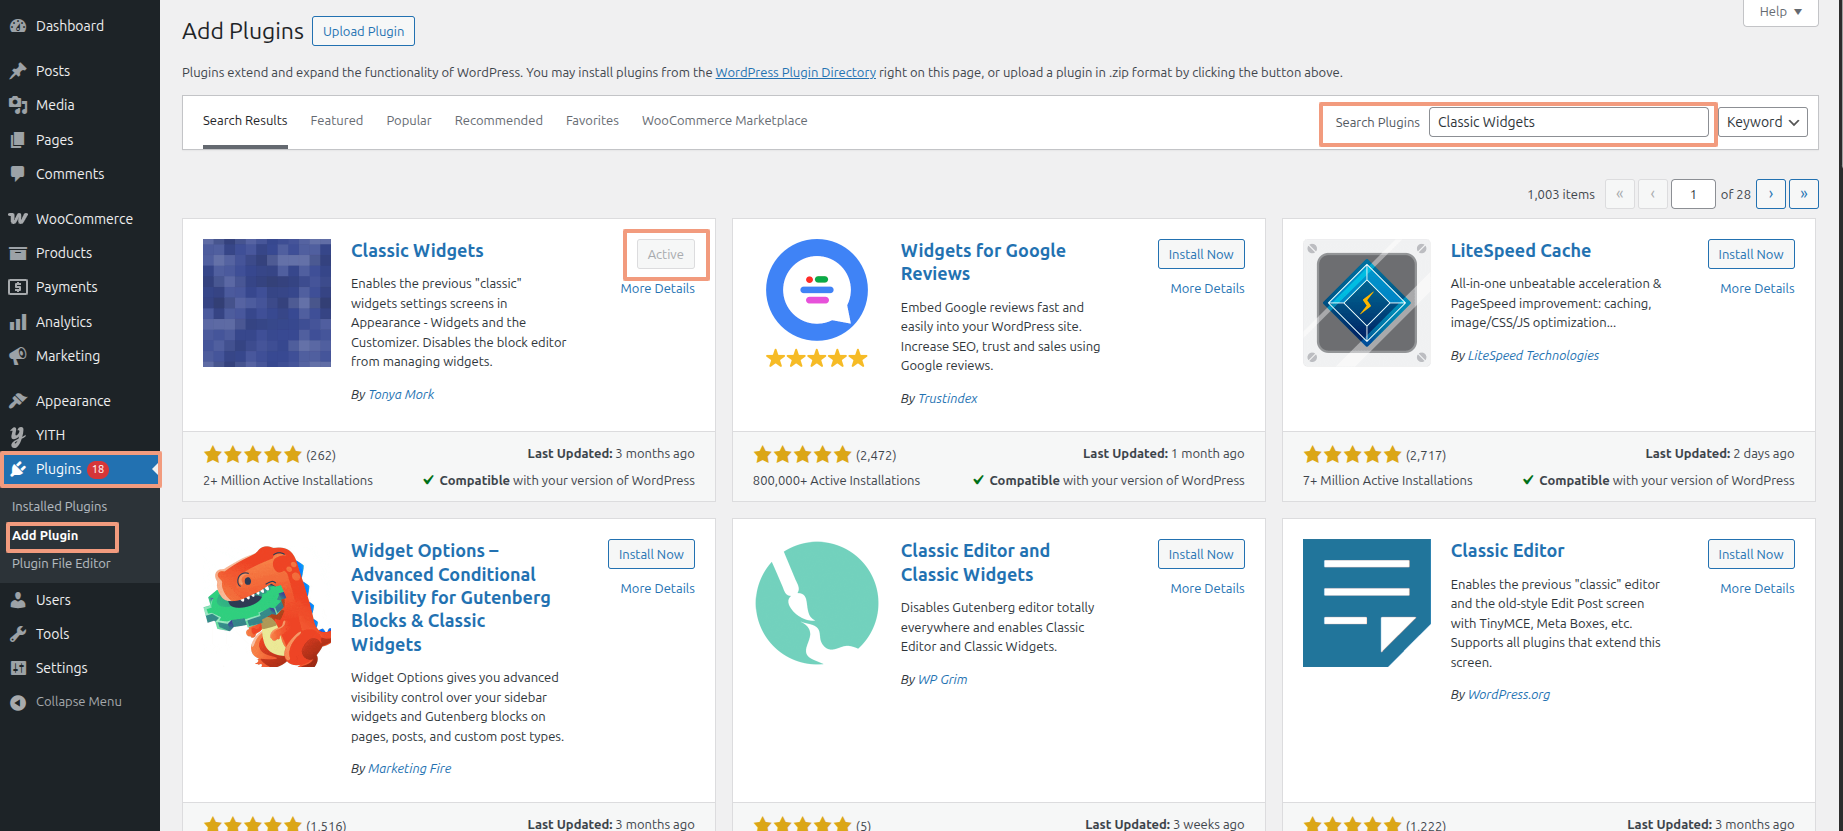
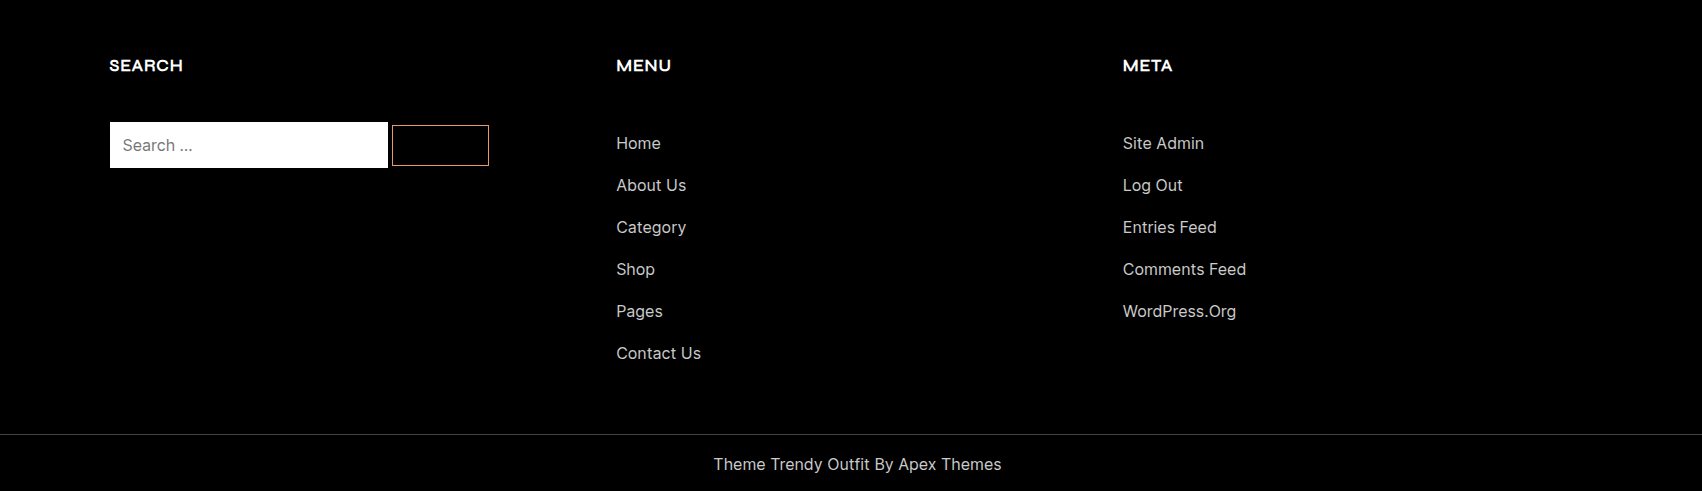
Footer Widgets is covered in this section.
To implement a Footer Widgets:
- To modify this section, navigate to Dashboard Plugins Add Plugins Search Plugins.
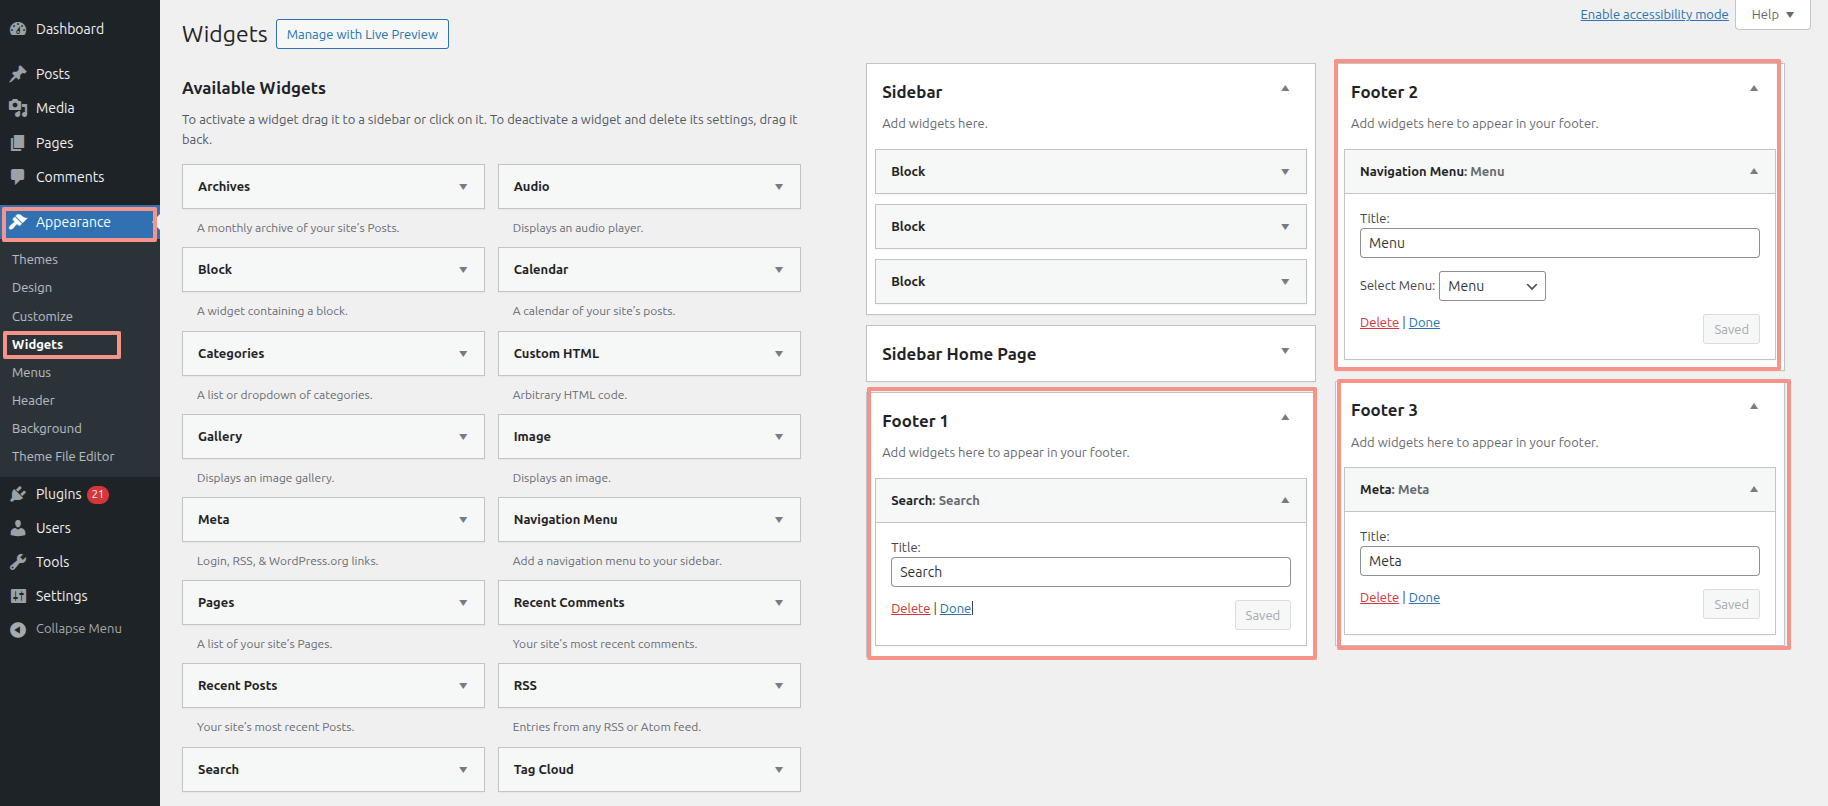
- Footers are created using widgets. Instructions for creating footers are available under the widgets tab.
- Use these steps to determine where widgets are located.
- After editing, select the Publish button.